
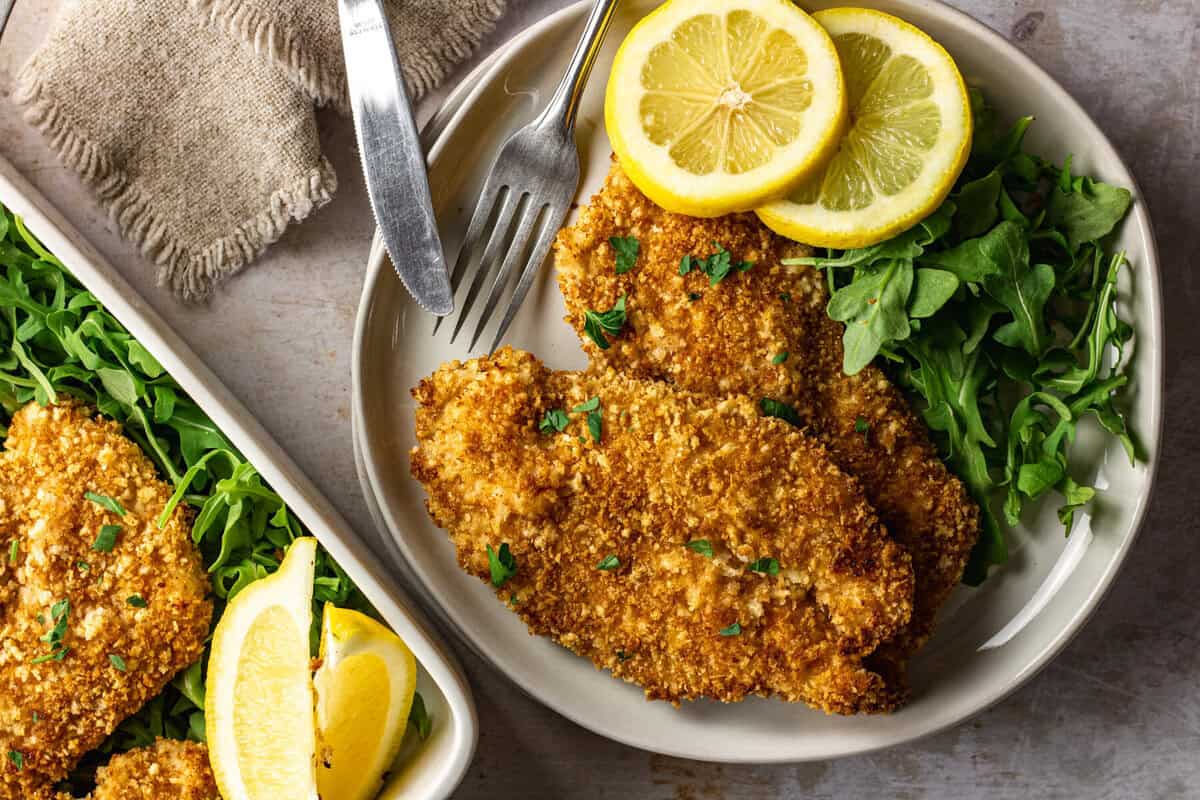
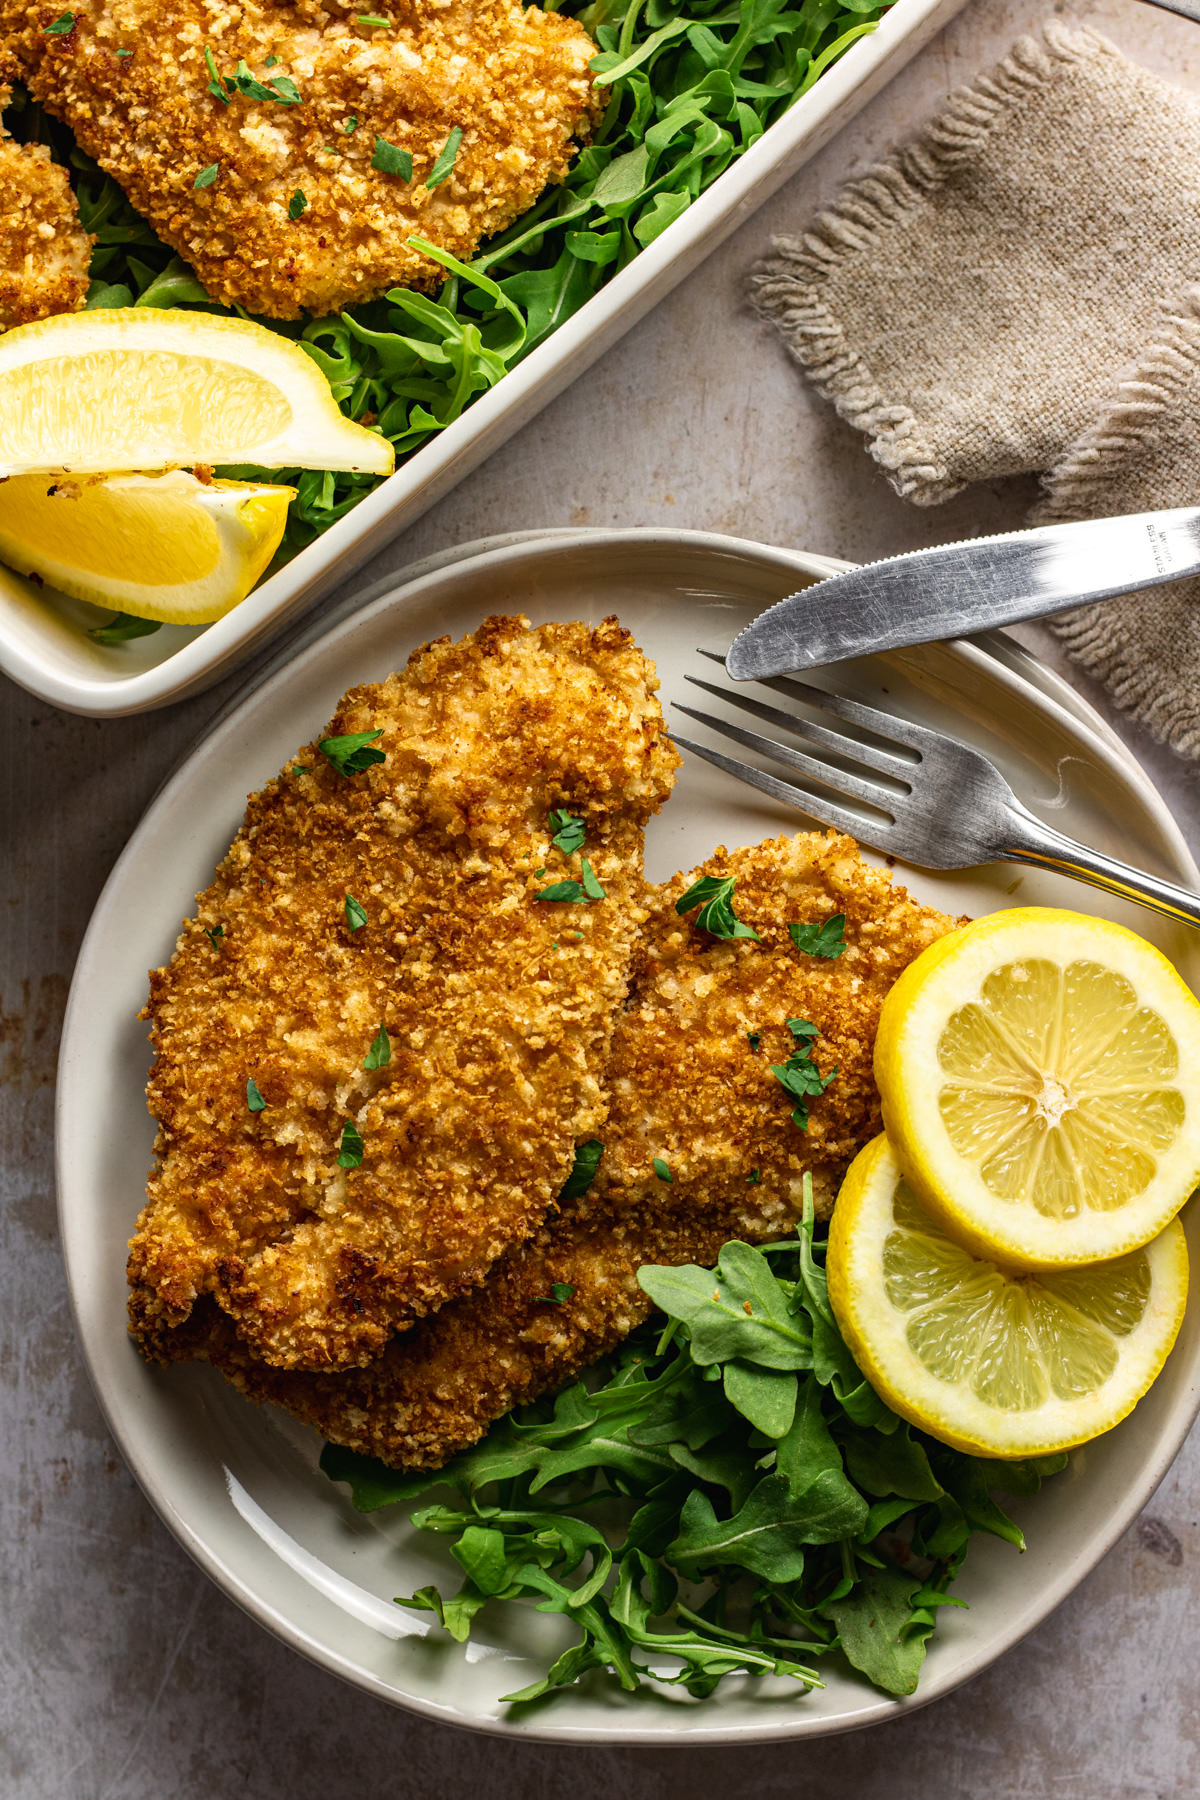
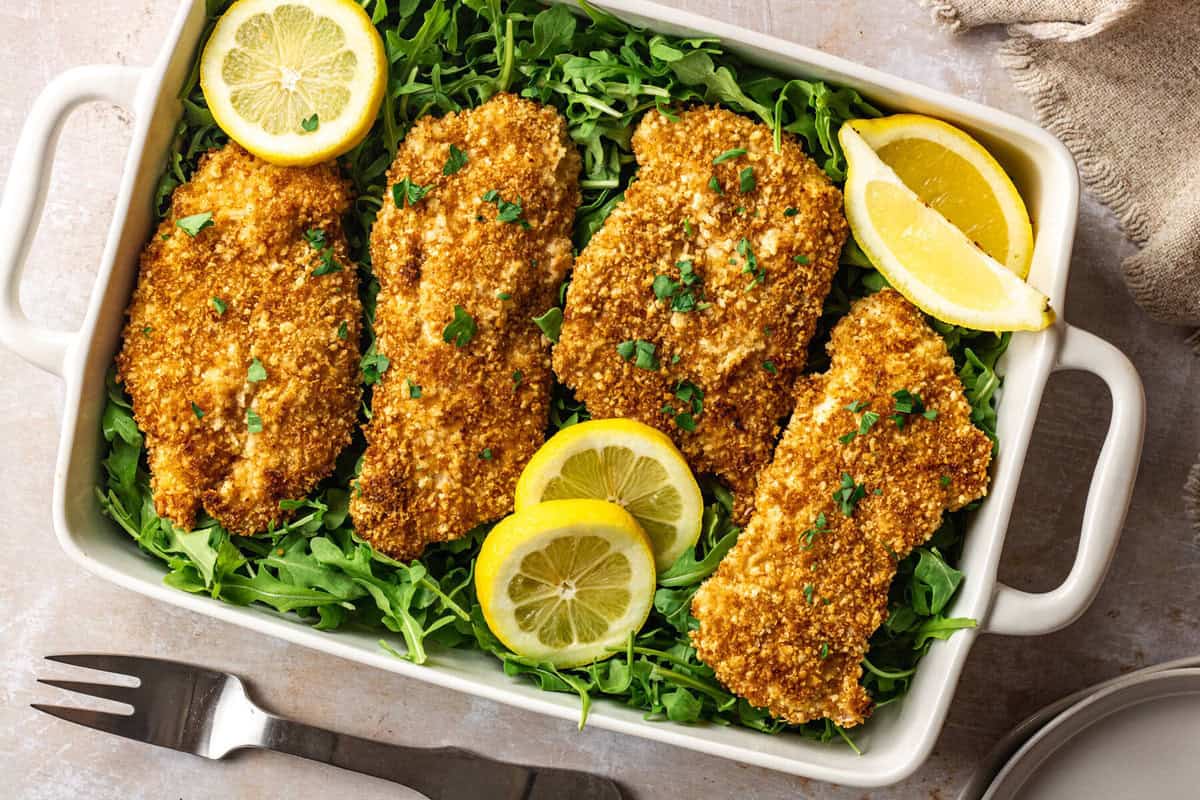
This Crispy Oven Baked Panko Chicken is the best way to make crispy chicken cutlets without any frying! Toast your panko breadcrumbs and prep a batch of baked panko chicken and use for salads, sandwiches and wraps.
If you like this crispy panko chicken recipe, you should also try these shake and bake pork chops or oven baked chicken tenders.
no frying
great for Meal prep
Quick Look: Oven Baked Panko Chicken
- ⏱️ Prep Time: 15 minutes
- 👩🍳 Cook Time: 25 minutes
- 🕖 Total Time: 40 minutes
- 🍗 Servings: 4 servings
- ⚡️ Calories: 409 calories per serving (based on nutrition panel)
- 🔥 Cooking Method: Toast panko, bread chicken and bake in oven at 425F
- 🛒 Main Ingredients: chicken breast, panko breadcrumbs, flour and egg
- ⭐️ Difficulty: Medium. It takes a little extra time to toast the breadcrumbs before breading.
SUMMARIZE & SAVE THIS CONTENT ON
- Quick Look: Oven Baked Panko Chicken
- Why You’ll Love this recipe
- Ingredients You’ll Need
- What is panko made of?
- Ingredient Substitutions
- How to make Oven Baked Panko Chicken
- Mad’s Expert Tips for the Crispiest Oven Baked Panko Chicken 🍗
- Frequently Asked Questions
- Storage, reheating and freezing
- Recipe
Linda left this 5 star review ⭐️⭐️⭐️⭐️⭐️
“these turned out so great! we used them for chicken parm.”
Why You’ll Love this recipe
- So versatile! – There are so many ways to enjoy this crispy chicken! This crispy baked panko chicken is a blank canvas on which you can make incredible recipes. Use it for chicken parmesan, salads, sandwiches, wraps and paninis.
- Crispy on the outside and juicy on the inside – This is the best way to make crispy baked chicken on a busy night because you don’t need to use any messy frying oil to get a crispy crust on the outside of the chicken.
- Easy weeknight dinner – this easy recipe can be prepped ahead of time and then cooked just as you are ready to eat. It makes dinner time a breeze.
- Great for meal prep – This panko chicken recipe can be the blank canvas that you use to build your meal. It is great for meal prep and I especially love having leftovers to use in salads and wraps.
- Serve with your favorite dipping sauce – One of the best ways to eat this is sliced with your favorite dipping sauce. Here are some of my favorites: Roasted Garlic Aioli, Homemade Ranch Dressing, Healthy Copycat Chick-fil-A Sauce, Creamy Honey Mustard Sauce
Ingredients You’ll Need
Here’s a quick look at the simple ingredients you’ll need to make delicious and crispy panko chicken. You can find the full amounts in the recipe card.

- Boneless skinless chicken breast – cut chicken breasts in half and pour lightly for even thickness.
- Panko bread crumbs – panko crumbs are essential for a crispy crust. Using regular breadcrumbs will result in a thinner crust that isn’t as crispy.
- Olive oil – use extra virgin olive oil to toast the bread crumbs before breading the chicken. You can also use a couple tablespoons of butter for an even richer flavor.
- Parmesan cheese – freshly grated parmesan cheese gets mixed with the panko breadcrumbs to add extra flavor.
- Egg – make an egg wash out of a whisked egg and some olive oil.
- All purpose flour – seasoned flour is the first step in the breading process.
- Salt, black pepper, garlic powder, and smoked paprika – add a few teaspoons of seasoning to both the flour and the panko breading mixture to infuse flavor into the entire breading process.
What is panko made of?
Panko are breadcrumbs made from steamed, crustless loaves of bread. The bread is processed into flakes and dried out so that it can be packaged.
You can buy panko breadcrumbs plain or seasoned. Italian seasoned panko breadcrumbs are good for recipes like meatballs!
If you love panko crusted chicken, then you should also try this shake and bake pork chop recipe.
Ingredient Substitutions
You can easily make this baked panko chicken gluten free by using a 1:1 gluten free flour mix in place of the all purpose flour. You can also use a gluten free panko mixture that is available at many stores.
If you are allergic to eggs you can use whole milk whisked with oil in place of the oil and egg mixture. To make an extra tender juicy chicken, add a splash of pickle juice to the milk. Lastly, if you prefer you can use a boneless skinless chicken thighs in place of chicken breasts although cook times will vary.
Be sure to use an instant-read thermometer to check the internal temperature of the chicken.
Save time by buying pre sliced chicken cutlets at the store. These are chicken breasts that are already thinly sliced and ready to be breaded. They may cook faster which will also save time when making this easy weeknight dinner.
Add more flavor to the chicken breading by mixing some mayonnaise or dijon mustard in with the eggs for the wet mixture. You could also add onion powder, garlic powder or even cayenne pepper to the dry mixture.
How to make Oven Baked Panko Chicken
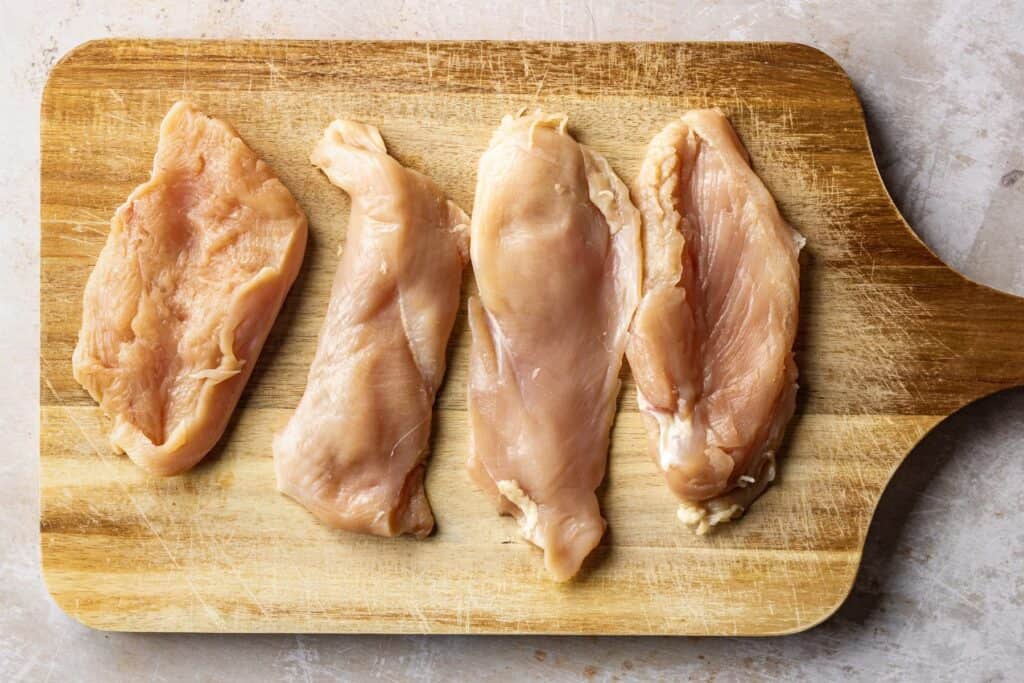
Step 1: Toast the panko breadcrumbs until crispy. Cut the chicken breasts into fillets with a sharp knife and pound thin under a piece of plastic wrap with a meat mallet.
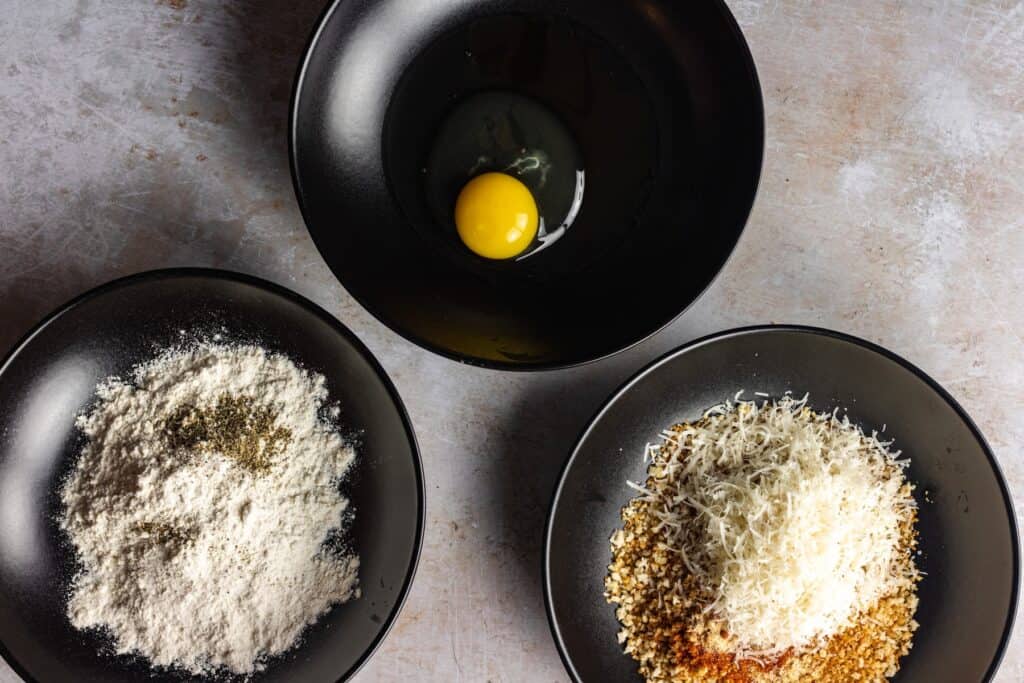
Step 2: Prepare breading station with seasoned flour, egg mixture, and panko with parmesan cheese.
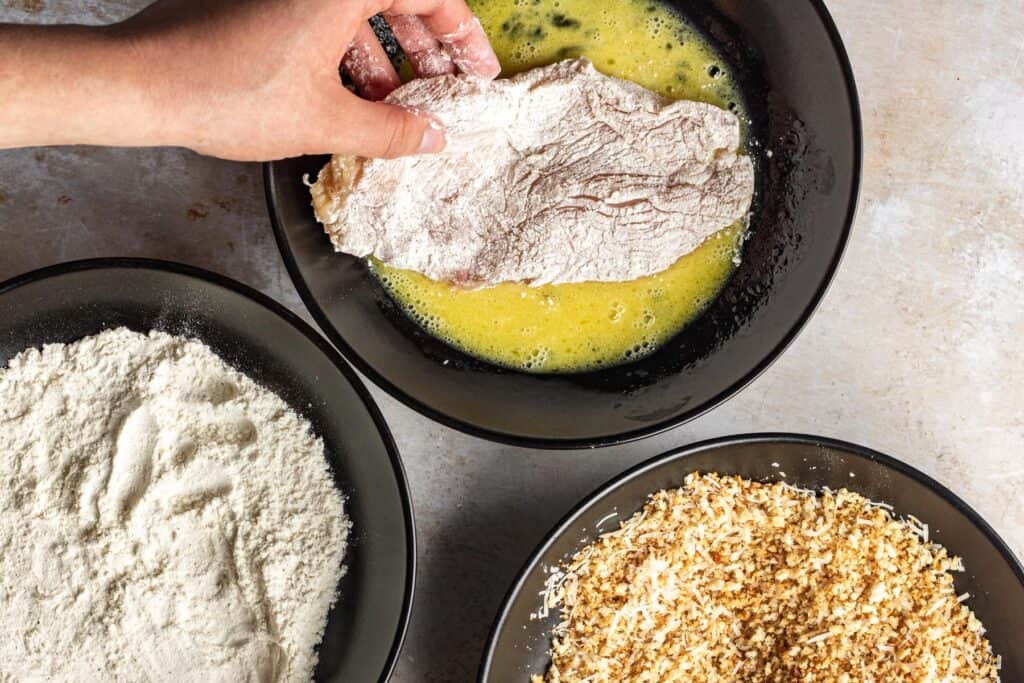
Step 3: Bread chicken cutlets by dipping in flour, then egg and finally the panko mixture. Shake off any excess panko.

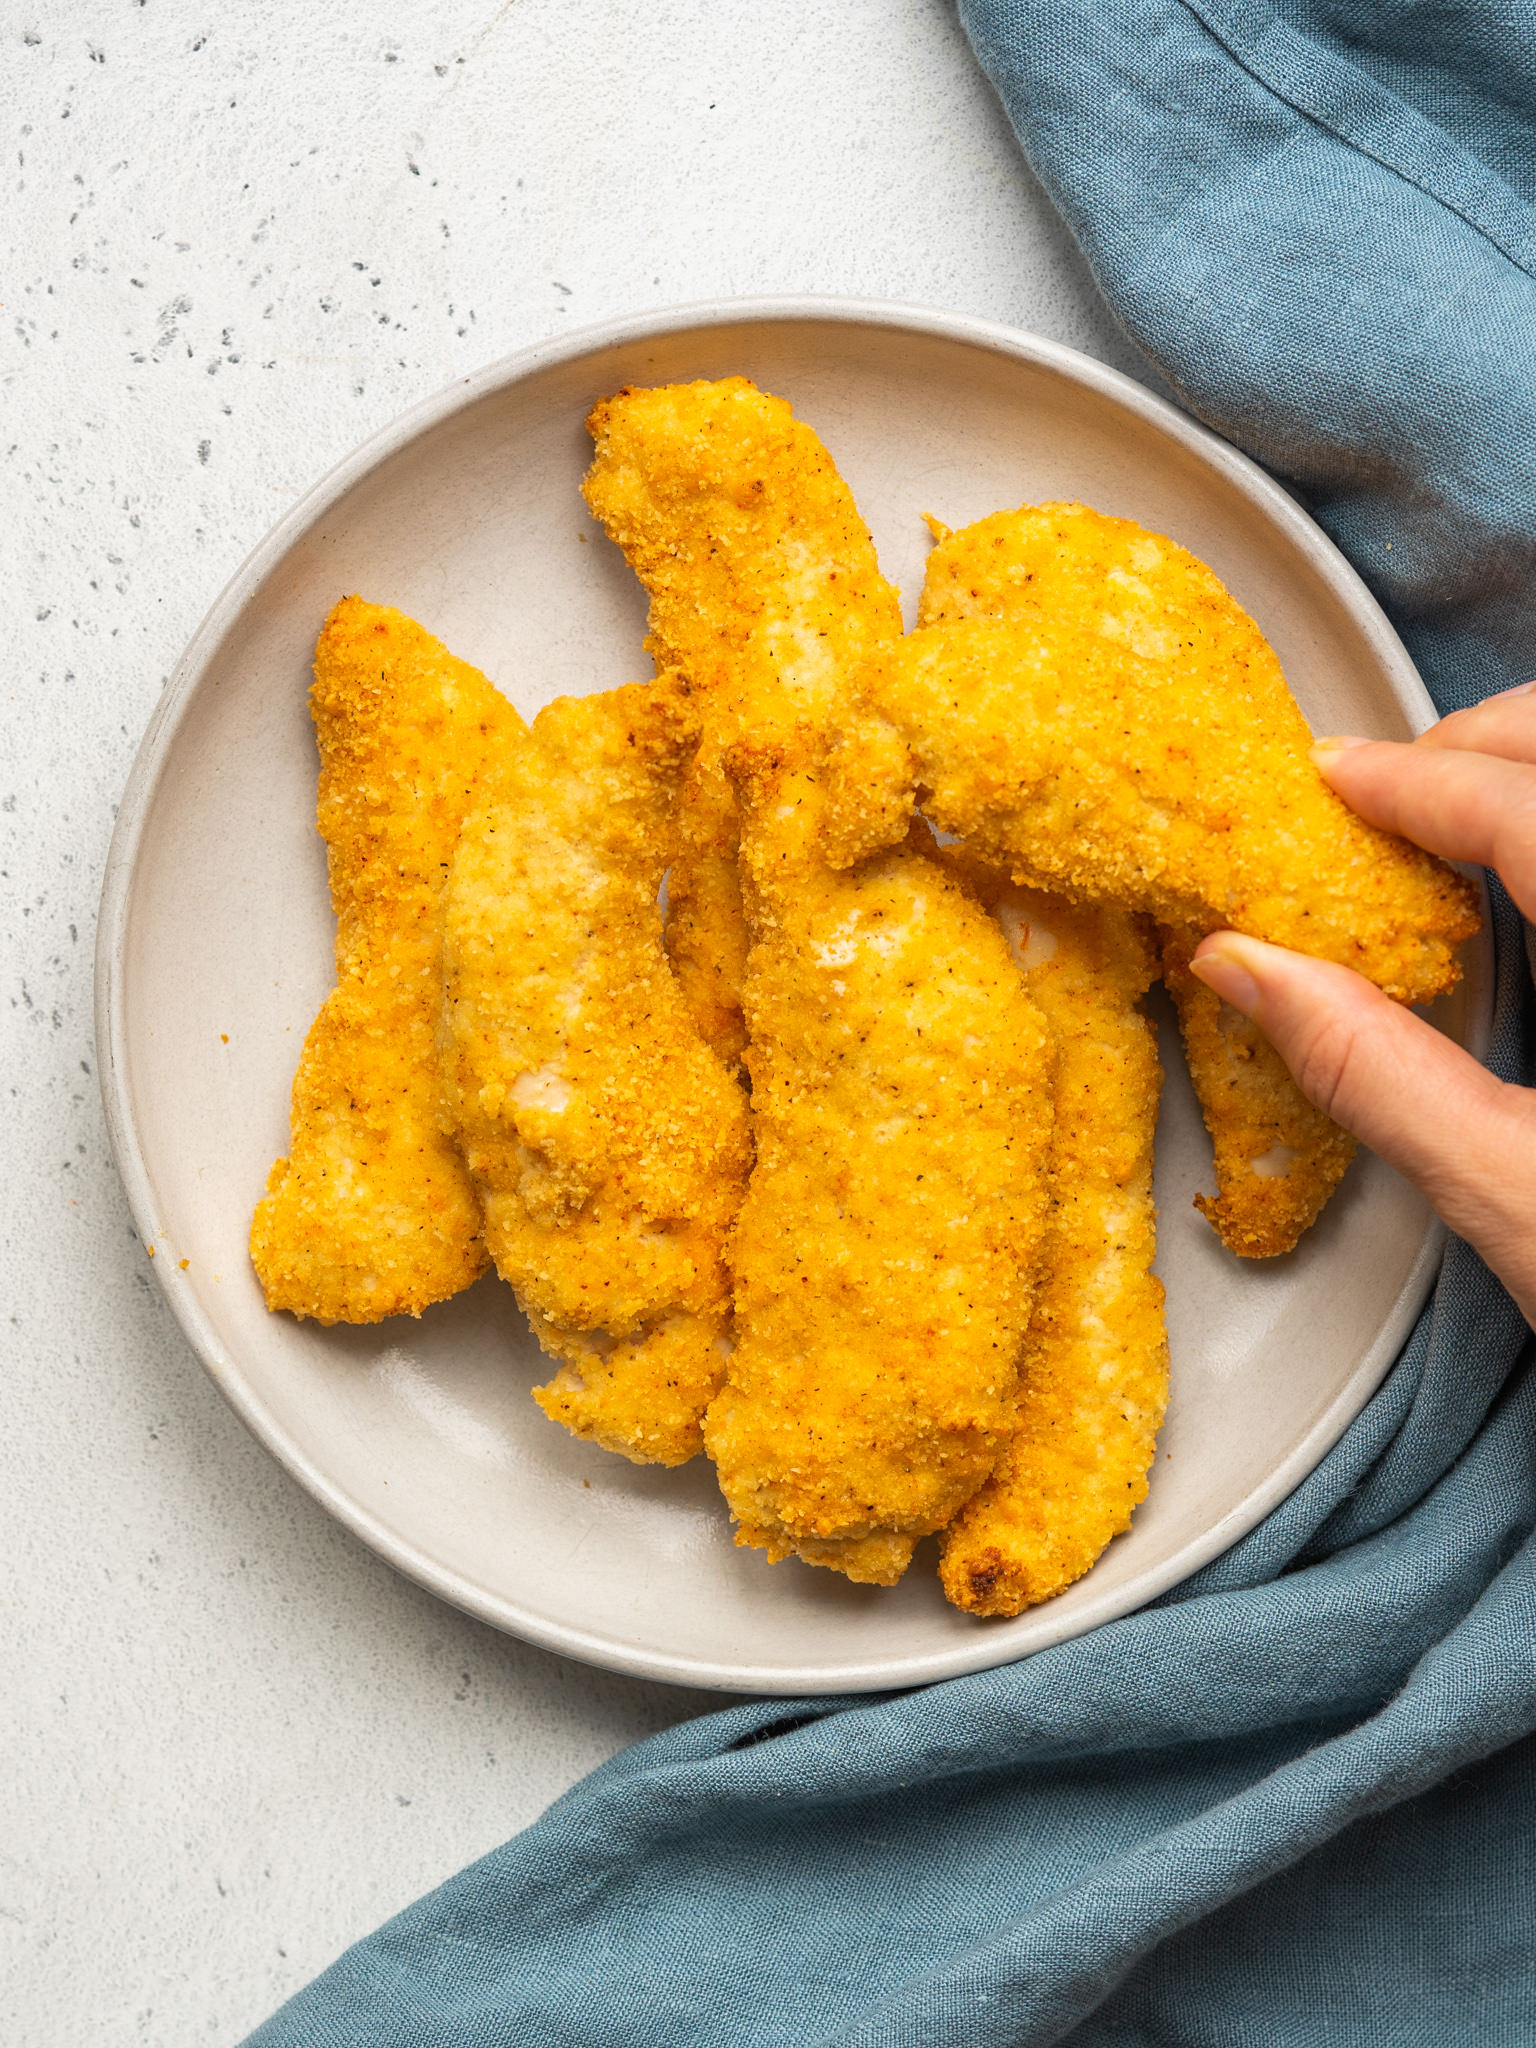
Step 4: Place breaded panko chicken on a single layer on a baking sheet. Bake in the oven at 425F on an unlined baking sheet.
Mad’s Expert Tips for the Crispiest Oven Baked Panko Chicken 🍗
- Toast your panko breadcrumbs until evenly browned -in order for the chicken to get super crispy, it is essential to toast the panko in a little oil before breading the chicken. Take your time and make sure the breadcrumbs are evenly browned for the best results.
- Do not line the baking sheet – Do not use parchment paper or tinfoil to line the baking sheet. Baking the chicken directly on the pan results in super crispy chicken that the whole family will love.
- Allow to cool on a wire rack – if you aren’t eating the chicken cutlets right away, allow them to cool on a wire cooling rack so that the bottom side does not get soggy while cooling.
If you’re looking for another chicken breast recipe that is great for meal prep, try this lemon herb baked chicken recipe.
Frequently Asked Questions
What are the ingredients for panko chicken?
Most commonly panko chicken is made with chicken breast filets, all purpose flour, eggs and panko breadcrumbs. This recipe seasons the flour and adds parmesan cheese to the toasted panko for extra flavor.
What are some common seasonings for panko chicken?
It is most common to season panko chicken cutlets with salt, pepper, and garlic pepper. I also add smoked paprika to my panko chicken for a slightly smoky flavor. You can add even more flavor by adding dried herbs or Italian seasoning to the panko breadcrumbs.
How do I get panko to stick to chicken?
Follow the classic breading process of dipping the chicken cutlets first in the seasoned flour, then the egg mixture, and finally pressing them down firmly into the panko breading. It also helps to add a little oil to the egg to make it extra sticky.
Storage, reheating and freezing
Allow chicken to cool completely and then store leftover panko chicken in an airtight container in the fridge for up to 4 days.You can enjoy the chicken cold from the fridge or reheat in the oven or air fryer until warmed through.
I prefer to use the air fryer at 350F for 5ish minutes to keep the chicken crispy.
You can freeze these panko chicken in an airtight container for up to 3 months. Freeze as soon as it is cooked and cooled to ensure best quality.Defrost it in the fridge and then warm in the oven or air fryer.
Other delicious chicken recipes

If you’re looking for a delicious oven baked recipe thats also vegetarian, try this marinated baked tofu.
Photos were taken by Elly from The Powdered Apron.

You can find the full recipe below. If you make this recipe, please rate and review it in the comments, or share it with me on Instagram!

Email Recipe for Later
Recipe
Crispy Oven Baked Panko Chicken
Ingredients
- 1.5 – 2 lb boneless skinless chicken breasts 2-3 breasts
- 1 cup panko bread crumbs
- 1 tbsp + 1/2 tbsp olive oil
- 1/2 cup freshly grated parmesan cheese
- 1 tsp garlic powder
- 1/8 tsp smoked paprika
- 1 egg
- 1/2 cup all purpose flour
- 1/2 tsp salt
- 1/4 tsp black pepper
Instructions
- Preheat oven to 425F. Heat 1/2 tbsp of olive oil in a frying pan over medium heat. Pour panko in the pan and toss to coat in the oil. Toss and stir frequently for 4-5 minutes, careful not to burn the panko. You want the panko to be golden brown and toasted.
- Immediately remove panko from pan and allow to cool in a shallow bowl. While the panko cools, slice the chicken breasts in half through the middle so you have 2 thinner filets.
- Pound chicken until it lays flat, but you don’t want it too thin.
- Mix panko with parmesan cheese, garlic powder and smoked paprika. Crack egg into a separate shallow bowl and whisk with 1 tbsp of olive oil. Pour all purpose flour into a third shallow bowl and mix with salt and pepper.
- Bread chicken by dipping into the flour first, then the egg and finally the panko breading mixture. Press chicken into panko firmly to coat
- Place panko chicken onto a lightly greased sheet pan. Bake at 425F for 10 minutes, flip chicken and bake for another 5-8 minutes or until the internal temperature reaches 165F. Transfer baked chicken to a wire rack so it remains crispy. Serve immediately!
Recipe Notes
- Freshly grated parmesan cheese will melt better while the chicken bakes
- You must toast the panko breadcrumbs before using them otherwise the chicken will not be as crispy
- Do not line your baking sheets before baking. The chicken will be crispier if you bake it directly on a baking sheet.
- If you are not eating the panko chicken immediately, allow it to cool on a wire rack so that the bottom side does not get soggy
Nutrition Information
This website provides approximate nutrition information for convenience and as a courtesy only. Nutrition data is gathered primarily from the USDA Food Composition Database, whenever available, or otherwise other online calculators.


Leave a Reply