
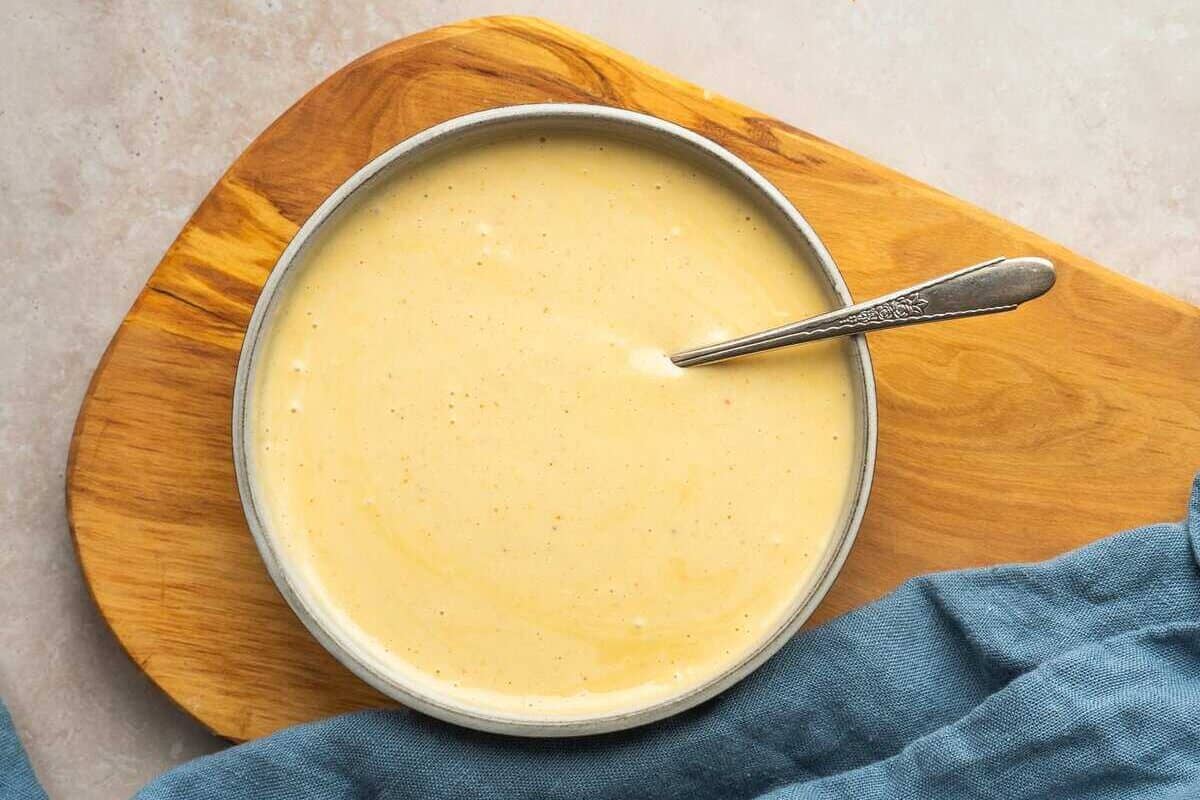
Make a Roasted Garlic Aioli to spread on sandwiches or to use as a flavorful dip for veggies, chips, fries, and more. Roast whole heads of garlic in the oven and then blend with a few simple ingredients into a creamy and tangy dip!
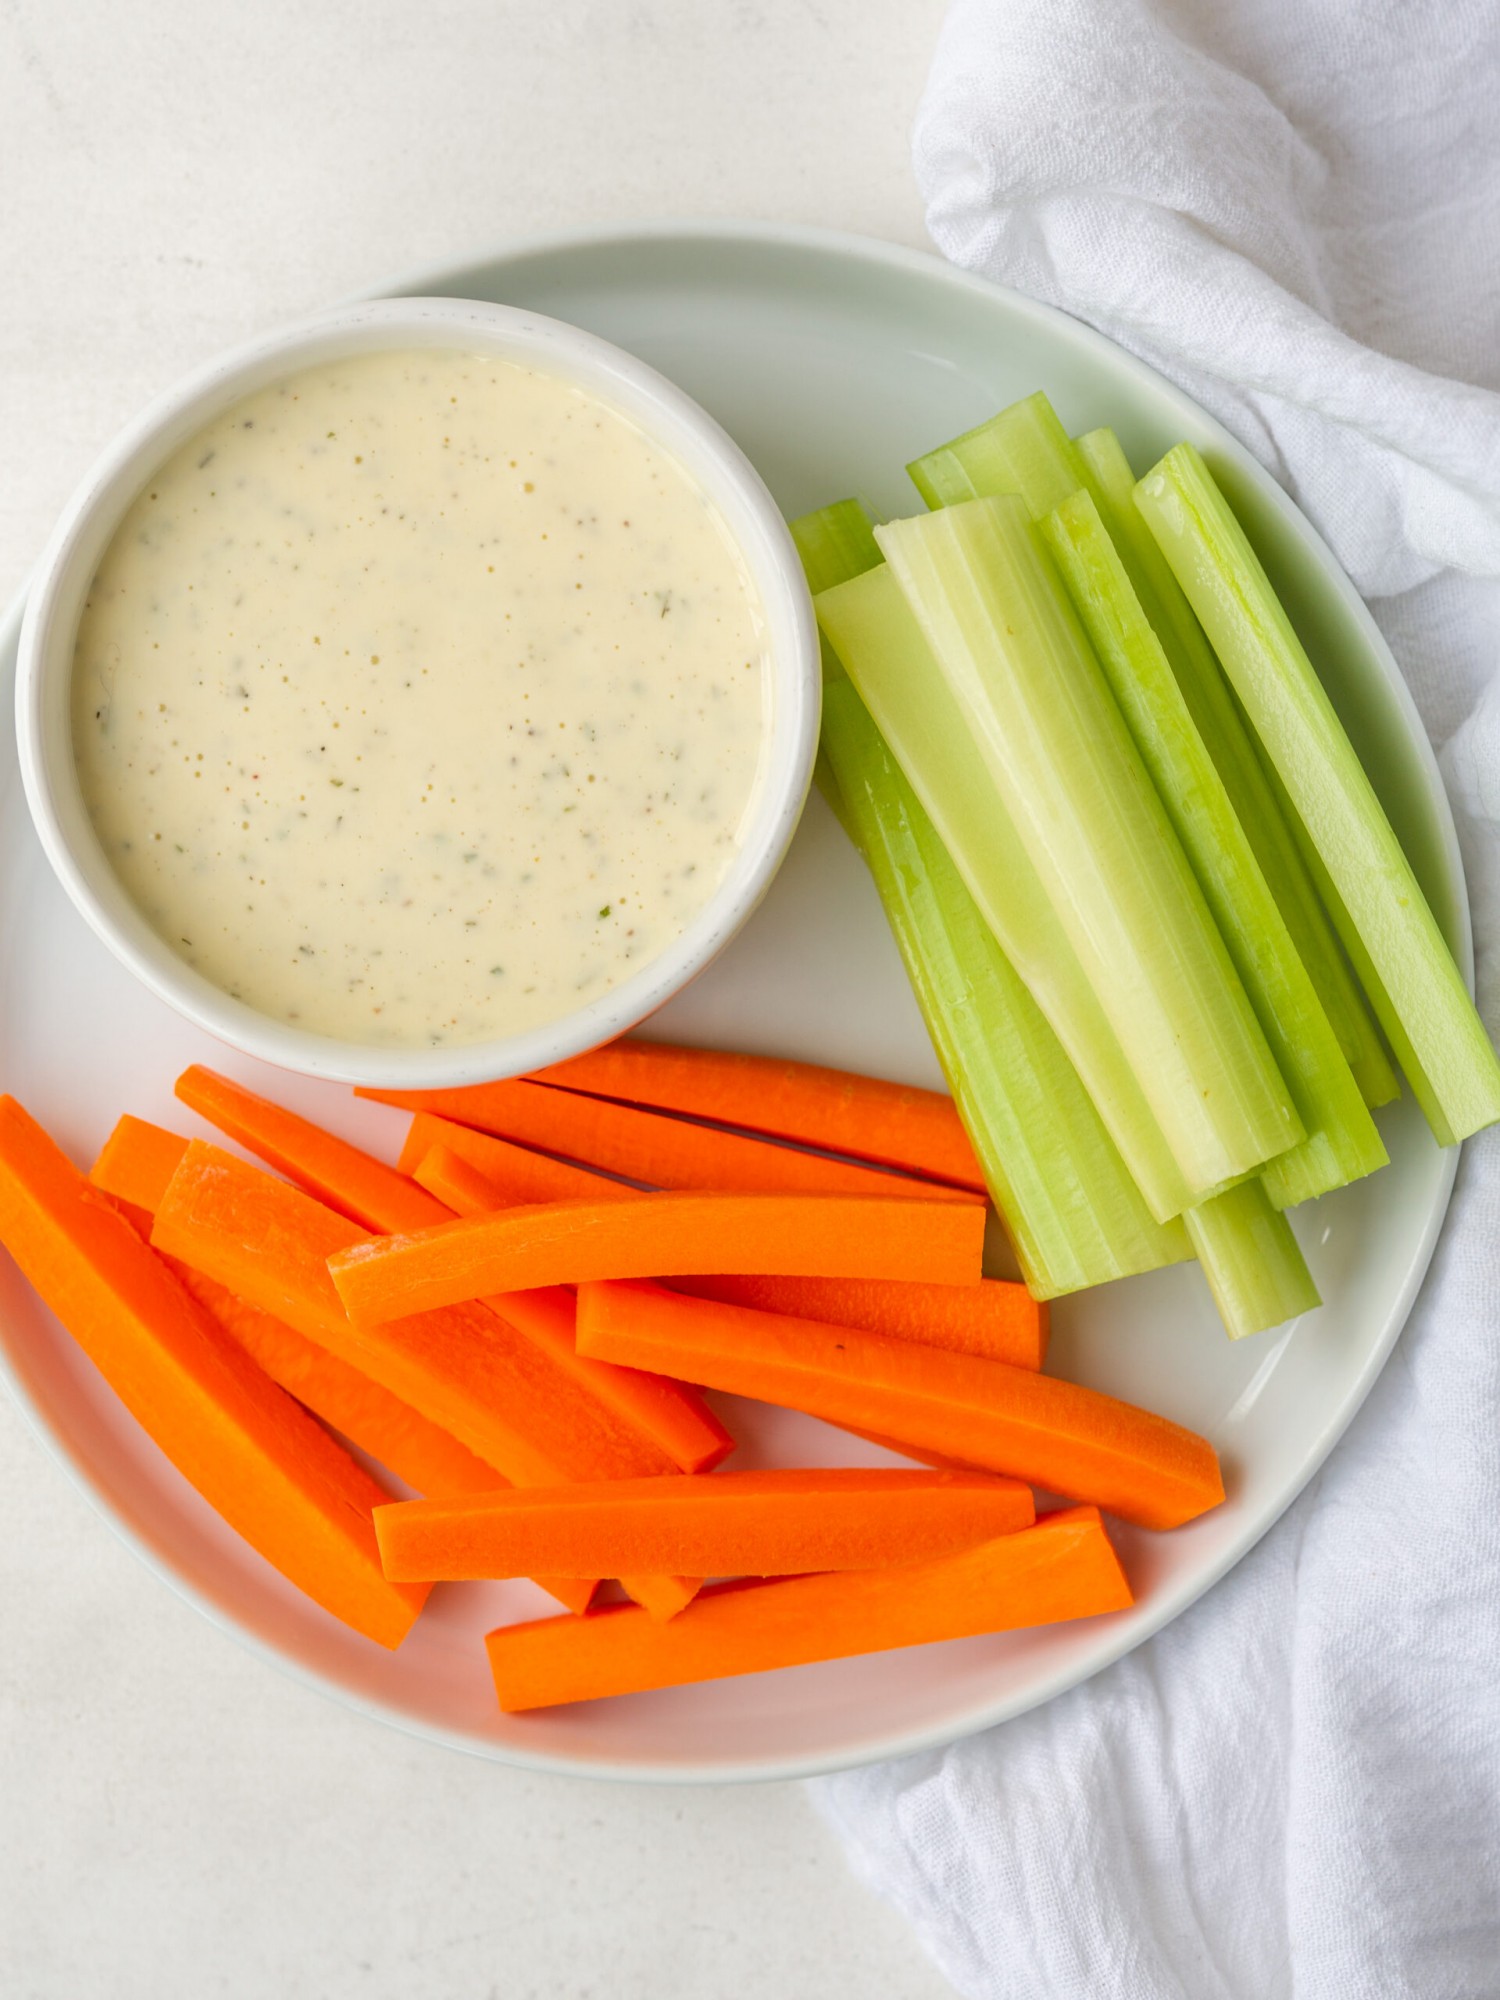
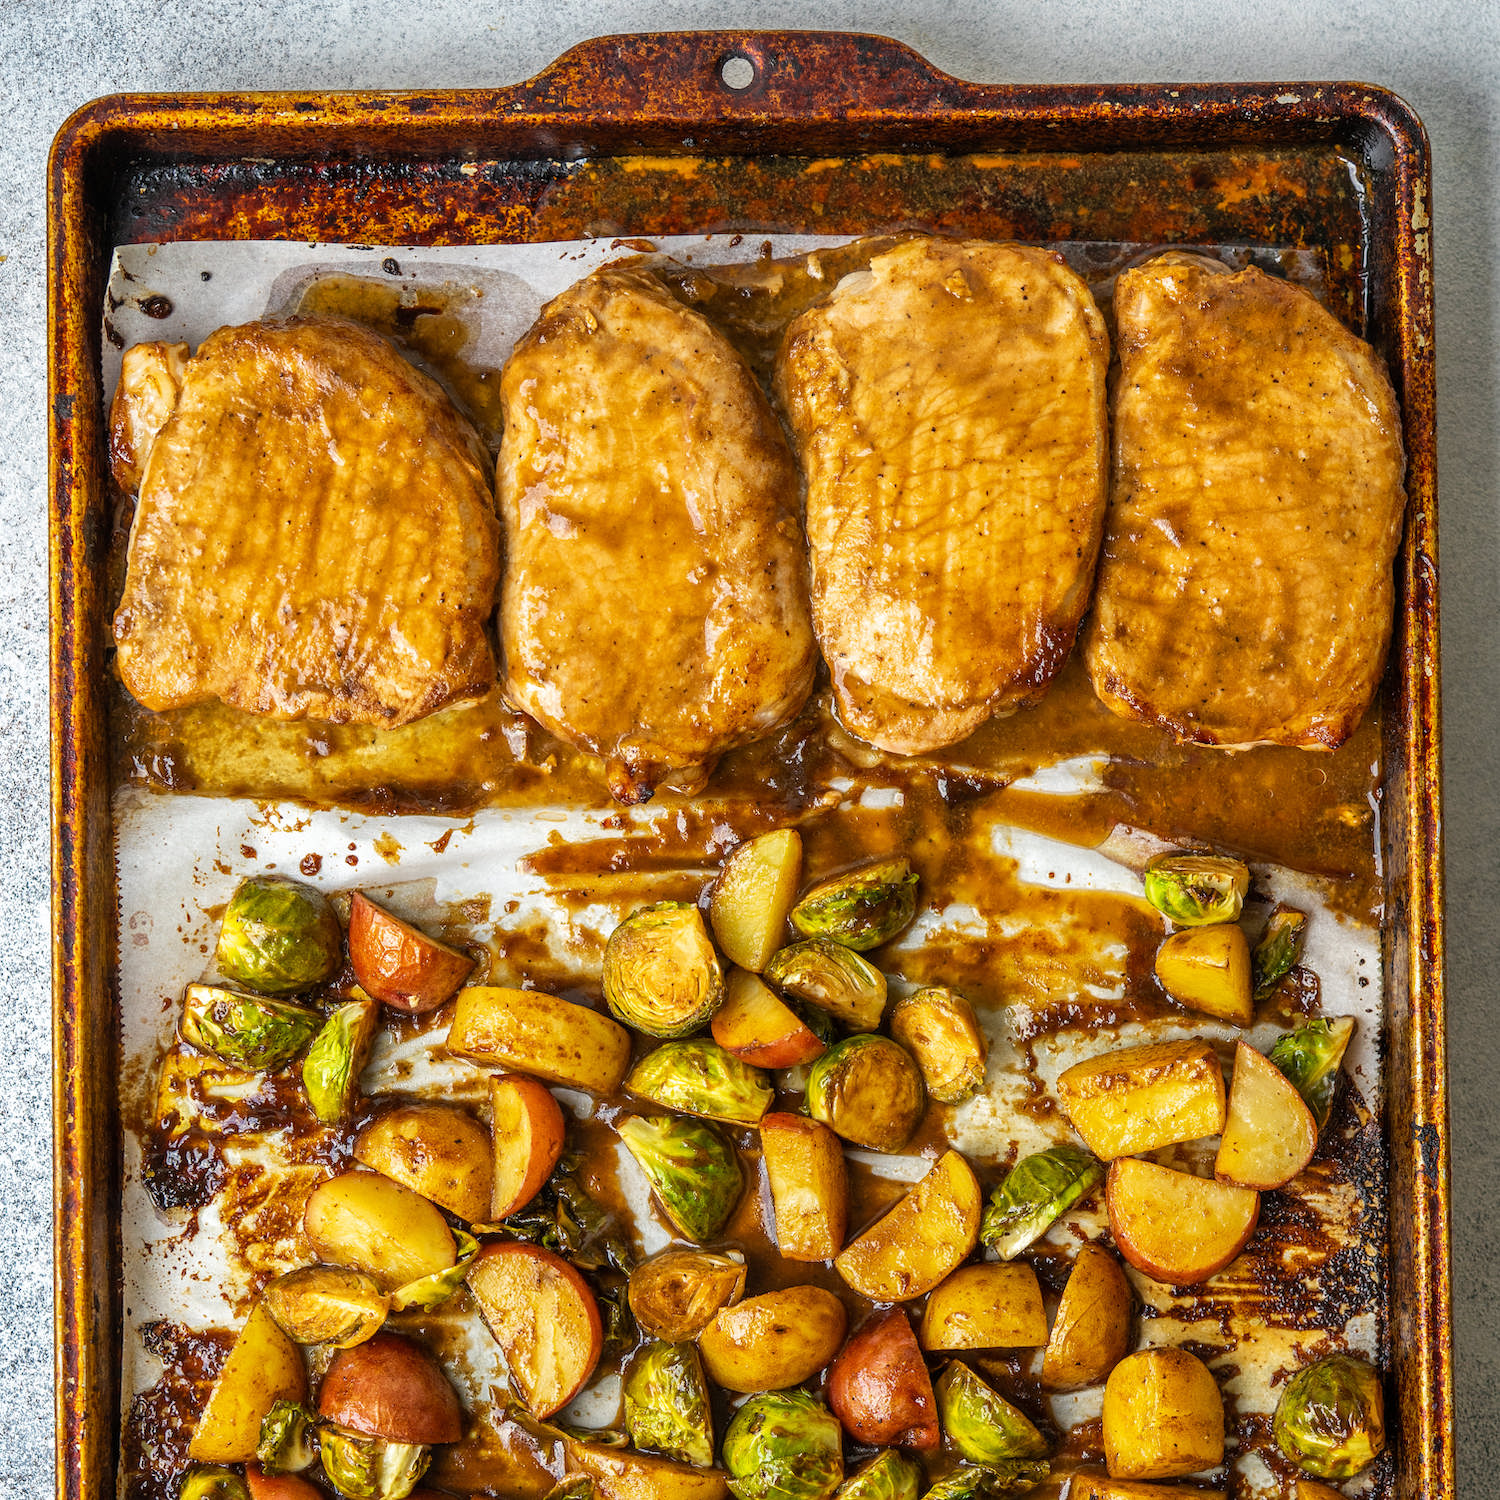
It’s great as a dipping sauce for oven baked chicken tenders, crispy baked french fries or air fryer sweet potato wedges.
Quick
Extremely easy
Quick Look: Roasted Garlic Aioli
- ⏱️ Prep Time: 10 minutes
- 👩🍳 Cook Time: 50 minutes
- 🕖 Total Time: 60 minutes
- 🧄 Servings: 12 servings
- ⚡️ Calories: 140 calories per serving (based on nutrition panel)
- 🔥 Cooking Method: Roast garlic and blend ingredients together
- 🛒 Main Ingredients: Garlic, mayo, lemon juice
- ⭐️ Difficulty: Extremely easy! This is a simple way to make a delicious dip.
SUMMARIZE & SAVE THIS CONTENT ON
Julie left this 5 star review ⭐️⭐️⭐️⭐️⭐️
“Madeline – this roasted garlic aioli is absolutely delicious, especially when I paired it with your air fryer sweet potato wedges.“
Why you’ll love this recipe
- Great on everything – I love to use this aioli to spread on sandwiches or to use as a dip for French fries. It is so versatile!
- Meal prep hero – Add this roasted garlic aioli to your weekly meal prep! You’ll be thanking yourself all week long because it will make everything taste better.
- Money saver – Quality aiolis can get so expensive at the store. Use affordable ingredients to make the best version of roasted garlic aioli at home!
If you are looking for a delicious meal to serve this aioli on, try putting it on greek turkey burgers!
Ingredients You’ll Need
Here’s a quick look at the ingredients you need to make this roasted garlic aioli. For a full list of ingredients and amounts please head to the full recipe.
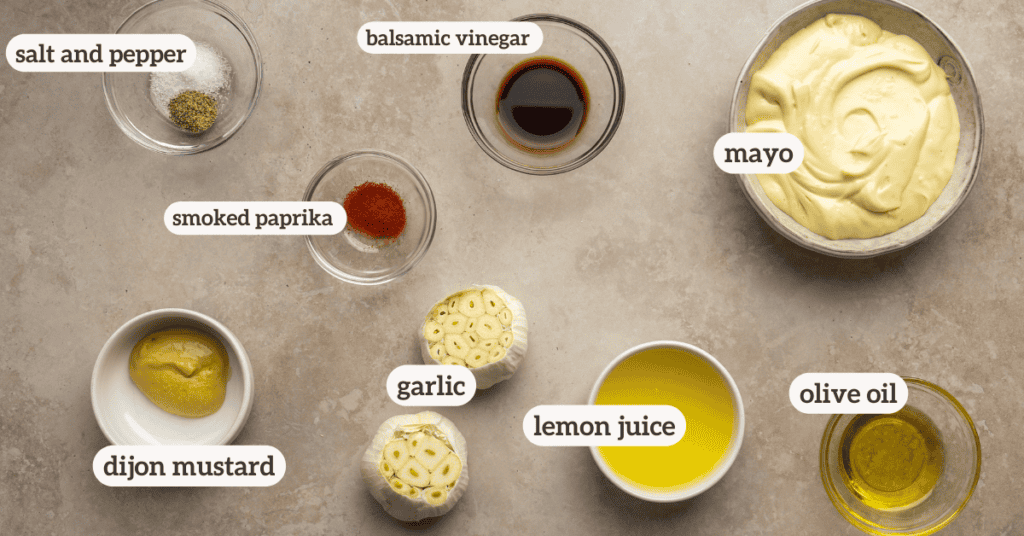
- Heads of garlic – for this recipe, you will roast whole heads of garlic. No peeling or chopping!
- Olive oil – I used extra virgin olive oil, but any oil will work
- Mayonnaise – the mayo is the base of the aioli that gives it the creamy texture
- Lemon juice – the lemon brightens up the aioli flavor
- Dijon mustard – dijon adds a gentle but delicious mustard flavor to your dip
- Smoked paprika – I love using smoked paprika but regular paprika works too
- Balsamic vinegar – balsamic adds a bit more acid and tanginess for the perfect taste
Want to make your own mayo to use for this recipe? You can try my homemade One Minute Mayo.
How to make a roasted garlic aioli recipe
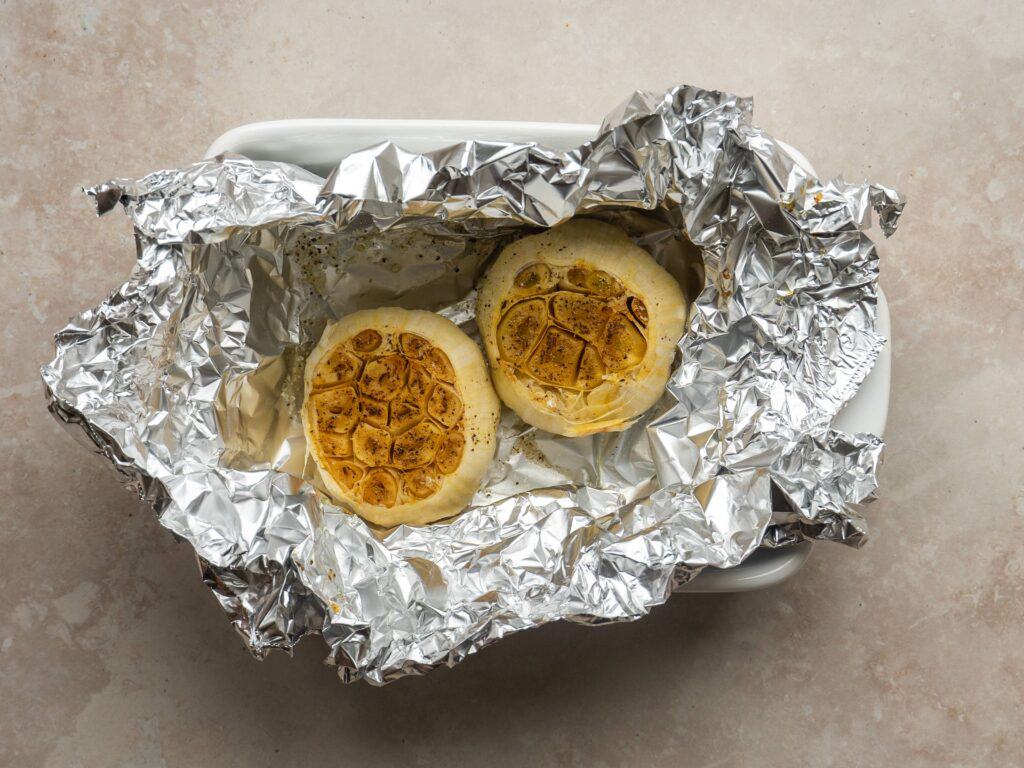
Step 1: Drizzle olive oil over the top of the heads of garlic and season with salt and pepper and then roast in the oven.

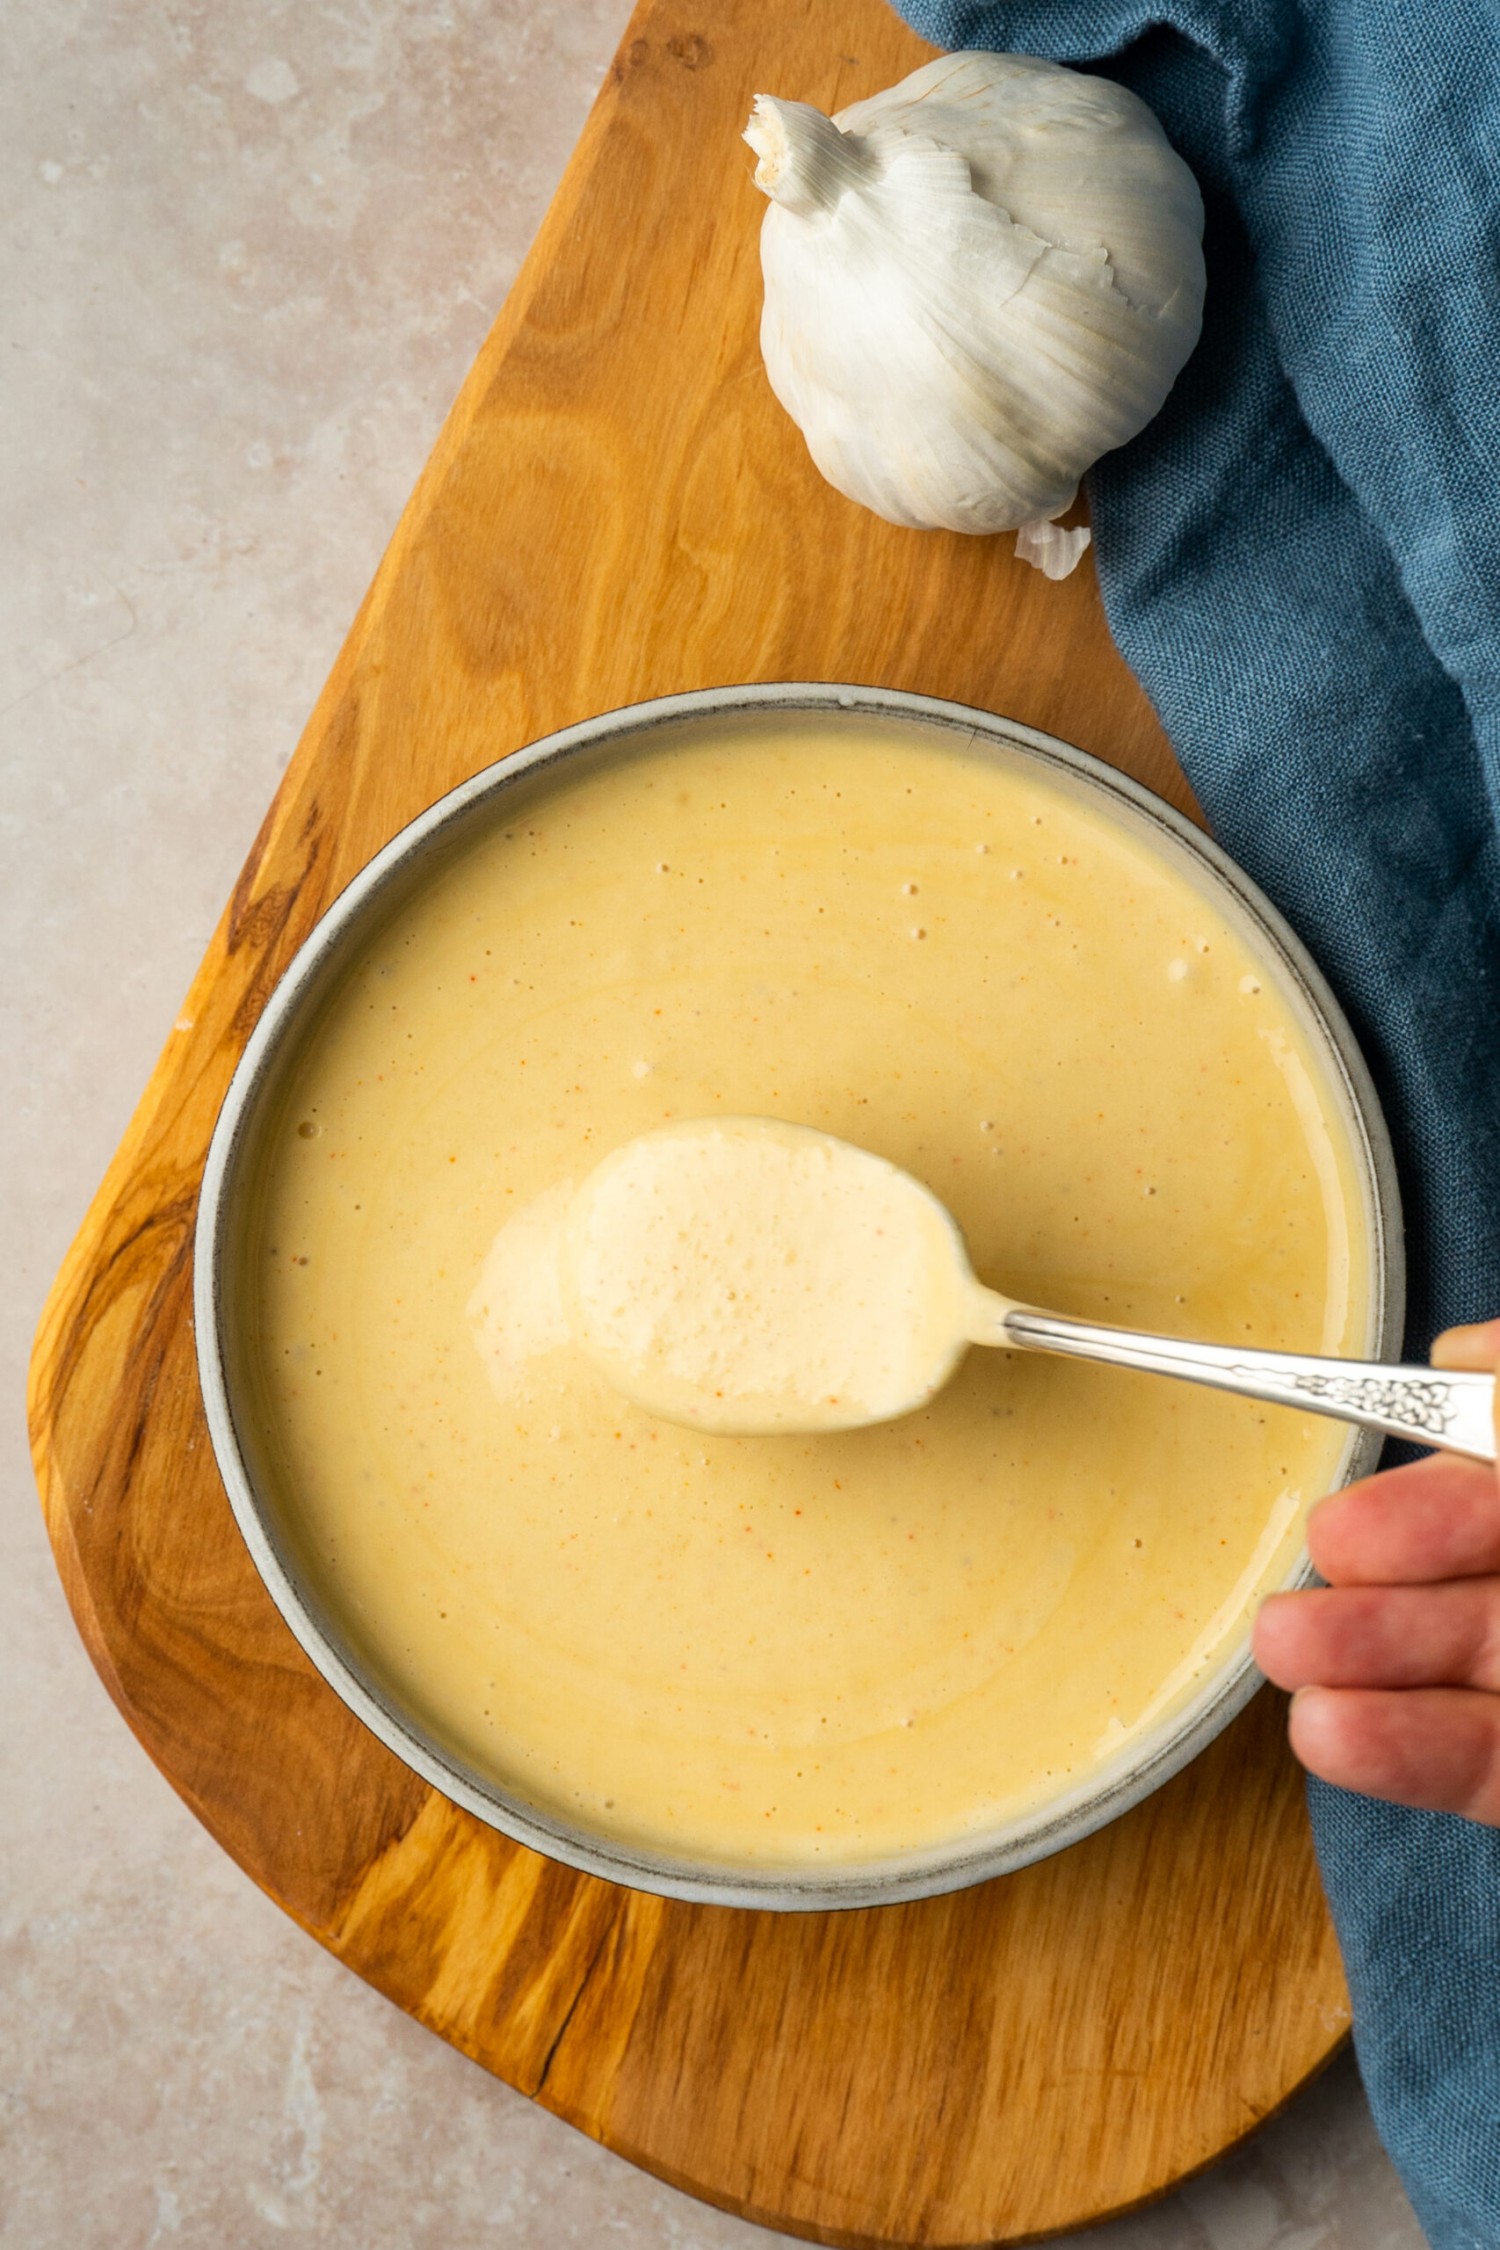
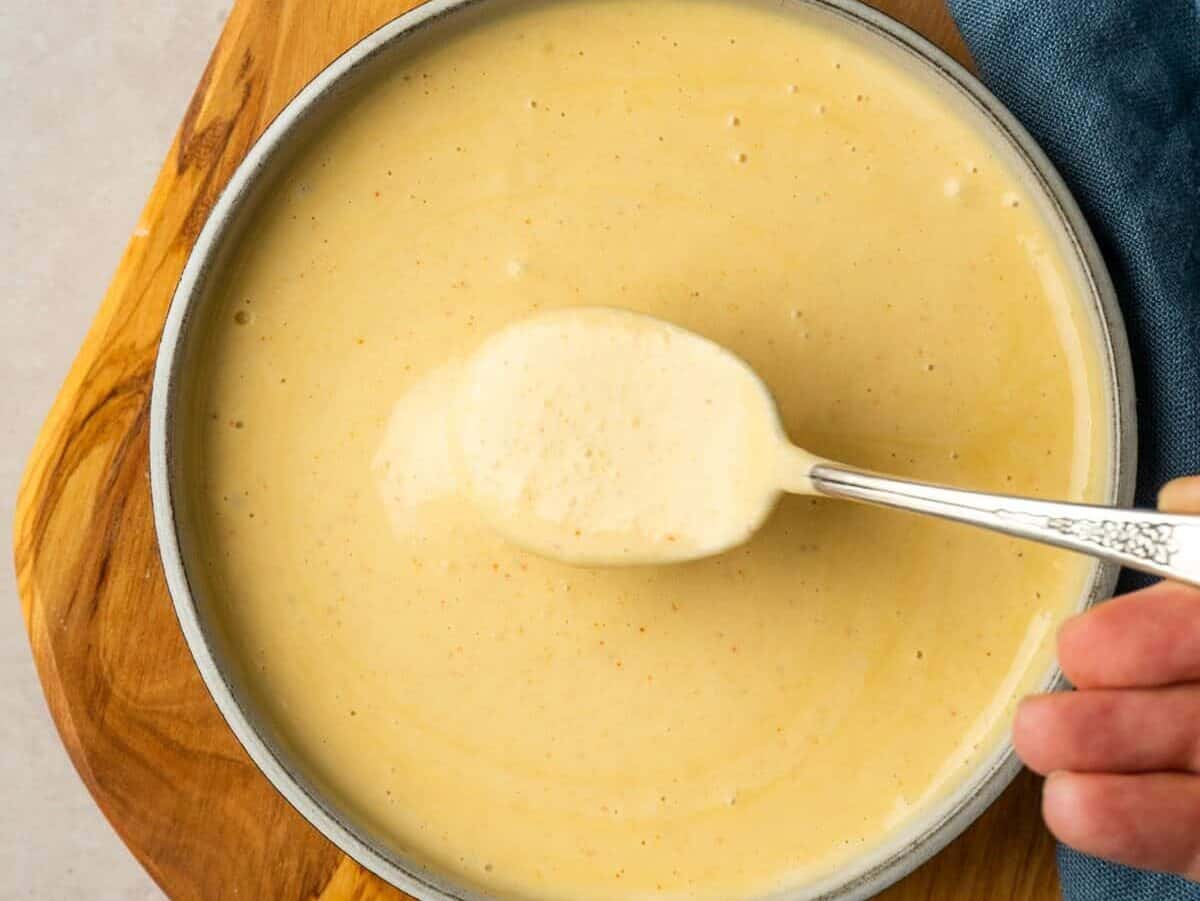
Step 2: Add the mayonnaise, lemon juice, dijon mustard, smoked paprika, balsamic vinegar, and garlic to a food processor.

Step 3: Blend and process until a smooth and even mixture remains.
Mad’s Expert Tips for the Best roasted garlic aioli 🧄
- Try making your own mayo – With my one minute mayo, making mayo at home is easy! You blend egg and oil until the egg yolks go through emulsion, which means they’ve thickened and fully combined. Then I just add a little lemon and some spices.
- No vinegar? No problem – Instead of the balsamic vinegar, you could try worcestershire sauce. It will be a little less tangy and add a bit of umami.
- Get creative – You can make so many variations of this aioli. To spice it up, you could add some cayenne pepper, or you could even whisk in a dash of sriracha. For an herby aioli, you could add something like rosemary or basil.
For another fun dip, try this homemade spicy mayo.
Recipe FAQs
What is roasted garlic aioli made of?
Garlic, olive oil, mayo, lemon juice, dijon mustard, balsamic vinegar, and some simple seasonings come together to make this delicious roasted garlic aioli.
Is there raw egg in aioli?
No, there is not unless the mayo you use has raw eggs.
What do you eat garlic aioli with?
I love to use this aioli to spread on sandwiches or to use as a dip for French fries, veggies, or chips. It is really versatile.
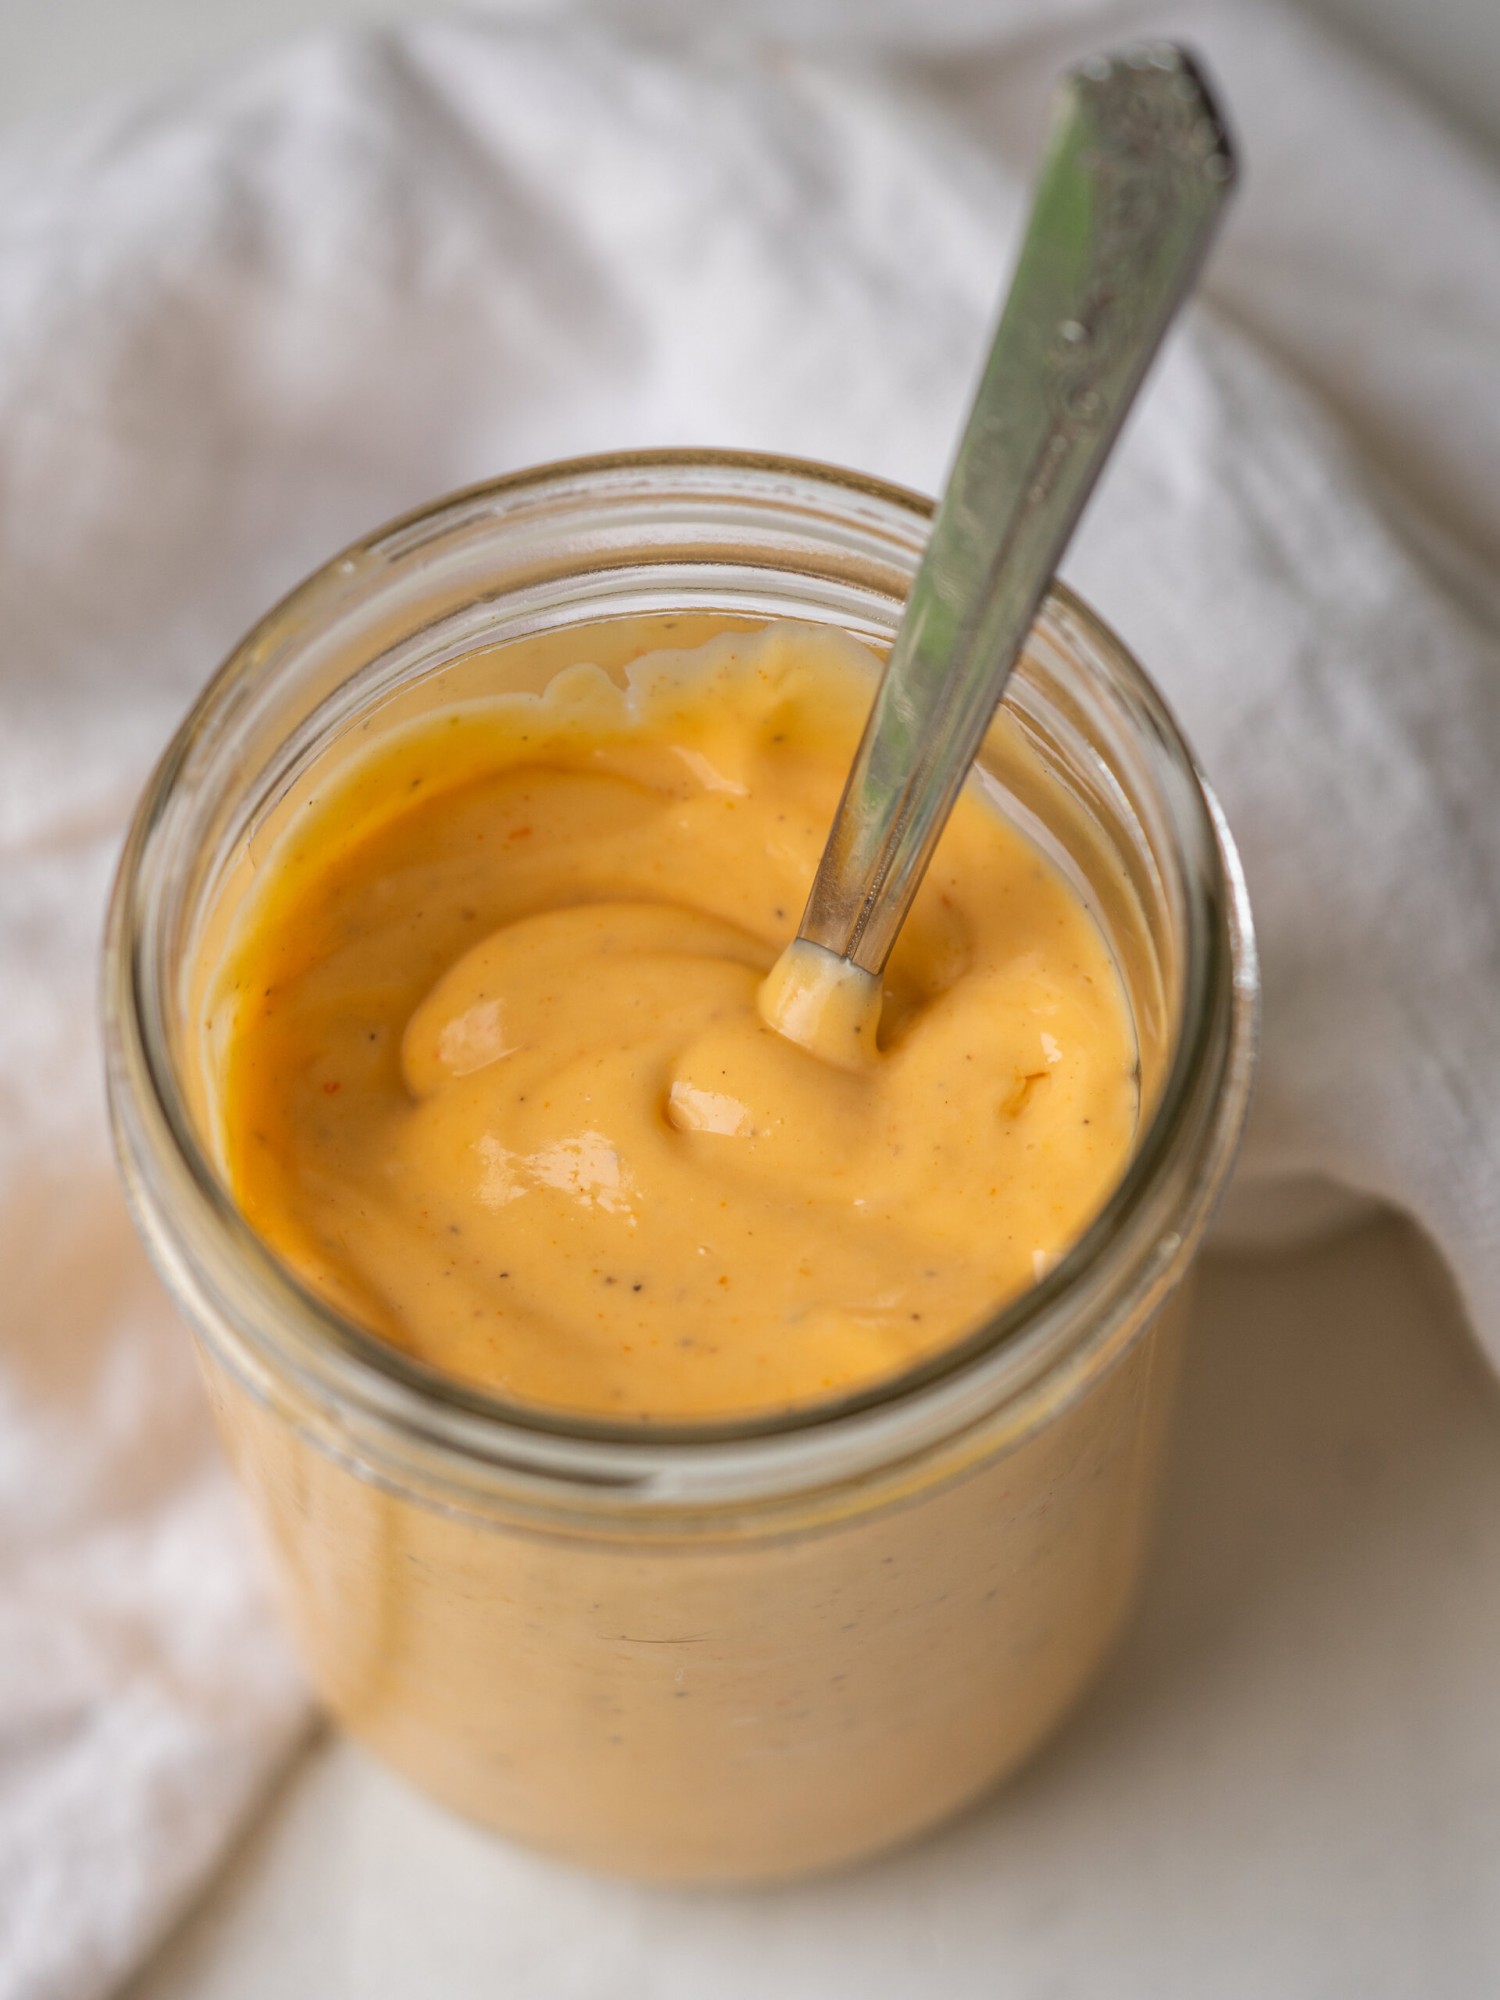
Storage
Once prepared, transfer the roasted garlic aioli to an airtight container. Store in the fridge for up to 2 weeks. Use this flavorful condiment as a dip or to spread on sandwiches.
Other Delicious Sauces and dips

You can find the full recipe below. If you make this recipe, please rate and review it in the comments, or share it with me on Instagram!

Email Recipe for Later
Recipe
Roasted Garlic Aioli
Ingredients
- 2 heads of garlic
- 1 tbsp olive oil
- 1/4 tsp salt
- 1/8 tsp pepper
- 1 cup mayonnaise
- 1/4 cup lemon juice
- 1 tbsp dijon mustard
- 1/4 tsp smoked paprika
- 1 tsp balsamic vinegar
Instructions
- Preheat oven to 400F. Slice off about 1/2 inch of the top of 2 full heads of garlic. Drizzle olive oil over the top of the heads of garlic and season with salt and pepper. Wrap the heads of garlic in tinfoil and place in a baking dish.
- Roast the heads of garlic in the oven at 400F for 40 minutes. Remove the garlic from the oven and carefully open the tinfoil. Allow the roasted garlic heads to cool until you can hold them without them being too hot.
- Add the mayonnaise, lemon juice, dijon mustard, smoked paprika, and balsamic vinegar to a food processor. Squeeze the roasted garlic cloves out of the heads of garlic and into the food processor.
- Turn on the food processor and process until a smooth and even mixture remains. Transfer to a glass storage container and store in the refrigerator.
Recipe Notes
- You can either use store bought mayo or make your own. With my one minute mayo, making mayo at home is easy! You blend egg and oil until the egg yolks go through emulsion, which means they’ve thickened and fully combined. Then I just add a little lemon and some spices.
- Instead of the balsamic vinegar, you could try worcestershire sauce. It will be a little less tangy and add a bit of umami.
- You can make so many variations of this aioli. To spice it up, you could add some cayenne pepper, or you could even whisk in a dash of sriracha. For an herby aioli, you could add something like rosemary or basil.
Nutrition Information
This website provides approximate nutrition information for convenience and as a courtesy only. Nutrition data is gathered primarily from the USDA Food Composition Database, whenever available, or otherwise other online calculators.


Leave a Reply