Download a FREE E-Book with 20 Easy Weeknight Dinners
  • Facebook
  • Instagram
  • Pinterest
  • YouTube
  • TikTok
About
Lifestyle
Favorite Products
Contact
Mad About Food
  • Christmas
  • All Recipes
  • 30 Minute Meals
  • Meal Prep
  • High Protein
    • Facebook
    • Instagram
    • Pinterest
    • YouTube
    • TikTok
Search

Trending:

Christmas🎄
30 Minute Meals
High Protein
Air Fryer
One Pan
Meal Prep
Breakfast
Home / Recipes

Peppermint Mocha Latte Syrup

Jump to Recipe

By: Madeline Tague

Updated: November 28, 2025

This site may contain affiliate links. Please read my disclosure policy.

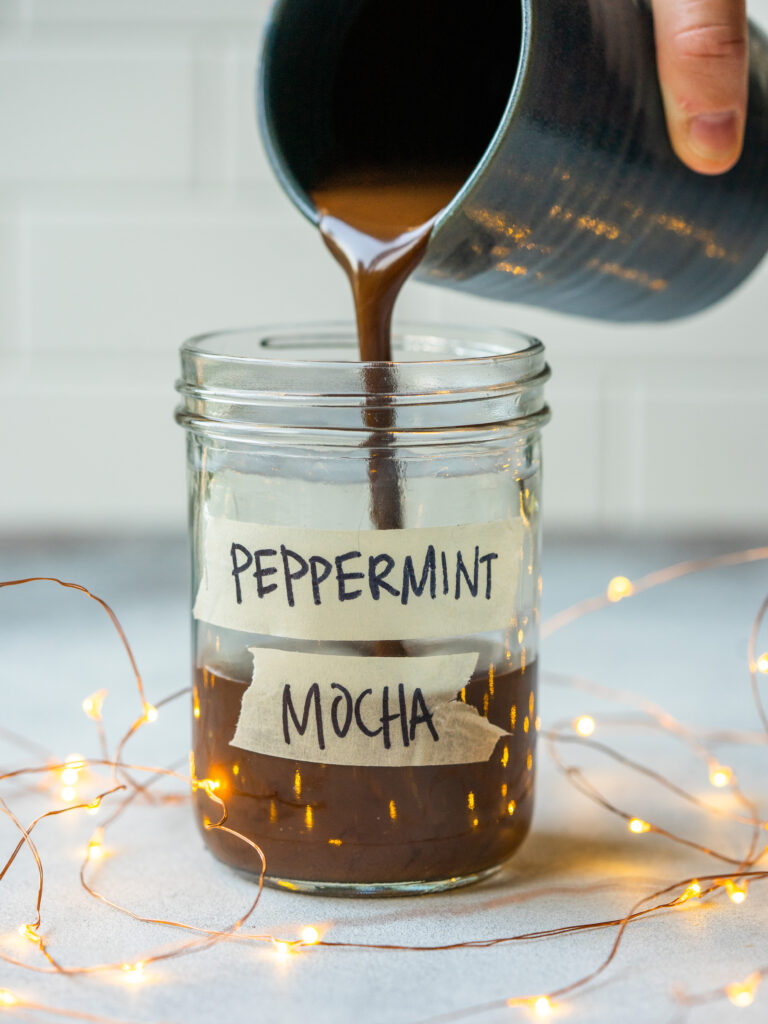
Make a cozy latte with this homemade Peppermint Mocha Latte Syrup. Save money and make a Starbucks peppermint mocha at home.

Side view of a peppermint mocha syrup pouring into a glass jar

Weeknight-easy

Beginner-friendly

You’ll Learn: How to make Starbucks-style syrup at home with just 5 ingredients

Worth It: Cut your spending, not your enjoyment

Bonus: Tasty on milkshakes and icecream too

side view of a peppermint mocha syrup being poured into a glass jar for storage

Why you’ll Love this Recipe

  • Save money – save time and money by making your favorite fun holiday coffee at home. You can skip the drive through and make a Starbucks peppermint mocha latte at home. I like my homemade version even better!
  • Tastes amazing – Probably the best thing about this syrup is that it tastes amazing!! It has the perfect balance of mint and chocolate flavor with just a touch of salt to deepen the chocolate.
  • Only use simple ingredients – Just use 5 simple pantry ingredients to make this amazing peppermint mocha syrup. Grab some lite coconut milk, brown sugar, unsweetened cocoa powder, peppermint syrup and salt and you are ready to cook!
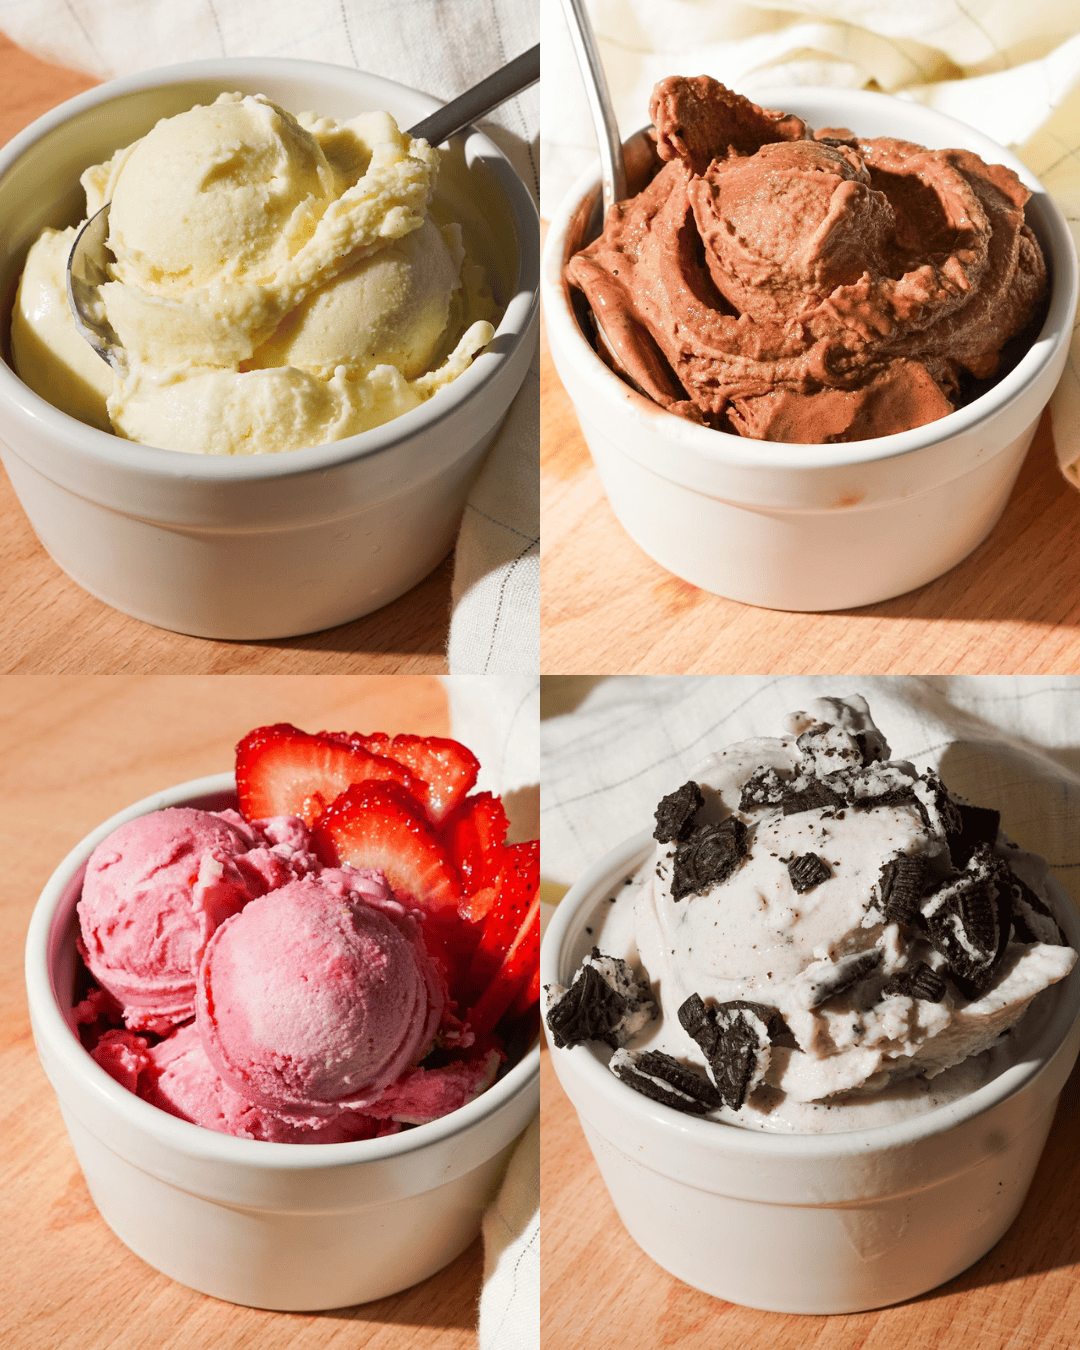
  • Use it for more than just coffee – This peppermint mocha syrup recipe is not just for coffee. Use it for a minty hot chocolate or drizzle it over ice cream and brownies.
Side view of peppermint mocha syrup in a glass jar

What is in a Starbucks peppermint mocha latte?

When Starbucks makes their peppermint mocha holiday drinks they use both a peppermint syrup and a sweet mocha sauce. They then add espresso, brewed coffee, iced coffee, or cold brew depending on the type of coffee drink you are ordering.

I wanted to simplify this process so I made a coffee syrup with the peppermint and sweet mocha all in one. Best of all, I only use 5 simple ingredients to make this mocha syrup.

Once the syrup is made I store it in the fridge and use it in my daily coffees and lattes. Keep reading for an at home Starbucks peppermint mocha latte recipe.
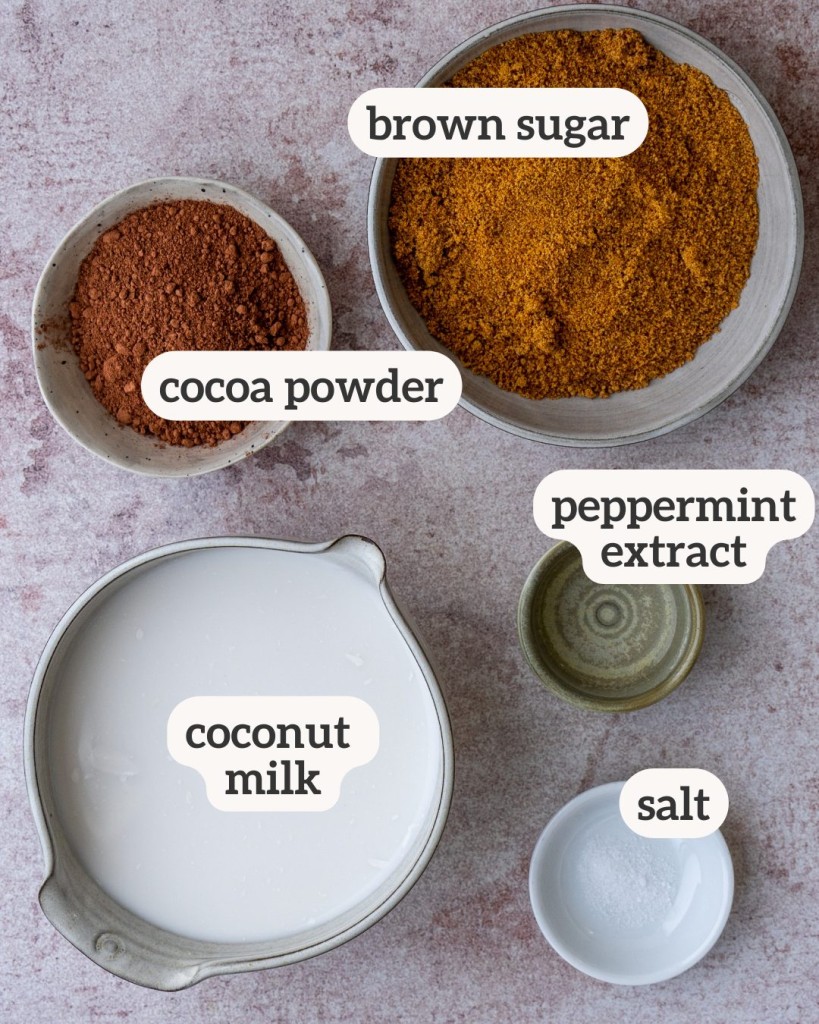
Above view of ingredients for a peppermint mocha latte syrup

ingredients

You will be amazed at how easy it is to make this peppermint mocha syrup at home with just five simple ingredients.

  • Light coconut milk – you can substitute with regular coconut milk, but light is best for th correct texture
  • Light brown sugar
  • Unsweetened cocoa Powder
  • Peppermint extract
  • Salt

Ingredient Substitutions

If you are allergic to coconut milk, you can replace it with evaporated milk or sweetened condensed milk. The sweetened condensed milk will result in a sweeter syrup, but that doesn’t bother me!

To keep this syrup recipe dairy-free I would stick to the coconut milk. Almond milk can have an unpleasant taste when simmered over medium heat for too long.

I like to use a dark cocoa powder like a dutch process cocoa for this homemade mocha syrup to make it extra rich. You can use any unsweetened cocoa or cacao powder.

You can use coconut sugar or white granulated sugar in place of the coconut sugar if you prefer that.

The peppermint extract adds lots of flavor to this chocolate syrup, but if you want to add even more depth of flavor, consider adding some vanilla extract.

Steps 1 and 2 of peppermint mocha syrup creation

How To Make

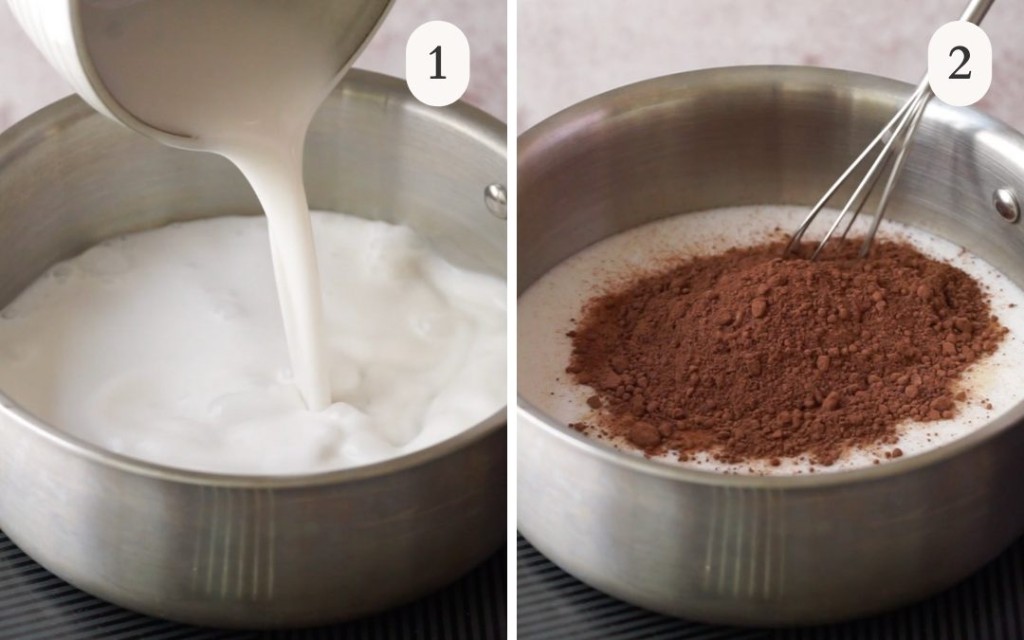
Step 1: Mix ingredients and bring to a boil

To begin, add coconut milk, brown sugar, and cocoa powder to a small saucepan. (Images 1 and 2). Then, whisk the ingredients together and bring to a boil.

Be careful not to let the mixture boil over the edge of the pan.
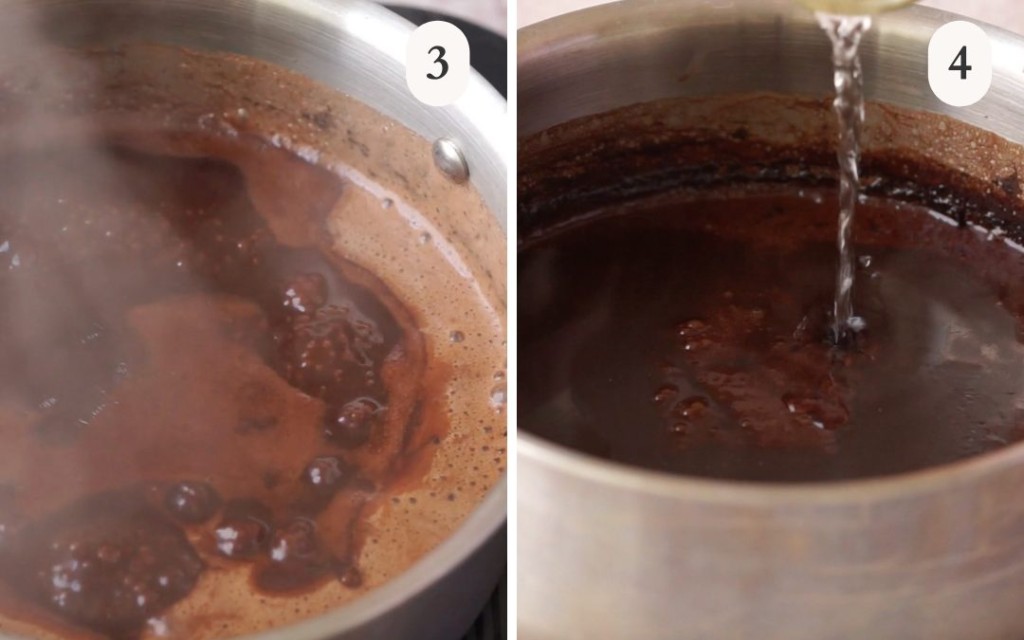
Steps 3 and 4 of peppermint mocha syrup creation

Step 2: Simmer

Once boiling, reduce the mixture a simmer (Image 3). Then, simmer uncovered for 14 minutes, whisking occasionally.

Step 3: Add peppermint and cool

Next, remove the pot from heat and allow to cool for a minute before whisking in the peppermint extract and salt (Image 4).

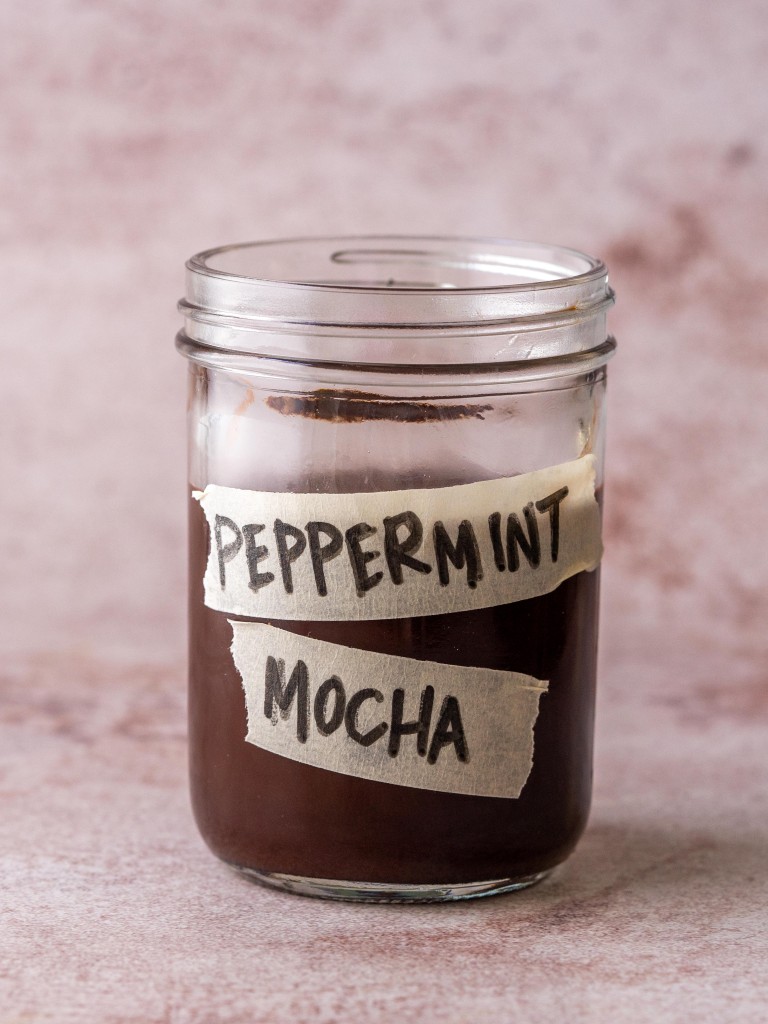
Finally, allow the syrup to cool completely then place in a glass jar and store in the refrigerator for up to 2 weeks

Above view of a starbucks peppermint mocha latte

Homemade Starbucks Peppermint Mocha Recipe

  • 1 tbsp peppermint mocha latte syrup
  • 1/2 cup of milk of choice*
  • 2 shots of espresso or 1 small cup of coffee
  • Cocoa powder for garnish

To begin, brew espresso shots or coffee and place in mug of choice. Then, froth milk with the latte syrup in a milk frother or warm milk and mix with latte syrup using a hand frother.

Next, pour peppermint mocha foam over coffee or espresso. Finally, garnish your mug with a dash of extra cocoa powder, some whipped cream and crushed peppermint candies.

*You can use almond milk, oat milk or regular dairy milk. Oat milk is my favorite non-dairy milk for lattes.

Side view of an iced peppermint mocha recipe in a glass cup

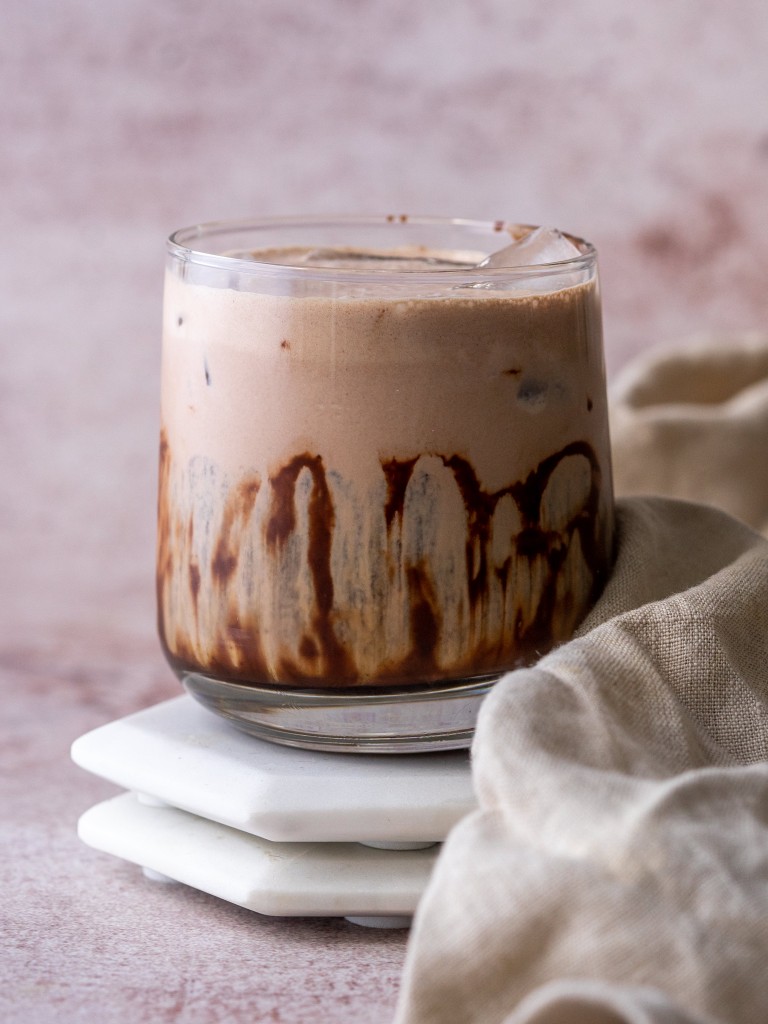
Iced peppermint mocha recipe

  • 2 tbsp peppermint mocha latte syrup + more for glass
  • 12oz cold brew coffee
  • 2 tbsp whole milk
  • 2 tbsp heavy cream
  • Ice

To begin, drizzle mocha sauce around the inside of a glass. Fill the glass with ice and then fill the glass with cold brew or iced coffee

Next, mix together 2 tbsp of mocha syrup with whole milk and heavy cream. I like to do this by shaking them together in a small glass jar. Pour mocha cream over the cold brew and stir to combine.

Want to try making your own cold brew coffee? Check out this simple cold brew coffee recipe! You could also use this mocha syrup in an iced shaken espresso drink.

Storage

It is important to allow the syrup to cool completely and then transfer to a glass jar. I like to use mason jars with a plastic replacement lid.

Place the syrup in the fridge and store in the fridge for up to 2 weeks.

Check out these other homemade Coffee syrup recipes

  • Gingerbread Latte Syrup
  • Pumpkin Spice Latte Syrup
  • Sugar Cookie Latte Syrup
  • Caramel Brûlée Latte Syrup

You can find the full recipe below. If you make this recipe, please rate and review it in the comments, or share it with me on Instagram!

You can find the full recipe below. If you make this recipe, please rate and review it in the comments, or share it with me on Instagram!

Email Recipe for Later

Please enable JavaScript in your browser to complete this form.
Loading
Side view of a peppermint mocha latte getting made

Recipe

Peppermint Mocha Latte Syrup

5 from 22 votes
Use this latte syrup recipe to make peppermint mocha lattes without a trip to Starbucks
Recipe By: Madeline Tague
Prep: 5 minutes minutes
Cook: 15 minutes minutes
Print Review Pin It SaveSaved!
Servings: 24 servings

Ingredients

  • 1 can light coconut milk 13.5oz
  • 3/4 cup light brown sugar packed
  • 1/4 cup unsweetened cocoa powder
  • 1 tsp peppermint extract
  • 1/8 tsp salt
Prevent your screen from going dark

Instructions

  • Add coconut milk, brown sugar and cocoa powder to a small sauce pan
  • Whisk the ingredients together and bring to a boil – be careful not to let the mixture boil over the edge of the pan
  • Once boiling, reduce to a simmer
  • Simmer uncovered for 14 minutes, whisking occasionally
  • Remove the pot from heat and allow to cool for a minute before whisking in the peppermint extract and salt
  • Allow the syrup to cool completely then place in a glass jar and store in the refrigerator for up to 2 weeks

Recipe Notes

  • You can use evaporated milk or sweetened condensed milk in place of the coconut milk. If you use sweetened condensed milk, it will make the syrup quite a bit sweeter, but that doesn’t bother me.
  • You can use coconut sugar or white granulated sugar in place of the brown sugar

Nutrition Information

Serving: 1g, Calories: 42kcal (2%), Carbohydrates: 8g (3%), Protein: 0.2g, Fat: 1g (2%), Saturated Fat: 1g (6%), Polyunsaturated Fat: 0.004g, Monounsaturated Fat: 0.04g, Sodium: 28mg (1%), Potassium: 23mg (1%), Fiber: 0.3g (1%), Sugar: 7g (8%), Calcium: 7mg (1%), Iron: 0.2mg (1%)

This website provides approximate nutrition information for convenience and as a courtesy only. Nutrition data is gathered primarily from the USDA Food Composition Database, whenever available, or otherwise other online calculators.

Did you make my Peppermint Mocha Latte Syrup?

Review Share on Insta SaveSaved!
I appreciate your reviews SO much! Mention @mad_about_food and hashtag your photo with #madaboutfood
19701 shares
  • Facebook
  • Email
Madeline Tague Avatar

About

Madeline Tague

Hi, I’m Madeline! I am so excited to share my healthy and approachable recipes with you. Here you will find simple, comforting recipes that the whole family will enjoy. Turn on your favorite playlist or podcast and let’s get cooking!
Learn More
  • Facebook
  • Pinterest
  • YouTube
  • Instagram
  • X
5 from 22 votes

Leave a Reply Cancel reply

Your email address will not be published. Required fields are marked *

Recipe Rating


84 responses

  1. Justin
    December 5, 2025

    Hi! What’s the serving size?

    Reply
    1. Madeline
      December 7, 2025

      I would say about 2 tbsp!

      Reply
  2. Michelle
    November 28, 2025

    5 stars
    Made this for the holiday and it was delicious! Even gave some away. Easy to make and made a good amount. Definitely will make again and try the others as well!

    Reply
    1. Madeline
      November 29, 2025

      Great to hear! Let me know what you think of the others, too.

      Reply
  3. Ceara
    November 23, 2025

    5 stars
    This came out perfectly and it’s my favorite latte flavor! Can’t wait to try the others!

    Reply
  4. Jillian
    November 23, 2025

    5 stars
    This is delicious and it was so easy to make!

    Reply
    1. Madeline
      November 23, 2025

      Yay!

      Reply
  5. Janet
    November 20, 2025

    Should we use sweetened or unsweetened light coconut milk?

    Reply
    1. Madeline
      November 22, 2025

      Unsweetened would be my recommendation.

      Reply
  6. Sarah B
    December 17, 2024

    5 stars
    The syrup is awesome! One question, can I store it in a metal container? All I had on hand was my metal travel mug, so i used that.

    Reply
    1. Madeline
      December 18, 2024

      I usually recommend glass if possible but for short term storage, I think this is okay especially if it is stainless steel. If it is not stainless steel, the ingredients can react with the metal, altering the taste.

      Reply
  7. Sarah B.
    December 14, 2024

    Has anybody ever made this using the sweetened condensed milk substitution?

    I’m asking because I just tried it, and boy, is it THICK!! I added a little milk to the mixture just because it didn’t seem like it was going to be too thick to boil otherwise.

    I got it to boil, and then simmer, but it didn’t simmer so much as bubble like a tar pit.

    I just took it off to cool and it looks more like brownie batter than a sauce. Is there any way to thin it out? I just know what once it’s cool it’s going to be too thick to use.

    Reply
    1. Madeline
      December 16, 2024

      Hi! You could reheat and stir in a little water or milk to try to thin it out a little. It is also possible that it was over boiled if it is that thick of consistency.

      Reply
      1. Sarah B
        December 17, 2024

        Thanks!! I added milk and that got it to a thinner consistency. I think it’s just that sweetened condensed milk is thick to start out with, so something needs to be added to it to get it thin enough to boil. I made another batch with the light coconut milk and that worked MUCH better! Although I would recommend using a medium saucepan rather than a small one because boy, once it starts boiling it just GOES!!! I used a small saucepan and as soon as it started boiling it went over the rim.

        Reply
  8. Juli Bastien
    August 20, 2024

    Anyone tried canning this? If so how long did you process just long enough to seal the top? I would love to give as gifts!

    Reply
    1. Madeline
      August 20, 2024

      I personally have never processed for storage, but others have and said it works great! Otherwise its good at room temp for at least a few days so i’ve gifted it before wtih a litle tag that says “keep me in the fridge”

      Reply
←Older
1 2 3

Welcome

Hi, I’m Madeline – food blogger and recipe developer based just outside Philadelphia. Join me for simple, comforting recipes designed for the whole family. Turn on your favorite playlist or podcast, and let’s get to cooking!

Read more

Christmas FAVORITES

  • Christmas Chex Mix Recipe with M&Ms

    Christmas Chex Mix Recipe with M&Ms

  • Classic Cold Crab Dip

    Classic Cold Crab Dip

  • Caramel Brulee Latte Syrup

    Caramel Brulee Latte Syrup

  • Stuffed Mushroom Dip

    Stuffed Mushroom Dip

  • Charcuterie Wreath

    Charcuterie Wreath

  • Cheesy Scalloped Potatoes

    Cheesy Scalloped Potatoes

All Christmas Recipes

Popular Posts

  • Oven Baked Chuck Roast Recipe

    Oven Baked Chuck Roast Recipe

  • Butternut Squash Pasta Sauce

    Butternut Squash Pasta Sauce

  • Potato Cheddar Chive Bakes (Starbucks Copycat)

    Potato Cheddar Chive Bakes (Starbucks Copycat)

  • Oven Baked Starbucks Egg Bites

    Oven Baked Starbucks Egg Bites

  • High Protein Sausage Pancake Muffins

    High Protein Sausage Pancake Muffins

  • Greek Yogurt Waffles

    Greek Yogurt Waffles

image of 6 recipes

Grab a free

E-Book With 6 Of My Top Rated Recipes

Sign me up!

Join Me And over 500k Friends On Instagram

@mad_about_food

“This is my third time making this recipe and it’s a fave for meal prepping! So delicious, quick and easy ☺️” – Jessica

Get recipe

“This was so simple and delicious!! Worked late and still quickly put together a great meal.” – Dana

Get recipe

“So good! Not only was this incredibly easy to make, the flavor was perfect. I will definitely make this again and again!” – Mandy

Get recipe
  • Facebook
  • Instagram
  • Pinterest
  • YouTube
  • TikTok

Courses

Dinners
Breakfasts
Lunch
Dips & Sauces

Popular

One Pan Meal
30 Minute Meals
Meal Prep
Chicken Recipes
Back to Top
About
Contact
Privacy Policy

©

Mad About Food

|

Branding by MRD

|

Theme by OC

19701 shares

Rate This Recipe

Your vote:


A rating is required
A name is required
An email is required

Recipe Ratings without Comment

Something went wrong. Please try again.