
If you’ve never made bread before, start with this simple No Knead Tomato Focaccia! No knead focaccia is the perfect recipe for beginner bakers.
Hands-off
Beginner-friendly
You’ll Learn: The best way to proof and top focaccia for airy bubbles, crispy edges, and perfect texture
Worth It: Simple method, great results without fussy steps
Bonus: Simple topping swaps to make it your own
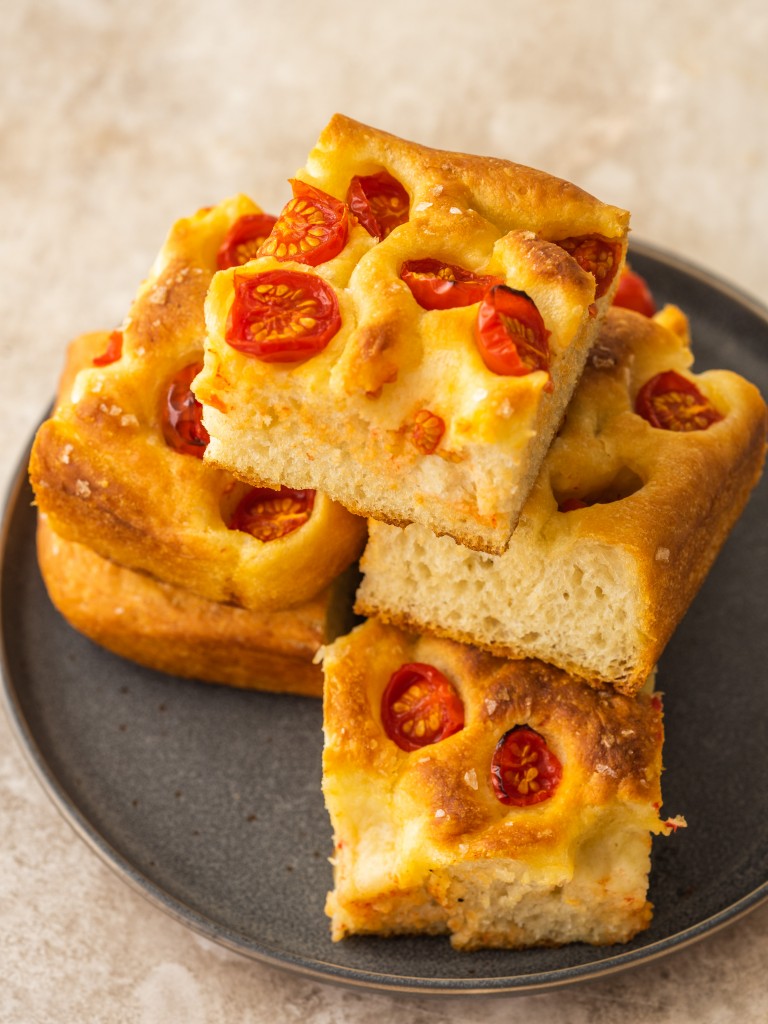
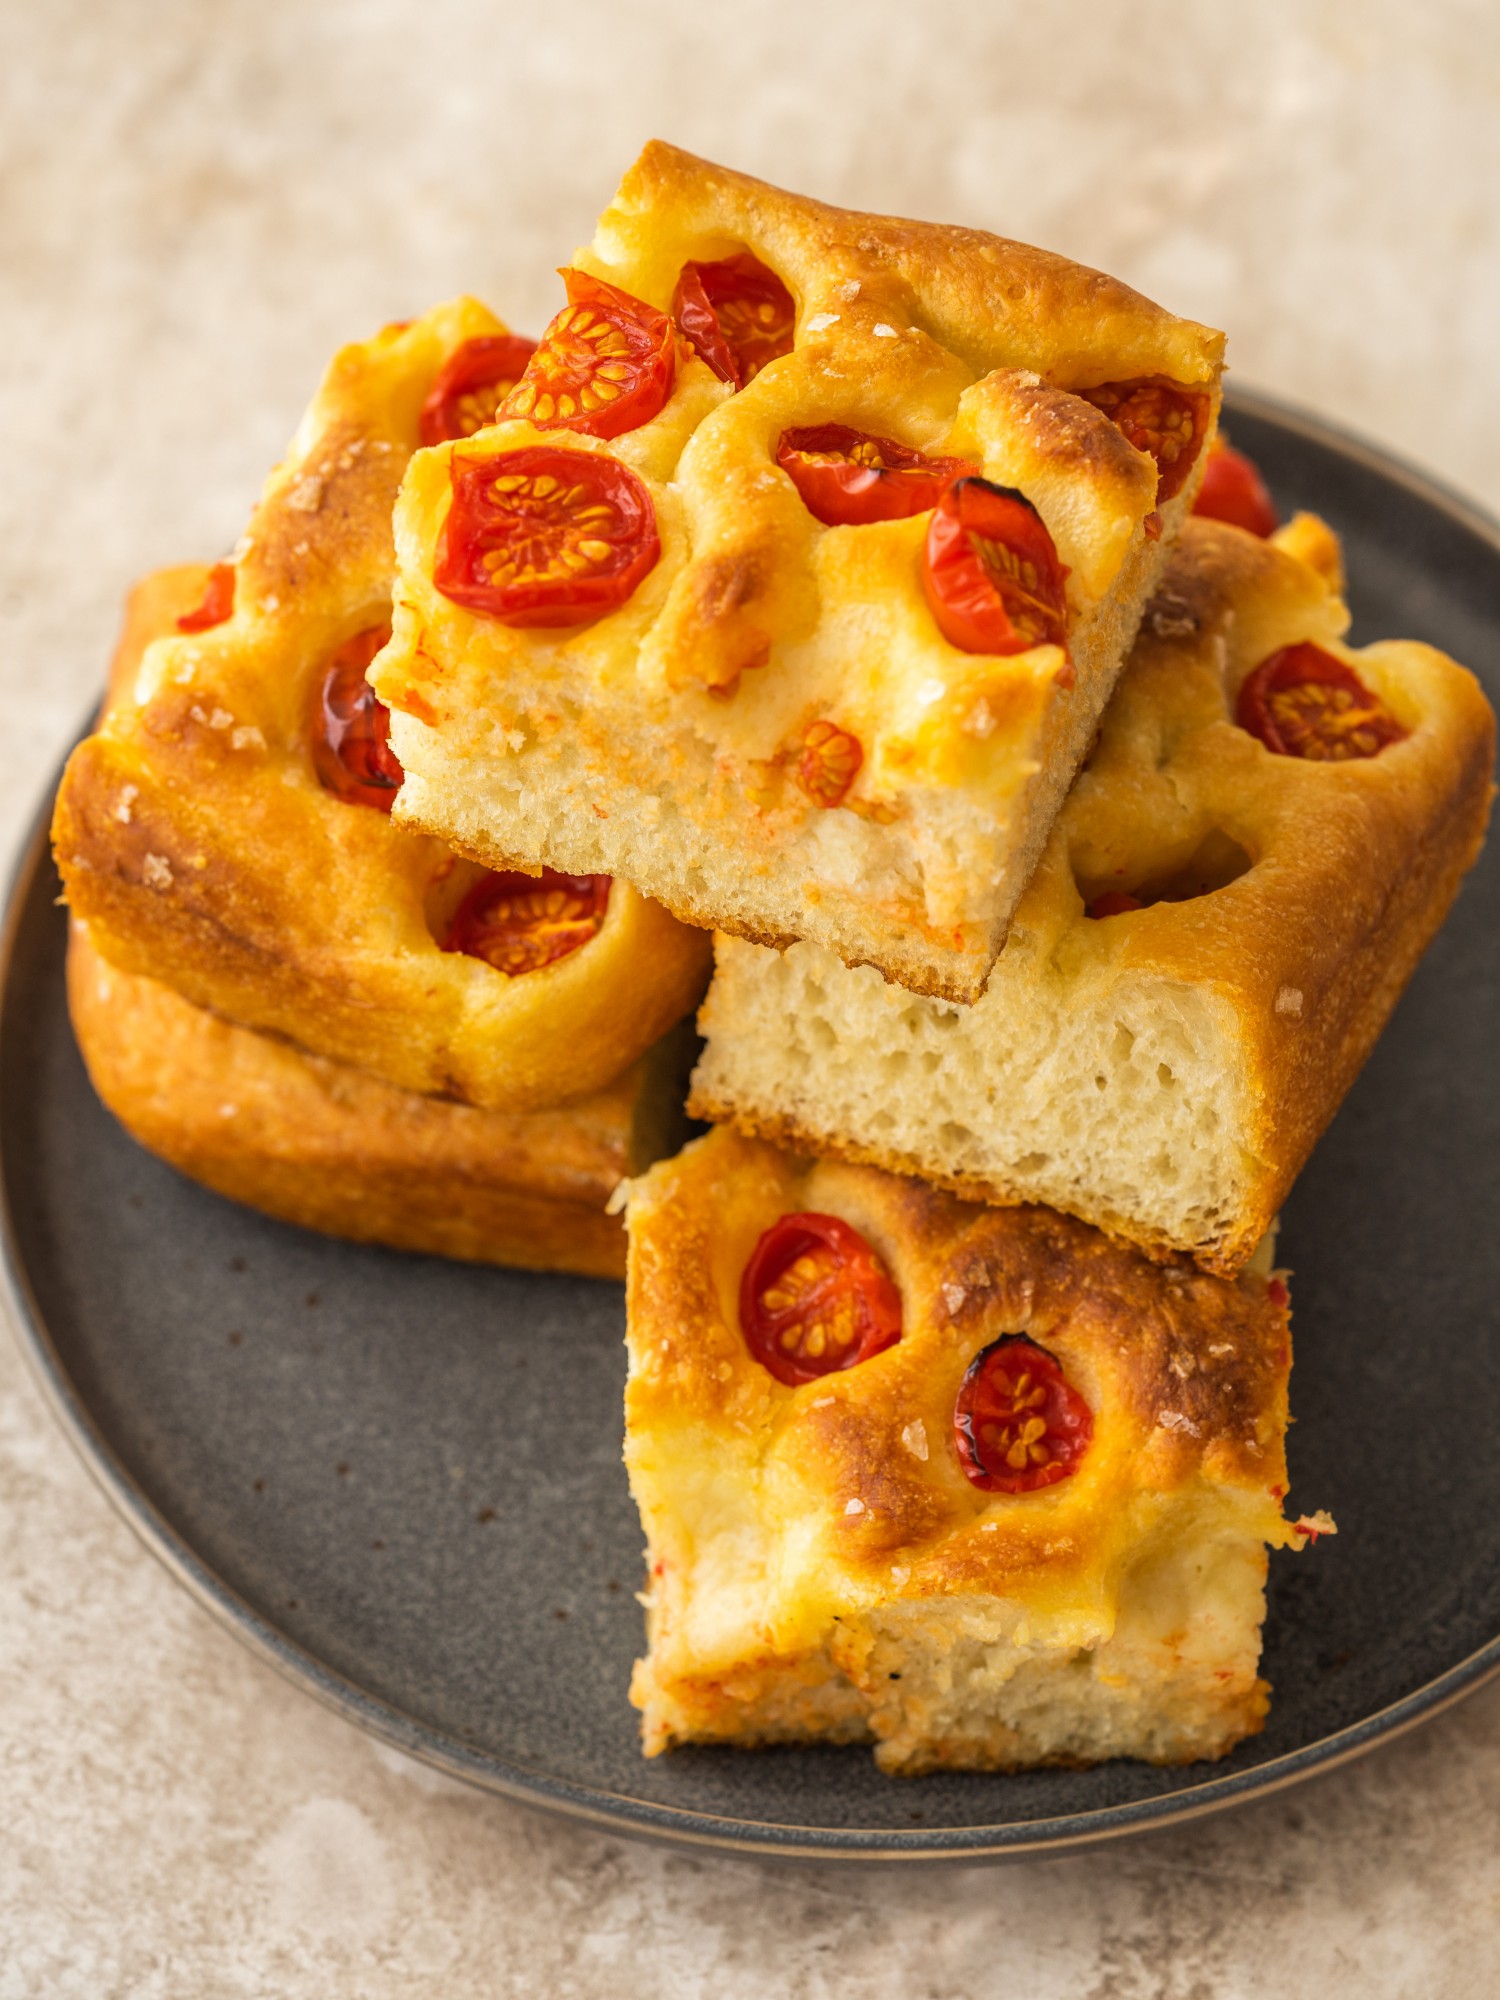
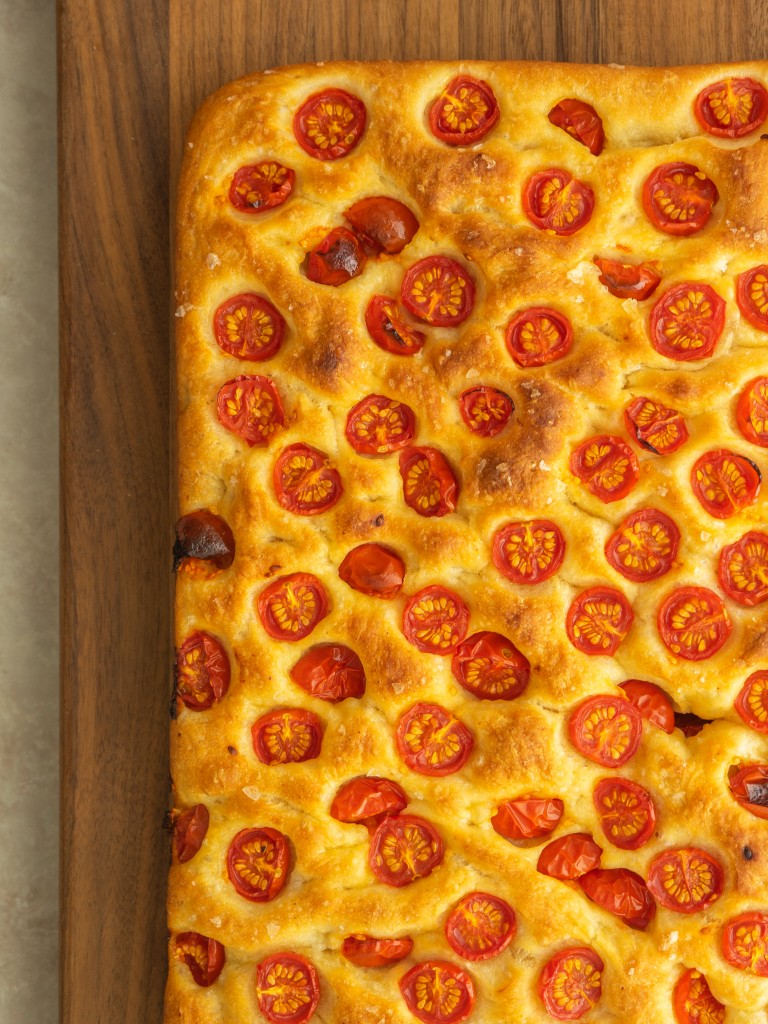
Press cherry tomato halves into a bubbly no knead focaccia dough
I love all kinds of bread, but there is something about a thick slice of Italian focaccia that really has my heart. It is chewy, bubbly, salty and rich with the olive oil.
Focaccia is a perfect beginners bread because it is made with a fairly wet dough and does not need to be kneaded several times. It also does not need to be shaped and formed into loaves because it is baked in a metal baking pan.
Kitchen Tools
- Extra large mixing bowl for mixing and proofing focaccia dough
- Liquid measuring cup
- Measuring cups and measuring spoons
- Wooden spoon for mixing
- 13×9 metal baking pan – this needs to be a rimmed baking sheet
- Tea towel
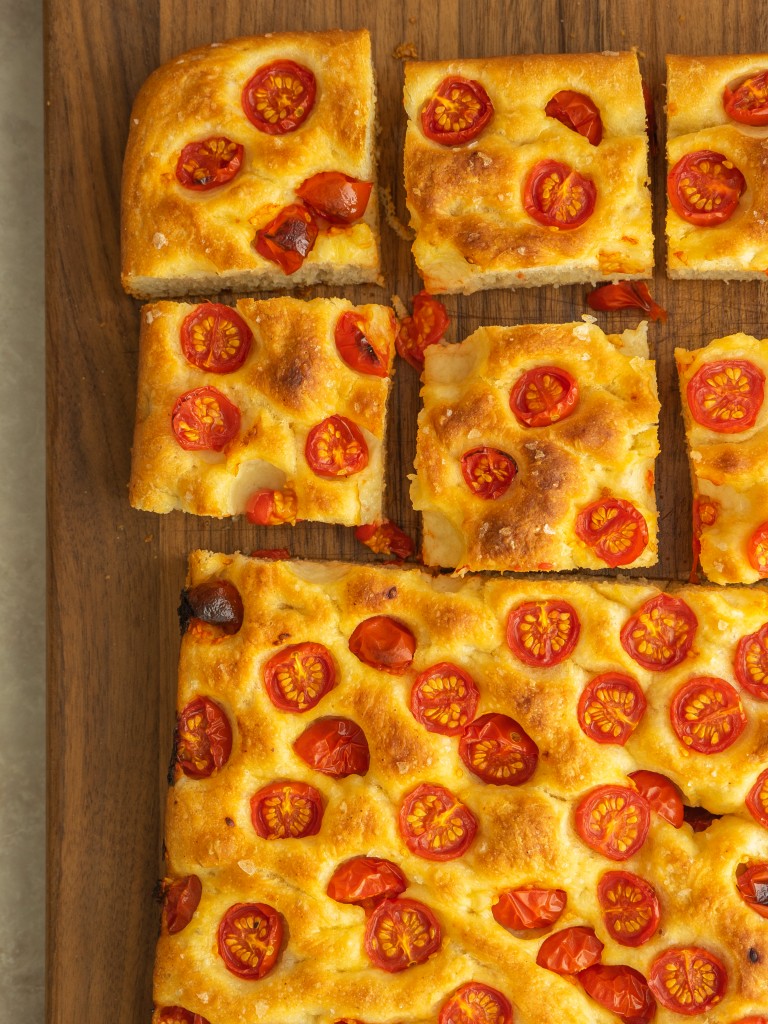
Serving suggestions
This no knead focaccia is extremely versatile an can be served many different ways! It is best straight out of the oven when it is slightly warm and crispy.
I like to serve it for breakfast along side a plate of scrambled eggs and crispy bacon. It is also great for lunch alongside a simple Italian chopped salad.
Make this focaccia bread recipe into a quick pizza crust. Leave the tomatoes off the top. Remove from the oven 5 minutes before it should be finished baking. Top with your favorite pizza sauce and fresh mozzarella cheese. Continue baking until the cheese is gooey and bubbling.
For another pizza option, try this sheet pan pizza.
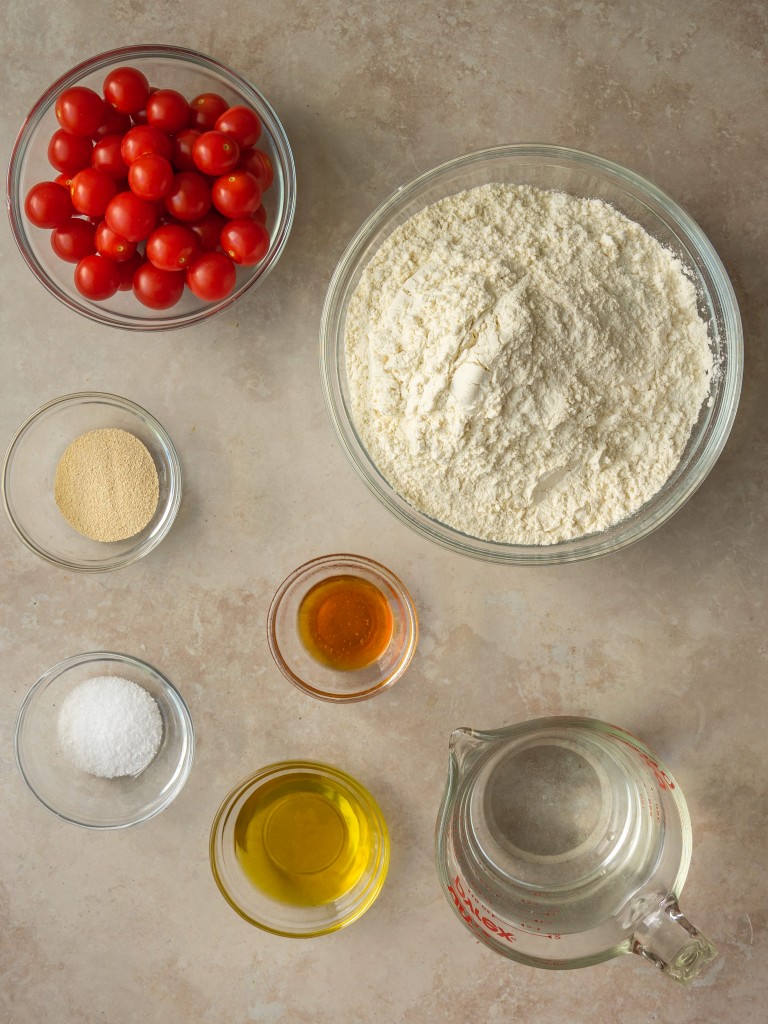
Ingredients
- Warm water
- Olive oil
- Honey
- Instant yeast
- All purpose flour
- Salt
- Cherry tomatoes
- Flaky sea salt for topping
Ingredient Substitutions
Instant yeast is ready to go right out of the package, but you can use active dry yeast instead. Just be sure to give the packet of active dry yeast time to activate before mixing in the flour.
You can use whole wheat flour in place of all purpose flour, but it will result in a much denser focaccia bread. You can also use bread flour in place of all purpose flour. The bread flour will likely give you a loaf thats lighter and has more spring.
To make this focaccia extra flavorful, use these marinated cherry tomatoes in place of raw cherry tomatoes.
other topping options
The cherry tomatoes add lots of wonderful flavor to this homemade focaccia bread, but you can make it with plenty of other toppings. I like to make mine with half tomatoes and half kalamata olives.
You can also chop up a bunch of fresh scallions or any fresh herbs and sprinkle them over the top just before baking. Press the herbs into the dough to have them even spaced between the air bubbles.
One of my favorite flavor combinations is to grab whole garlic cloves and slice them into thin pieces. Press the garlic and some fresh rosemary into the dough to make the most delicious flavor combination.
Lastly, you can leave the toppings off all together and make a delicious crispy focaccia loaf with lots salt.
Choosing a high quality olive oil
For this Italian focaccia recipe you will use LOTS of olive oil. That is why it is important to select a high quality olive oil to use.
Select an olive oil that is made in Italy using the cold press method. The olive oil should be stored in a relatively cool location and in a dark glass bottle.
temperature of warm water for focaccia dough
Focaccia bread dough should be made with warm water in order to help with the fermentation process. The ideal temperature for water for bread making is 95F.
So if I am too lazy to pull out my thermometer I look for water that is warmer than room temperature, but not so hot that it is too warm for me to touch.
ideal temperature for proofing
The ideal temperature for proofing bread is anywhere from 75F to 97F. Most homes are cooler than this so if you do not have a proofing machine or a proofing setting on your oven, you can leave your dough to proof in a sunny spot in your home or inside an oven that is turned off but has the oven light on.
Dough will proof faster in a warmer home, so be sure to keep your eye on your focaccia bread dough so that it is not over proofed. Over proofed dough will start to fall and deflate.
Can i proof the dough overnight?
Yes! You can do the longer, bulk ferment of the dough in the refrigerator overnight. Instead of proofing for 2 hours in a warm sunny spot, cover the bowl with a piece of plastic wrap and pop into the fridge.
The dough will slowly proof at the cooler temperature. Remove from the fridge in the morning, allow the dough to come to room temperature and then continue the steps by pouring the dough into the baking pan.
How to make focaccia
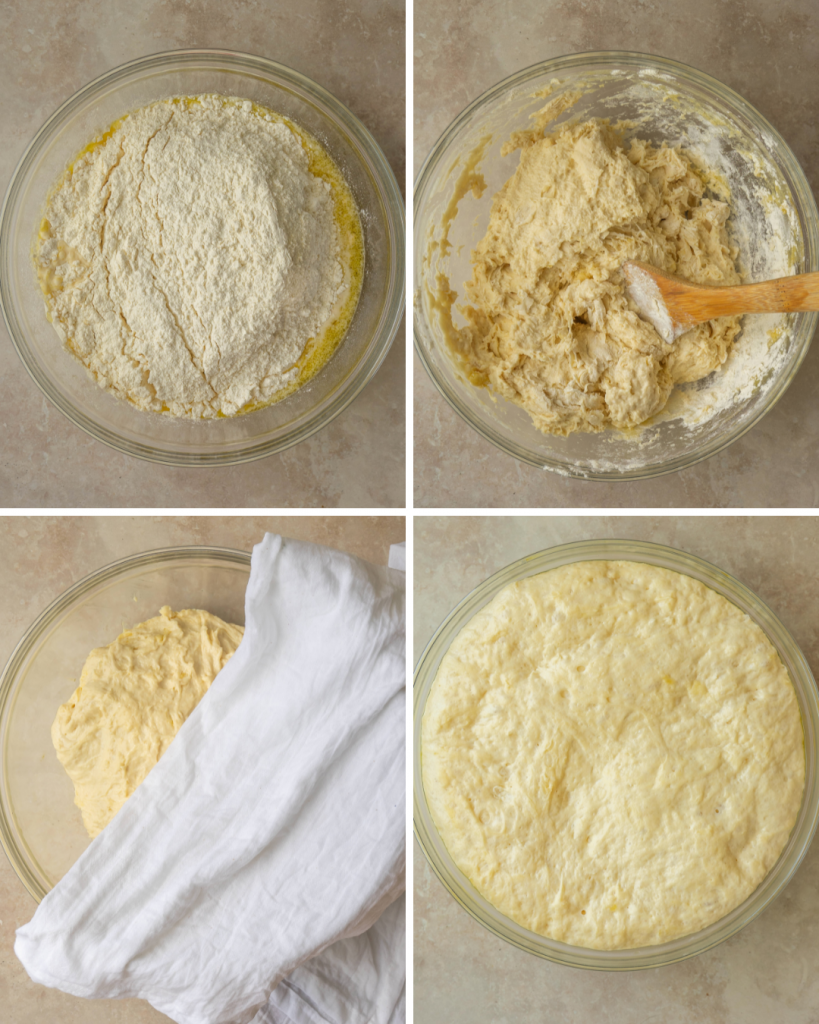
Step 1: Prepare focaccia dough and proof
To begin, add 2 cups of warm water (about 95F) to a large mixing bowl. Mix instant yeast, honey, and olive oil into the warm water and let the mixture sit for a minute.
If you are using dry active yeast instead of instant yeast, let the mixture sit for at least 5 minutes. Then, add flour to the wet ingredients using the scoop and level method for measuring flour.
Add the salt to the bowl along with the flour. Mix the dry ingredients into the wet ones with a wooden spoon.
Next, mix the dough with a wooden spoon as much as you can and then place a wet hand in the bowl and continue to mix the dough with your hand. You can use your finger to make a pinching motion to better mix the dough.
Once the flour is fully incorporated into the wet ingredients you can leave the dough in the large bowl and cover it with a wet tea towel. Place the dough in a warm sunny spot to proof for 2 hours.
During the two hours the dough should double in size. The dough will reach a peak and then start to fall.
If your dough is proofing in a particularly warm home, it may take less than 2 hours to proof. If your dough is proofing faster than 2 hours, you can move on to the next step.
Step 2: proof dough a second time and add tomatoes
After the first proof, pour a generous amount of olive oil to coat the bottom of the 13×9 metal baking pan. Grab the dough out of the bowl with one hand and pour into the baking pan.
No need to stretch or move the dough in the pan. Cover the dough with the wet tea towel again and proof for another hour.
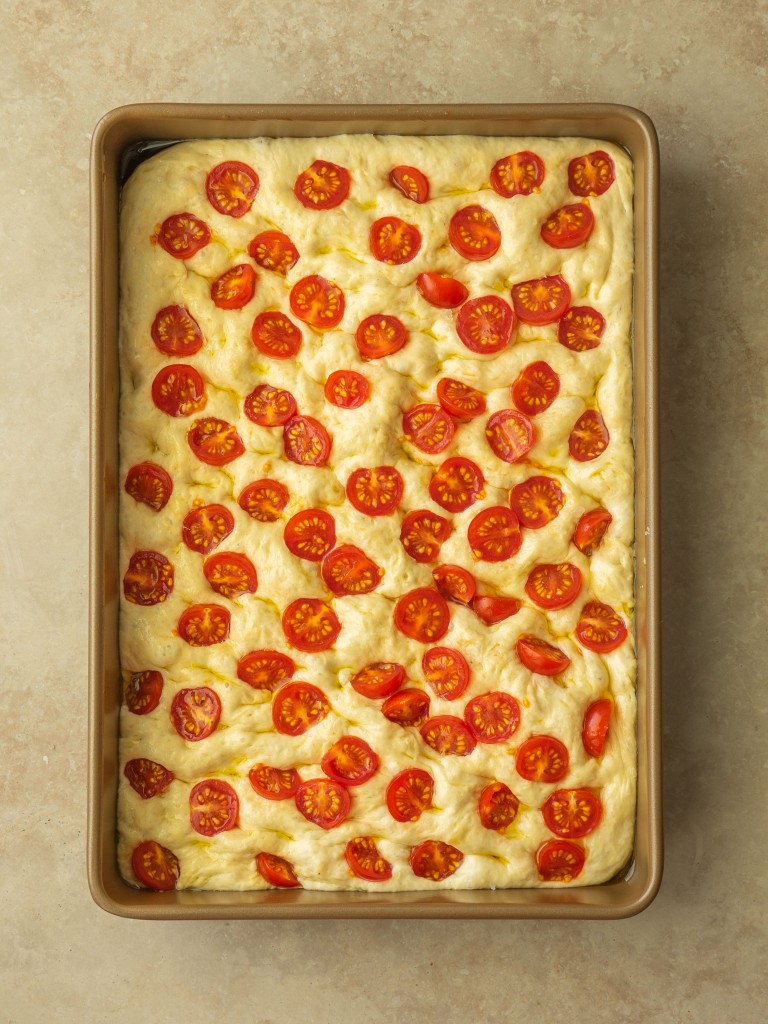
After the hour is up, the dough should have expanded to fill the metal pan. Pour more olive oil over the tip of the dough and make dimples in the dough with your finger tips.
Be sure to press all the way to the bottom of the pan with your finger tips and make uniform dimples. Once the dough is dimpled, take the cherry tomato halves and press them into the top of the dough.
Be sure to press down on them enough that they stick into the dough during baking. Top the whole thing with some flakey sea salt.
Step 3: Bake tomato focaccia in the oven
Then, allow the dough to proof once more uncovered while you preheat the oven to 475F. When the oven is preheated place the pan in the oven to bake for 20-25 minutes or until the focaccia is golden brown.
Allow to cool slightly and enjoy immediately!
Tips and tricks
High quality extra virgin olive oil is the key to making a delicious no knead focaccia bread. Do not be afraid to add a hearty drizzle on top of the bread before baking. You truly cannot use too much olive oil.
Focaccia is made with a high hydration dough which means it can be extra sticky. If you have any trouble getting it out of the proofing bowl, rub some olive oil on your hands before you grab the dough.
If you are having trouble mixing the dough with a wooden spoon, use a hard, flat rubber spatula to do the mixing. It might move through the dough more smoothly.
Be sure to position your oven rack in the middle of the oven. If the rack is too high or too low the bread can burn on the top or bottom.
storage and reheating
This no knead tomato focaccia is best enjoyed immediately after baking because the fresh tomatoes can make the focaccia soggy. I recommend storing the leftovers in an airtight container in the fridge.
Then, you can reheat the focaccia in an oven or toasted oven just before eating it to crisp up the edges.
Check out these other homemade bread recipes
You can find the full recipe below. If you make this recipe, please rate and review it in the comments, or share it with me on Instagram!


You can find the full recipe below. If you make this recipe, please rate and review it in the comments, or share it with me on Instagram!

Email Recipe for Later

Recipe
No Knead Tomato Focaccia
Ingredients
- 2 cups warm water
- 2 tsp honey
- 2 tbsp olive oil
- 1 tbsp instant yeast
- 4 and 1/4 cups all purpose flour
- 2 tsp salt
- 1 and 1/2 cups cherry tomatoes cut in half
- Flakey sea salt for topping
Instructions
- Add 2 cups of warm water (about 95F) to a large mixing bowl. Mix instant yeast, honey, and olive oil into the warm water and let the mixture sit for a minute. If you are using dry active yeast instead of instant yeast, let the mixture sit for at least 5 minutes.
- Add flour to the wet ingredients using the scoop and level method for measuring flour. Add the salt to the bowl along with the flour. Mix the dry ingredients into the wet ones with a wooden spoon.
- Mix the dough with a wooden spoon as much as you can and then place a wet hand in the bowl and continue to mix the dough with your hand. You can use your finger to make a pinching motion to better mix the dough.
- Once the flour is fully incorporated into the wet ingredients you can leave the dough in the large bowl and cover it with a wet tea towel. Place the dough in a warm sunny spot to proof for 2 hours.
- During the two hours the dough should double in size. The dough will reach a peak and then start to fall. If your dough is proofing in a particularly warm home, it may take less than 2 hours to proof. If your dough is proofing faster than 2 hours, you can move on to the next step.
- After the first proof, pour a generous amount of olive oil to coat the bottom of the 13×9 metal baking pan. Grab the dough out of the bowl with one hand and pour into the baking pan.
- No need to stretch or move the dough in the pan. Cover the dough with the wet tea towel again and proof for another hour.
- After the hour is up, the dough should have expanded to fill the metal pan. Pour more olive oil over the tip of the dough and make dimples in the dough with your finger tips. Be sure to press all the way to the bottom of the pan with your finger tips and make uniform dimples.
- Once the dough is dimpled, take the cherry tomato halves and press them into the top of the dough. Be sure to press down on them enough that they stick into the dough during baking. Top the whole thing with some flakey sea salt.
- Allow the dough to proof once more uncovered while you preheat the oven to 475F. When the oven is preheated place the pan in the oven to bake for 20-25 minutes or until the focaccia is golden brown. Allow to cool slightly and enjoy immediately!
Nutrition Information
This website provides approximate nutrition information for convenience and as a courtesy only. Nutrition data is gathered primarily from the USDA Food Composition Database, whenever available, or otherwise other online calculators.


Leave a Reply