
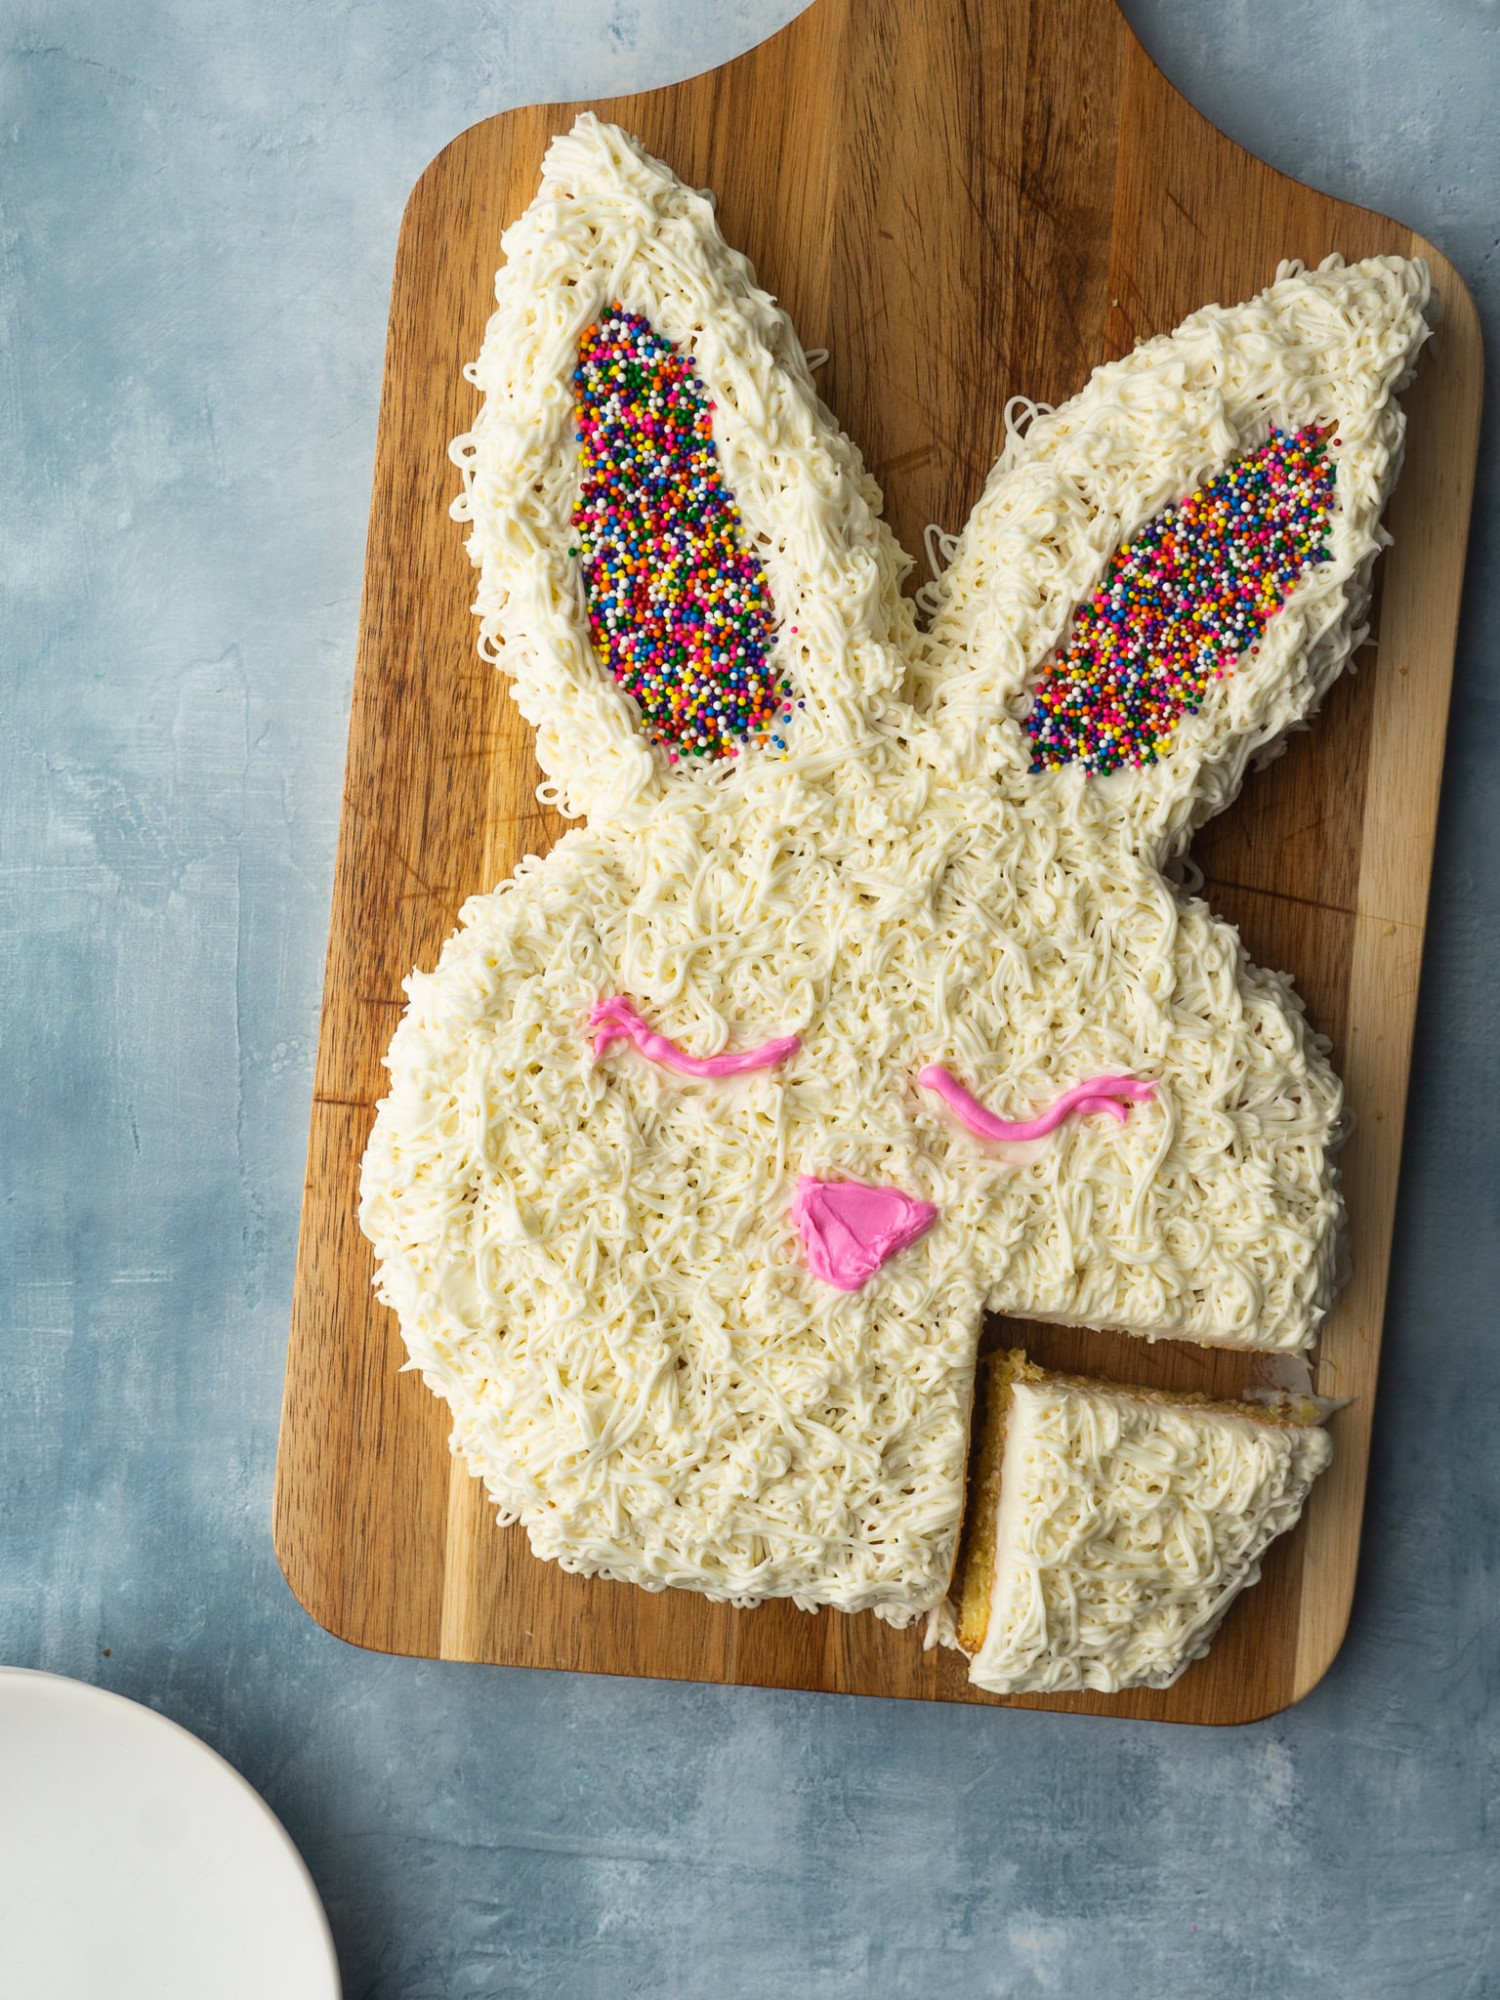
Make your Easter celebration extra festive with this EASY Easter Bunny Cake Recipe. Just cut a simple bunny face out of your cake, decorate and enjoy!
Make-ahead
Minimal prep
You’ll Learn: The easiest way to decorate a holiday cake without fancy tools or baking skills
Worth It: Turns a simple cake into a holiday centerpiece
Bonus: Kids can help decorate
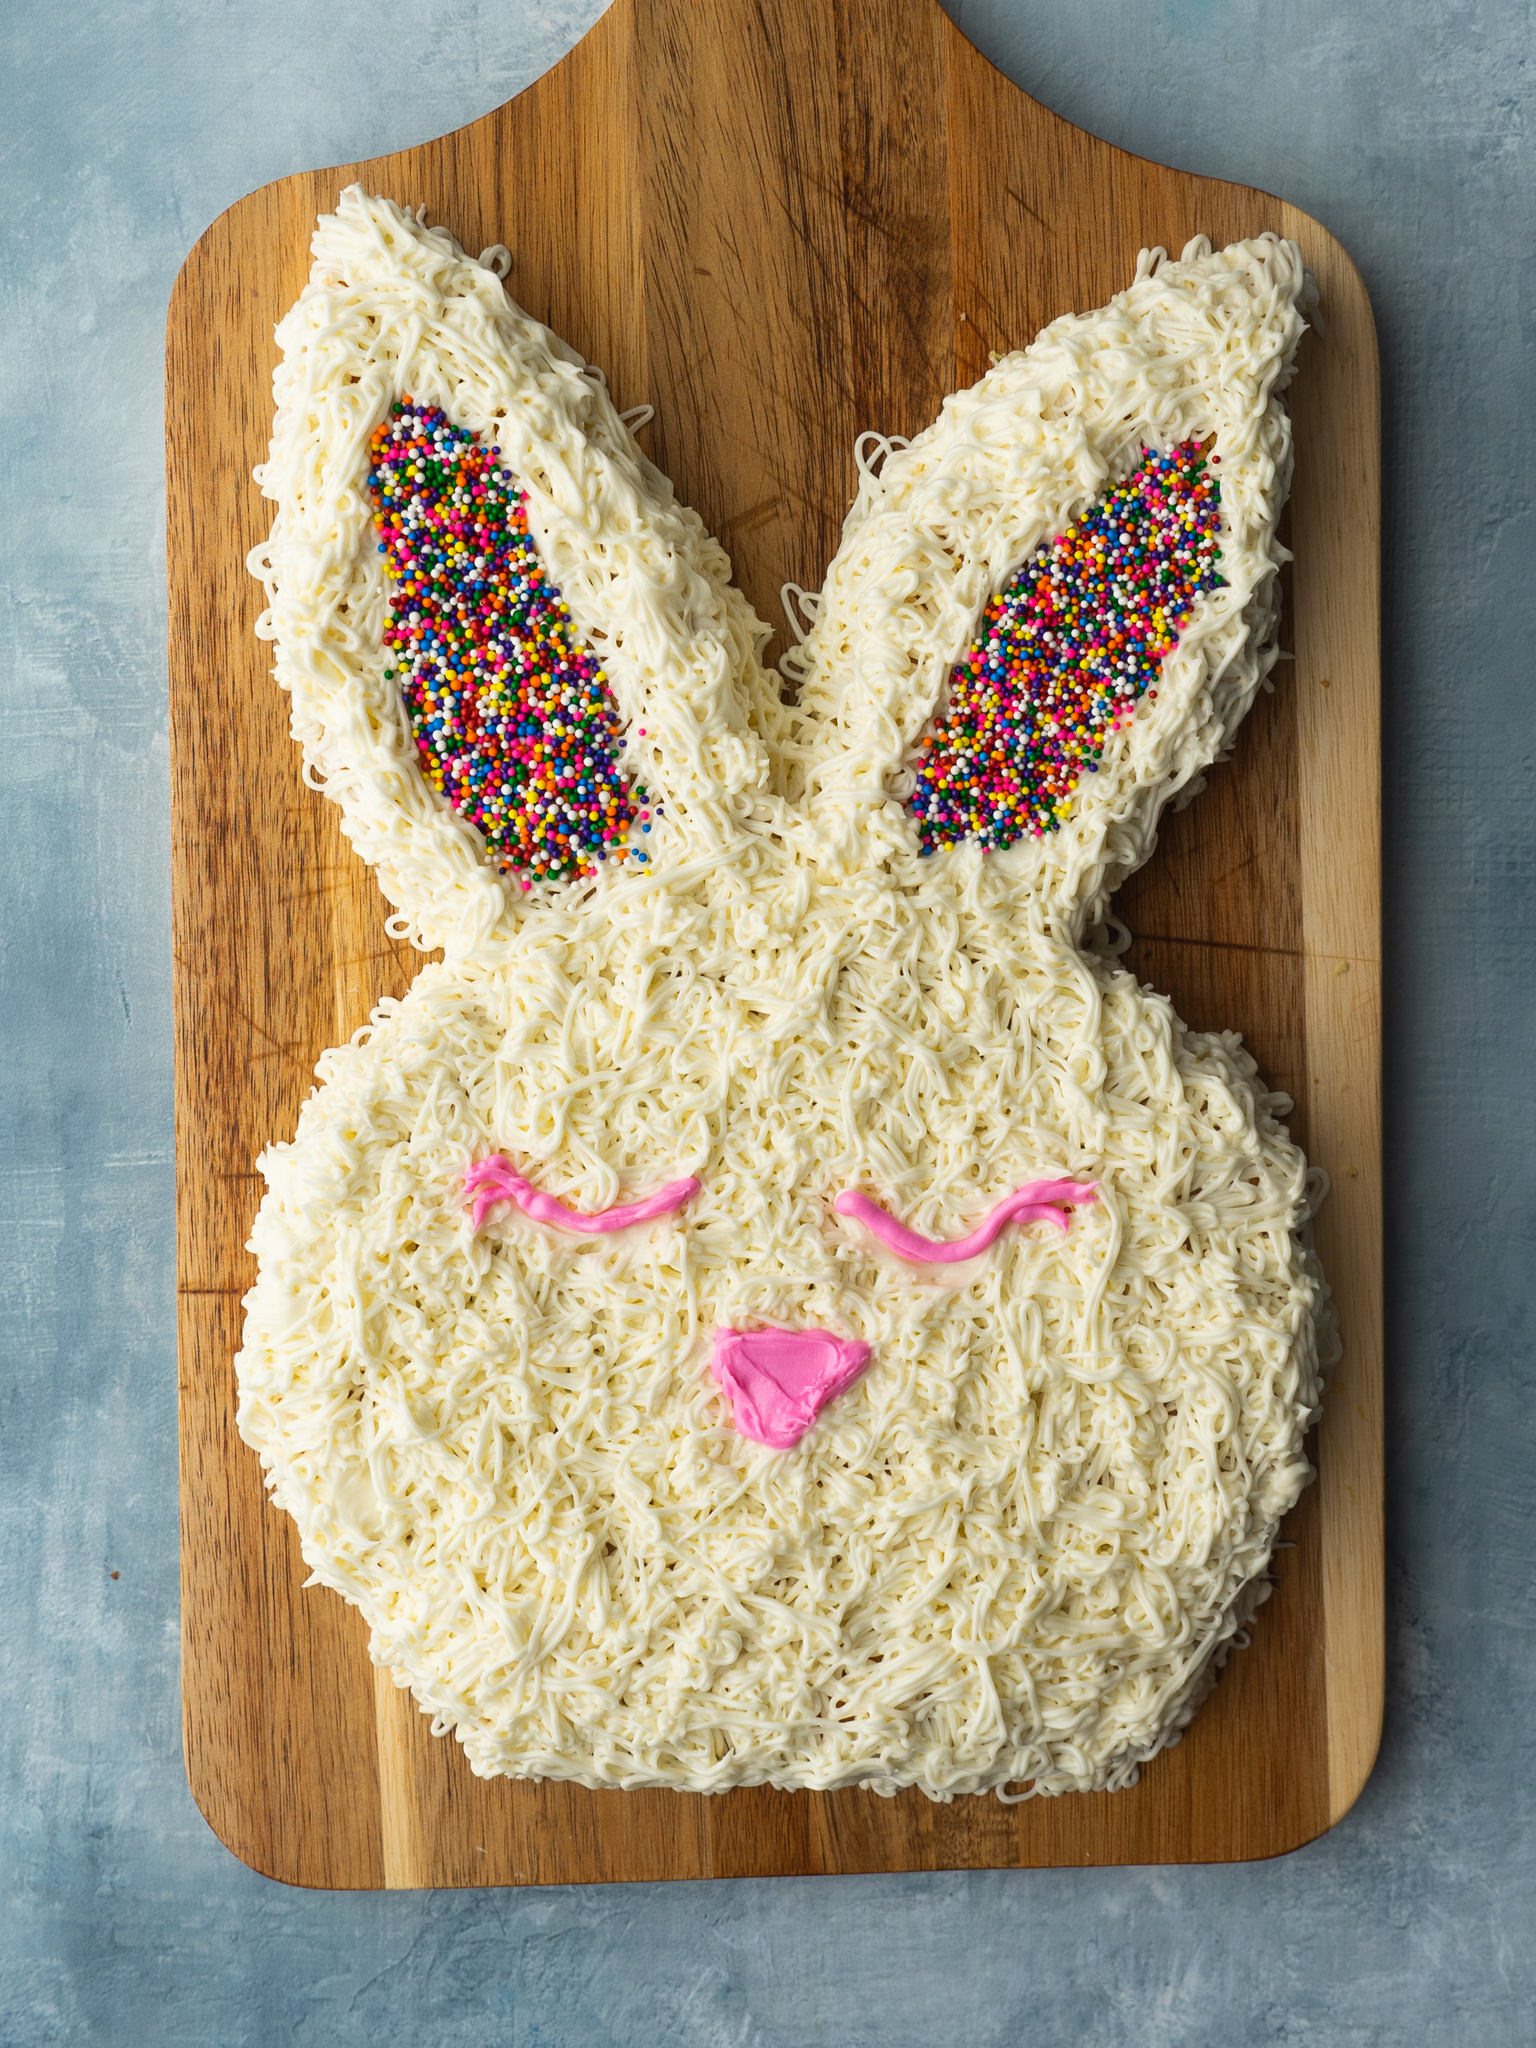
Make this super easy easter bunny Cake!
In my mind I would really LOVE to be one of those people who has super cute pinterest worthy desserts for each holiday. In reality, I am just NOT that gal.
I need my baking to be simple. SO trust me when I say this is the EASIEST Easter bunny cake recipe that you will find on the internet. You only need a few very simple ingredients to make it come to life.
You will need a few cooking important cook tools though so pay attention to them. The most important is a grass tip or star tip for an icing bag to give your cut bunny his fur! I kept my decorating really simple but you can stay as simple or complex as you would like.
Why you’ll love this recipe
- Fool proof cake – This easy bunny cake comes together with a few simple cuts and it’s so much fun to make! I use a rectangular cake rather than putting together 9-inch cake pans. It is one cake layer, and the decoration can be as simple or complex as you would like.
- Festive fun – This is a great, simple way to make your Easter a little more festive! It’s the perfect cute cake to have after hunting easter eggs and easter treats. I love how it looks on the dessert table.
- Great for a crowd – If you have a big family to feed, this is a great treat to make! It does not take too long to make, but it can serve a large group.
serving Suggestions
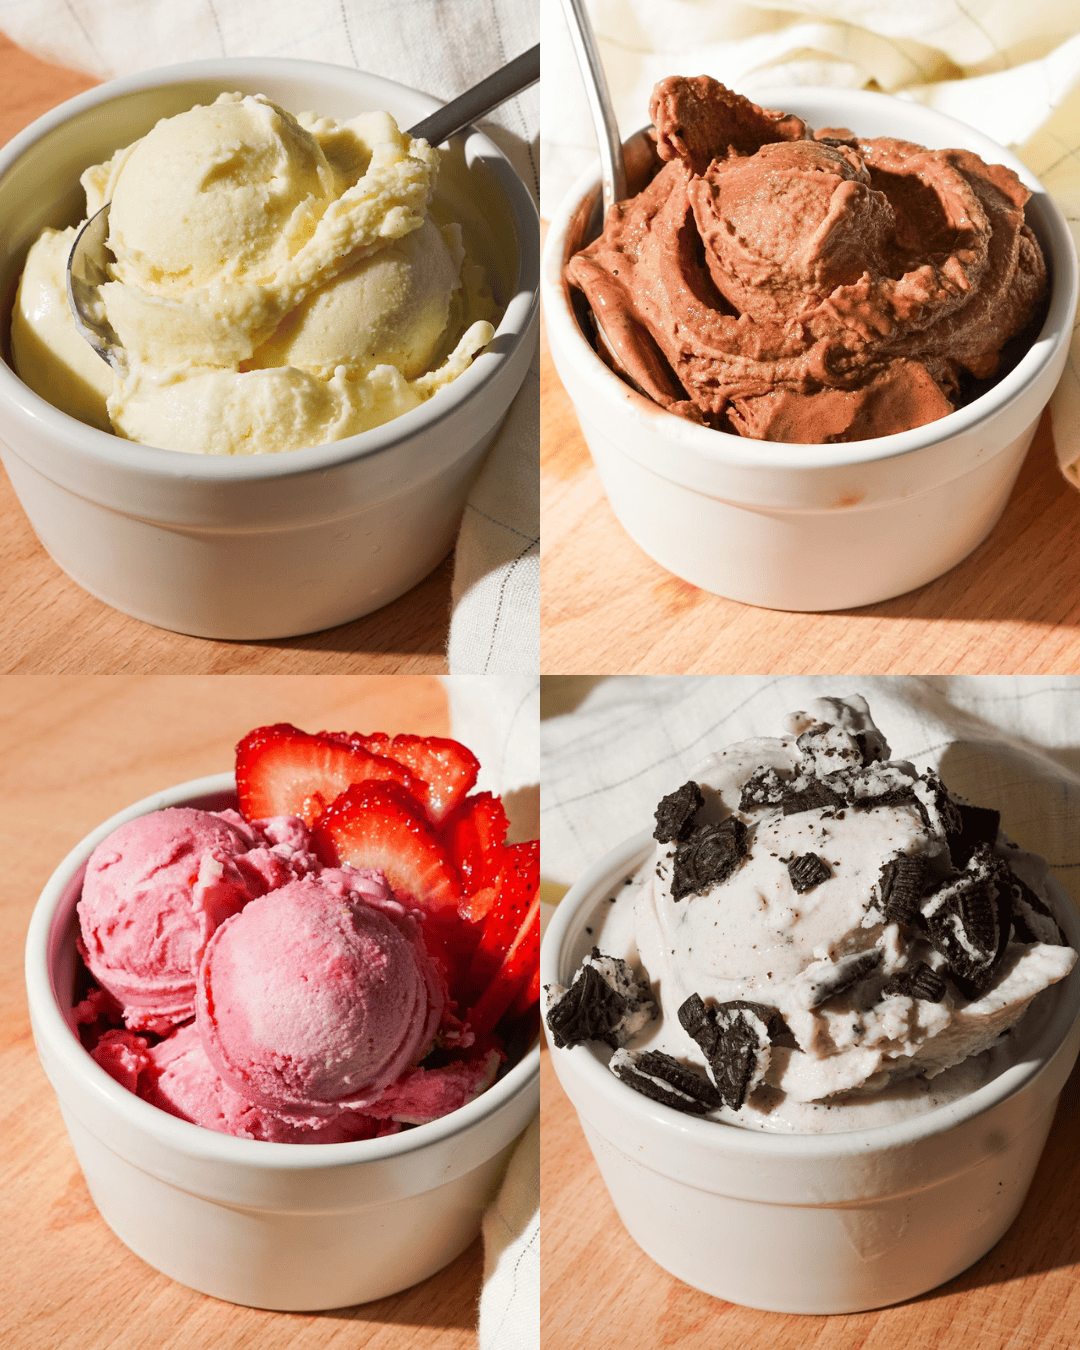
Serve this simple bunny cake alongside the rest of your Easter Sunday spread. Your family will be delighted to see this adorable bunny cake along side any of the other Easter desserts like these fluffy lemon ricotta cookies and oreo cinnamon rolls.
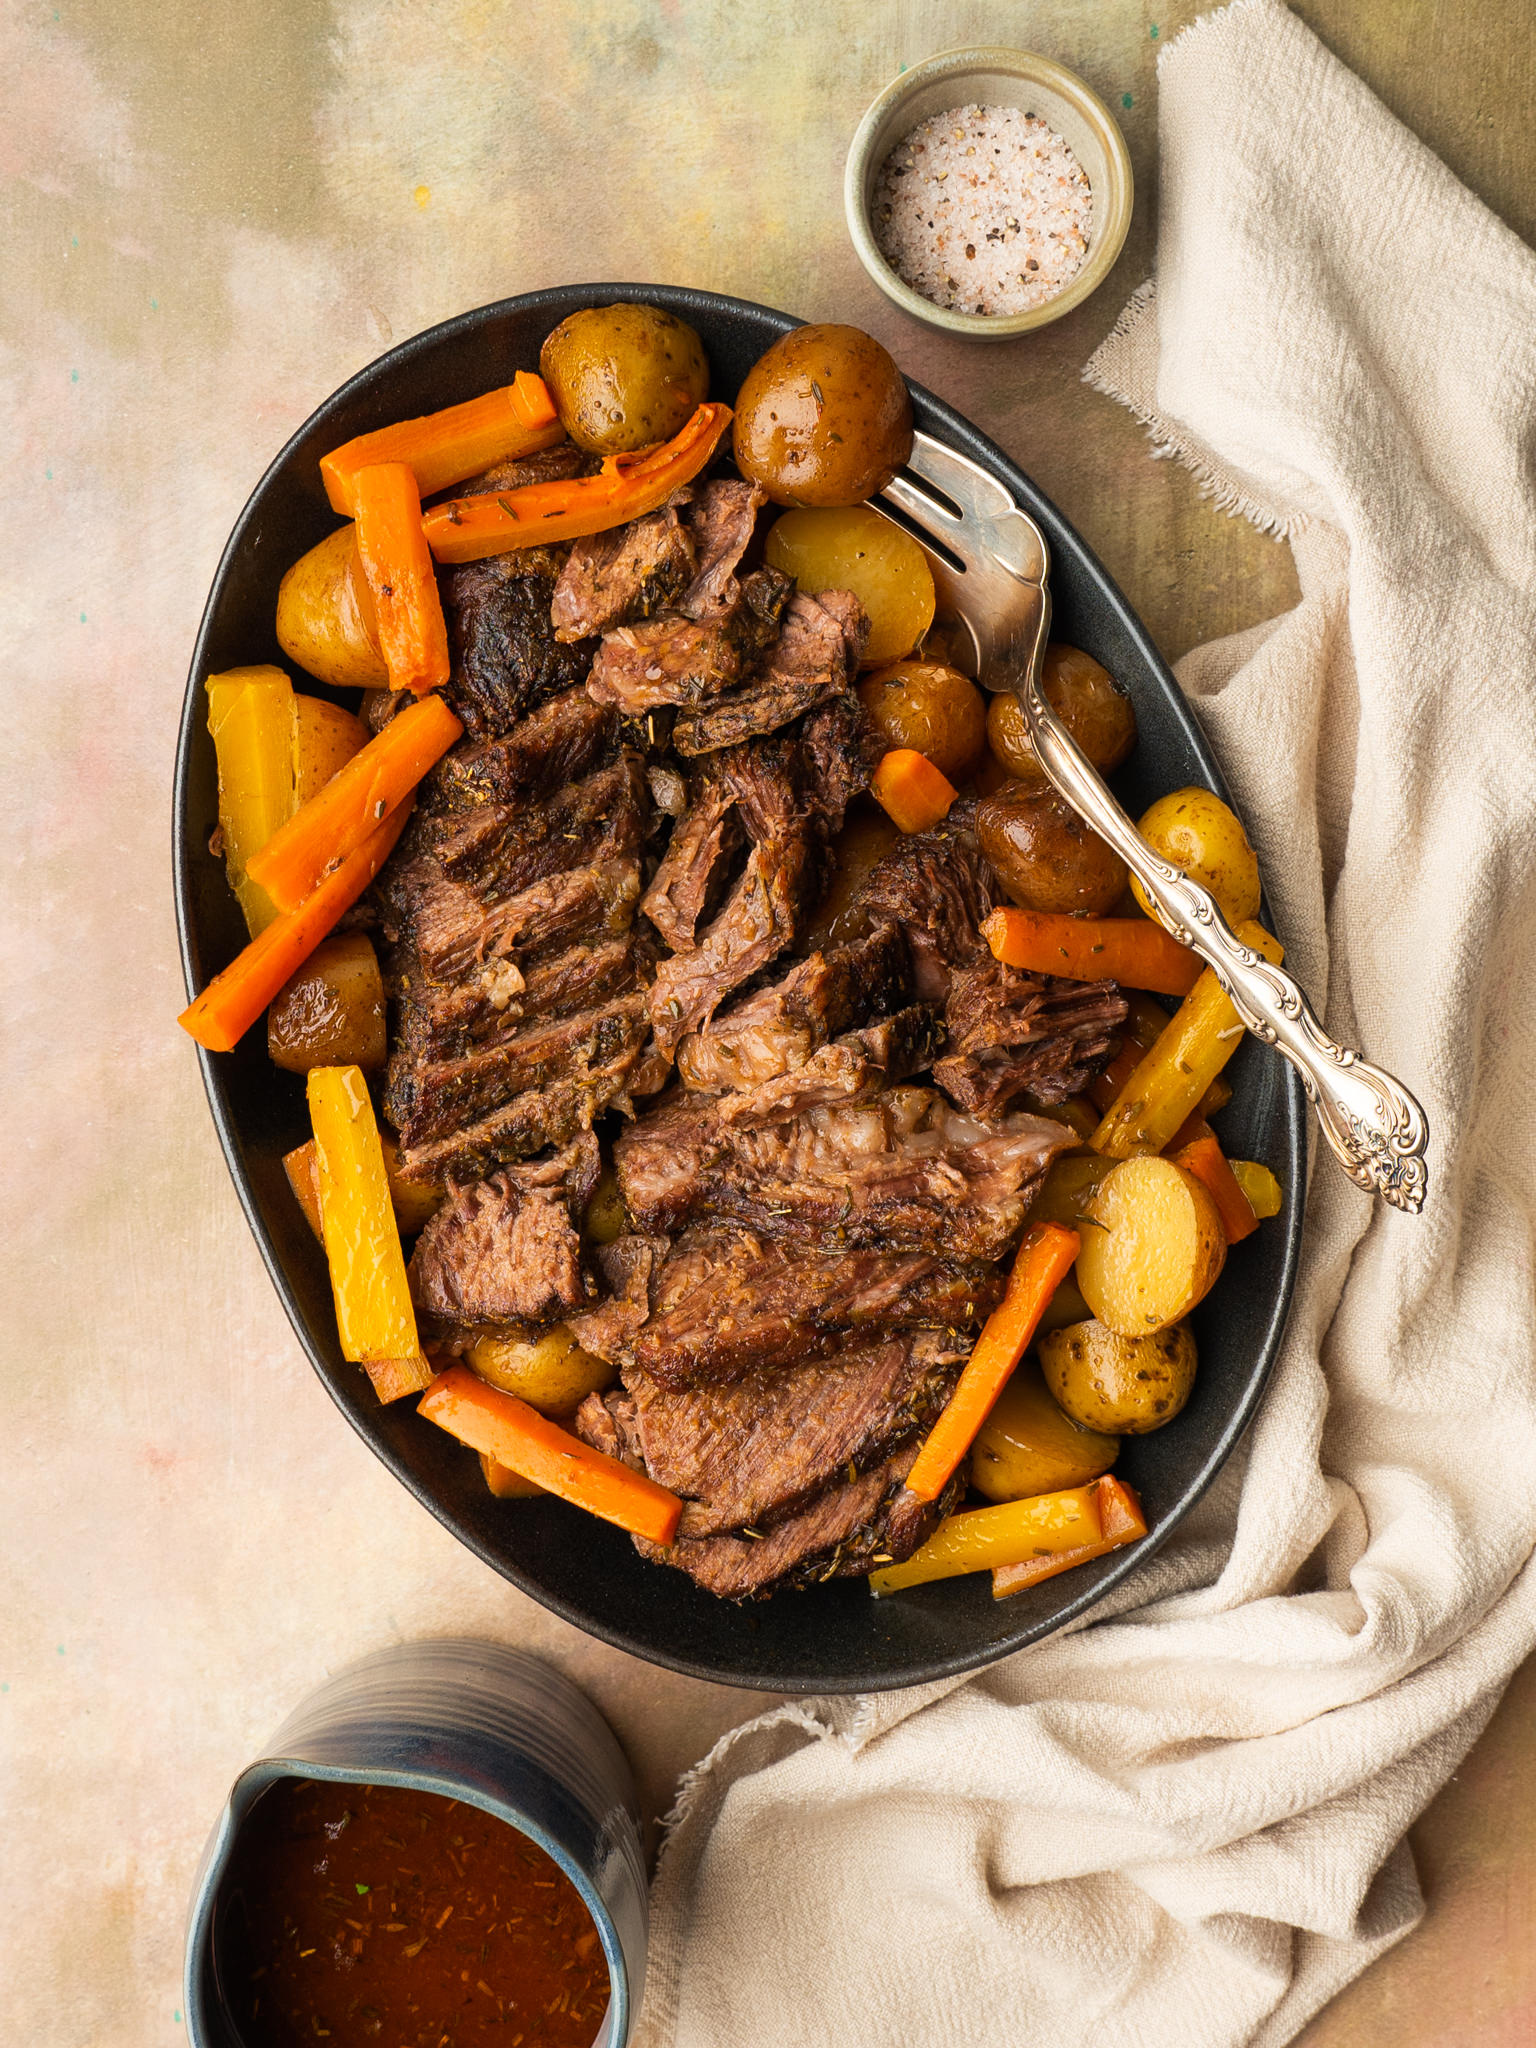
If you need some ideas for your Easter dinner menu, I love serving a ham, some asparagus lemon garlic pasta, cheesy scalloped potatoes, and maple glazed carrots. For more Easter inspiration, check out all of these Easter sides and desserts.
It would also be PERFECT for a children’s birthday party. If your kid loves bunny rabbits, make up this cake and see the smile on their face!
Ingredients
- Yellow or white cake mix – you can use whatever mix you prefer here. I used vanilla cake but chocolate would also be delicious. By using the box mixture, you won’t have to worry about adding any all purpose flour or salt.
- Whole milk – The whole milk adds to the creaminess of the cake. It will keep it moist.
- Sour cream – The sour cream also makes the cake moist and even richer
- Vegetable oil – The oil will make this cake even more delicious. It keeps the cake from drying out for the best bite. Butter can also work, but I find oil is best for an even bake
- Eggs – The eggs help bind the cake together. Since you are cutting this into a bunny shape, you want to make sure it holds its shape
- Vanilla frosting – you can make your own buttercream frosting with butter, milk, vanilla extract and powder sugar or use store bought
- Pink frosting for decorating – the pink frosting is for the face of your bunny. You can buy pink, or add a few drops of food coloring to vanilla frosting
- Sprinkles for decorating – use your favorite sprinkles to decorate the ears of the bunny
Easy Homemade Buttercream Frosting
To make your own icing at home whip 2 sticks of unsalted butter until fluffy with a hand mixer or in the bowl of a stand mixer. Mix in 3 cups of powdered sugar until evenly combined. Mix in 1 tbsp milk, 1 tsp vanilla extract and a pinch of salt. Mix until fluffy, leave at room temperature until you are ready to frost the bunny.
Ingredient Substitutions
Make this a gluten free bunny cake simply by using a gluten free cake mix. I haven’t tried making this cake dairy free, but you could use a dairy free milk and a dairy free yogurt. You could also substitute chocolate cake depending on your preference of flavor.
I love using cake mix for easy Easter cakes, but you could also make your favorite cake recipe and use that instead.
If you would like, you could use cream cheese frosting in place of vanilla or white frosting. Depending on what you like, this cake would be delicious with some shredded coconut on top.
To avoid cutting the cake, you could also make these into bunny cupcakes and decorate them with bunny faces individually. This can be a fun activity for kids too! Put toppings in a small bowl and allow the kids to decorate their own bunnies.
If you are feeling adventurous, you could make a second cake to cut the body of the bunny.
Decoration Ideas
I used a grass tip on my icing piping bag to make the fur texture. For an easier option, spread on a thick layer of the icing with the flat side of a metal spatula. Then, use a small crumpled ball of parchment paper to dab at the icing and make a fur texture.
There are many ways to decorate this cute Easter bunny cake. The easiest way to is to fill the inside of the ears in with some rainbow sprinkles then make a simple nose and eyes with a dab of frosting. I’ve seen some cakes add a bow tie to the bunny, which would be a fun addition.
You could use candies like black jelly beans for eyes and a pink jelly bean or pink candy for the nose. Then use pulled apart licorice for the whiskers and a mouth. You could also use M&Ms for the bunny cheeks, nose, eyes and mouth!
If you’d like to add to the background of your bunny cake, you could add a couple of drops of green food color to your frosting in the bowl of a stand mixer and add grass around it with an offset spatula. Or sprinkle green coconut all around your cake for coconut grass. I love setting up a dessert table with candy in an easter basket next to the cake.
If you only have round pans, you can make round cakes in 8-inch round cake pans and cut the bunny ears separately. Place ears above the round bunny head and decorate! The decorations I used here were inspired by Wilton!
How to make
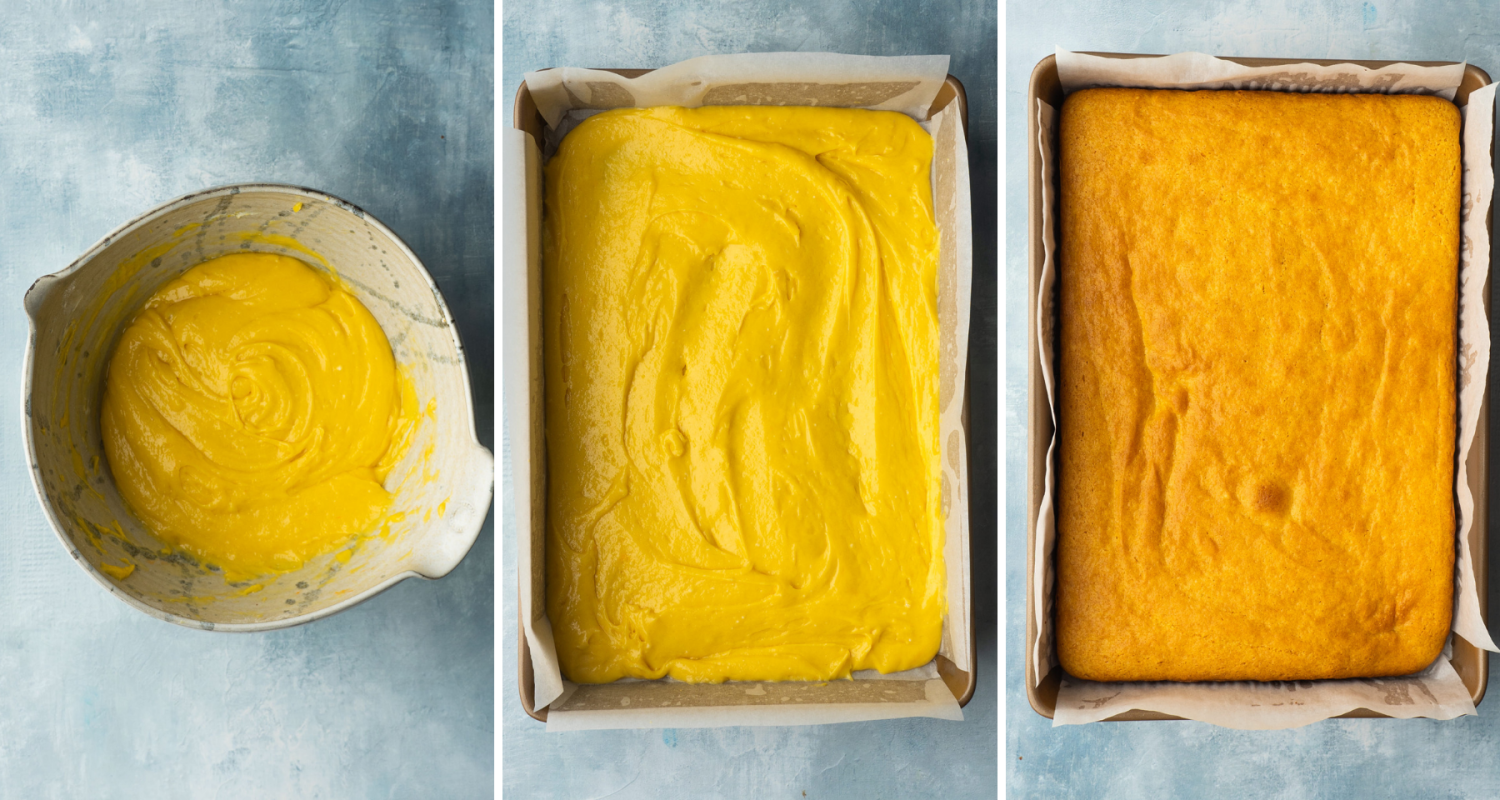
Step 1: Bake cake
To begin, preheat oven to 350F. Grease a 9×13 baking pan and line it with parchment paper – this is essential for getting the cake to come out of the pan easily.
In a large bowl whisk together the boxed cake flour mix, milk, sour cream and eggs. Mix until evenly combined. I did this by hand, but you can use an electric mixer or stand mixer with a paddle attachment on low speed.
Pour the cake batter into the lined baking dish and bake at 350F for 25 minutes. Make sure to scrape the sides of the bowl to get all of the batter in the pan. Insert a toothpick into the middle and make sure it comes out clean. That’s how you will know the cake is finished baking.
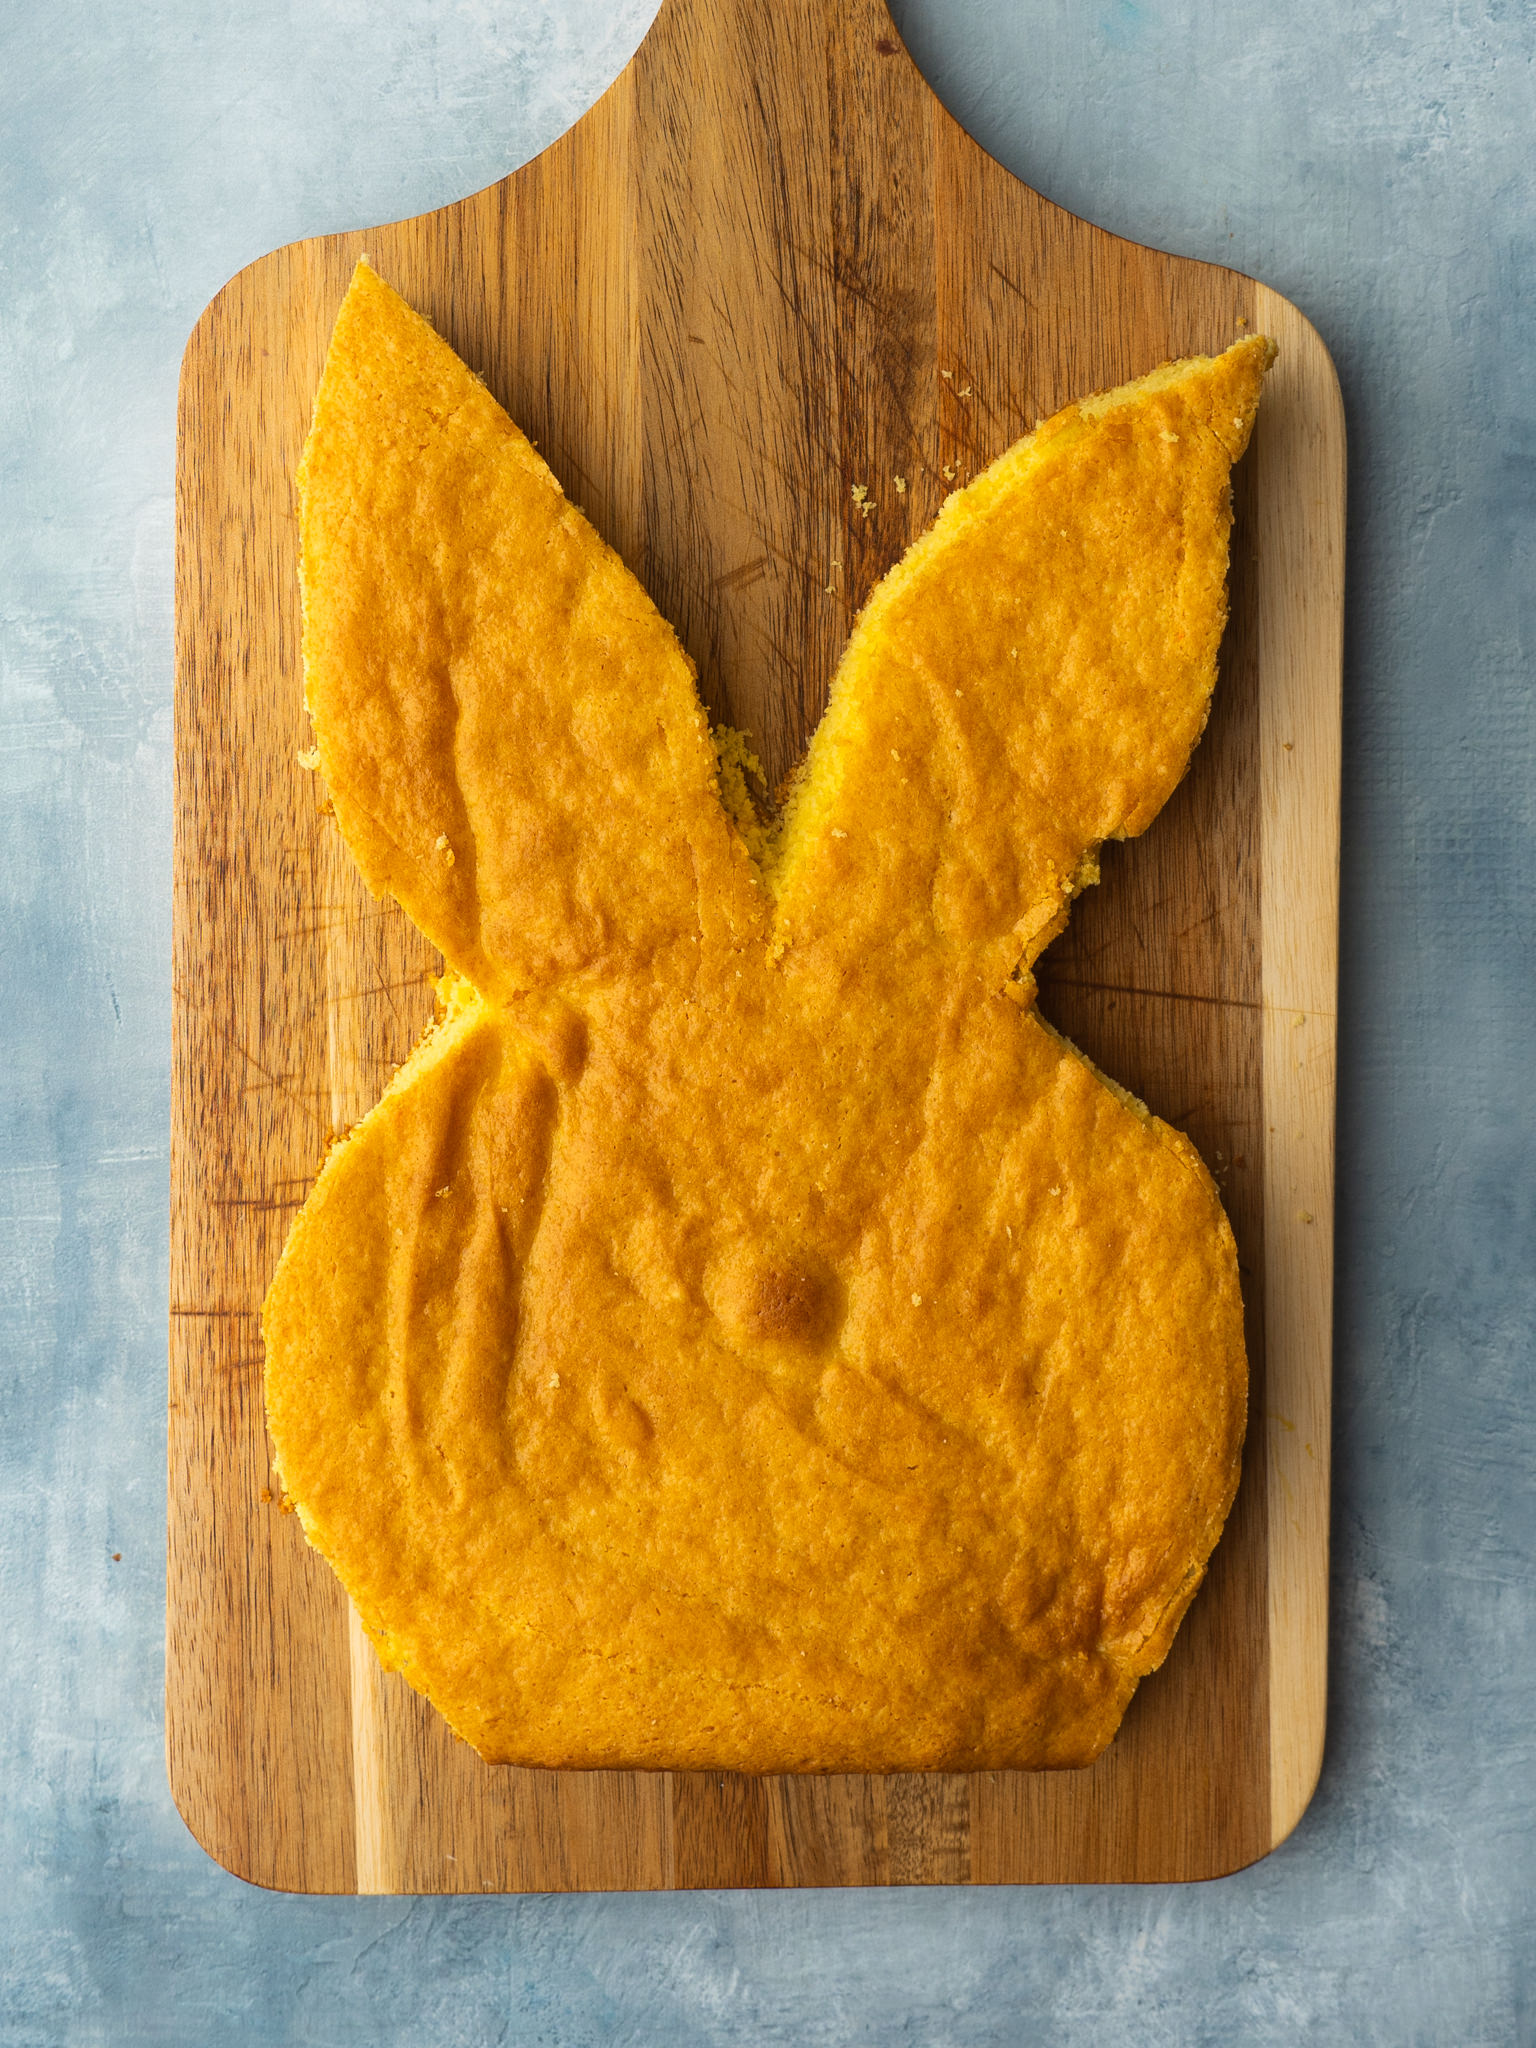
Step 2: Cut bunny shape and chill
Allow the cake to cool completely on wire racks. You want it to be room temperature or colder. Only when it is completely cooled, carefully take the cake out of pan and transfer to a cutting board. Starting halfway down the cake, use a serrated knife to cut away the sides to make a squat oval shape for the face for the bunny’s head.
It doesn’t need to be perfect because the icing fur covers any mistakes on the cut edge side of the cake. Then, cut 2 ear shapes out of leftover cake for the top of the head. Again, this doesn’t need to be perfect so just do the best you can. Save your cake scraps to make mini a cake ball for cake pops!
Place the cake on a serving tray and place in the fridge to chill for at least 30 minutes.
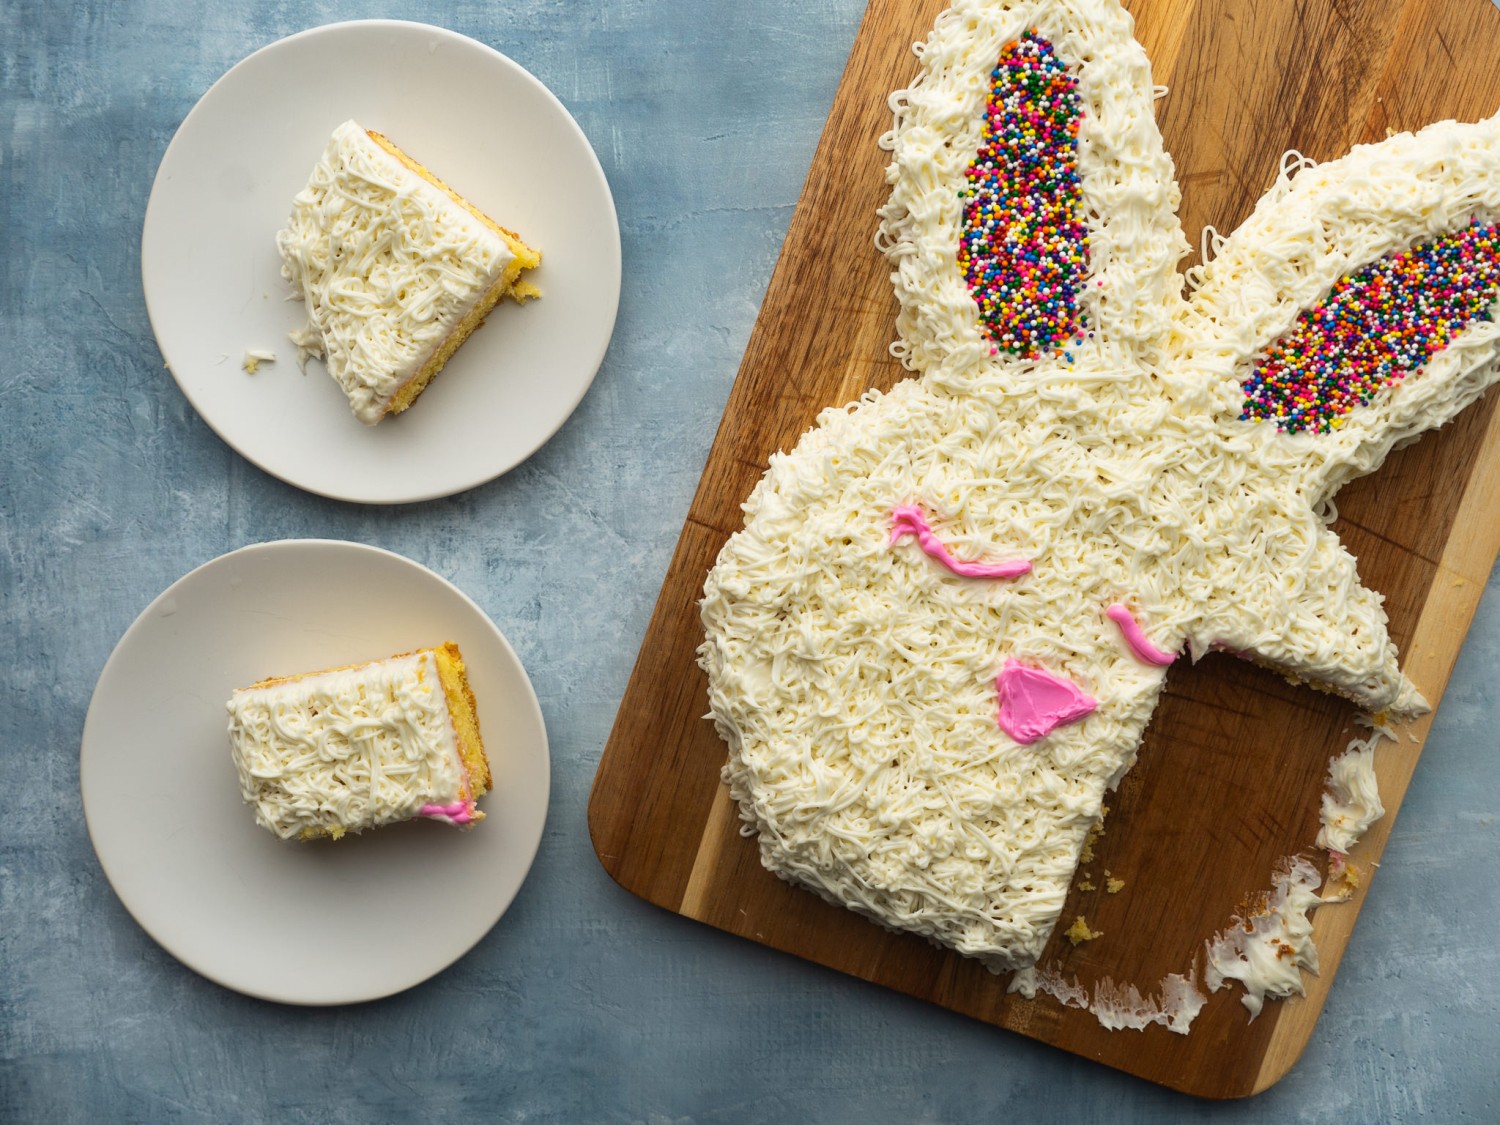
Step 3: Decorate with icing fur and a face
While the cake chills, whip the containers of vanilla frosting with an electric hand mixer or in the bowl of an electric mixer until it is fluffy and increased in volume. Fill a pastry bag or piping bag with frosting and place grass tip or star tip on bag.
Use the piping bag or zip-top bag to pipe white icing all over the cake. This doesn’t need to be perfect. Remember, it’s supposed to look like fur.
Cover the entire cake with a few layers of the icing and then decorate the top of the cake. I like to cover the inner ears with rainbow sprinkles then make a simple face with pink icing or pink coconut.
save the scraps to make cake pops
My favorite part is saving the rest of the cake that you cut off to make the bunny’s head. Place them in a large mixing bowl with 1/3 cup of buttercream frosting. Mix with an electric mixture until a sticky dough remains. Shape into balls or little eggs for Easter. Place in the freezer for 30 minutes to harden then cover with melted white chocolate and sprinkles.
Storage
Because of the decorations, this Easter bunny cake is best served shortly after decorating. But you can store it for up to 24 hours in the fridge to ensure that the icing does not melt.
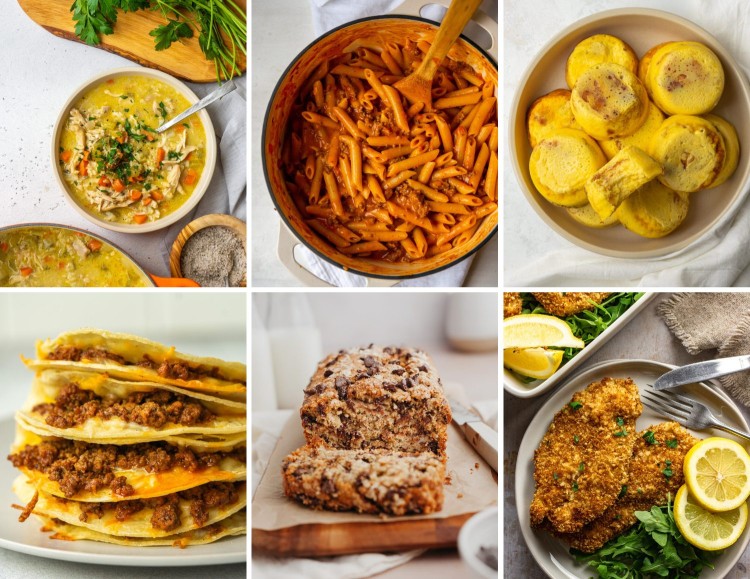
Serve these other delicious recipes for easter dinner
This recipe was developed by Courtney Spiegl. You can find her on instagram @courtney_made.
You can find the full recipe below. If you make this recipe, please rate and review it in the comments, or share it with me on Instagram!

You can find the full recipe below. If you make this recipe, please rate and review it in the comments, or share it with me on Instagram!

Email Recipe for Later
Recipe
Easy Easter Bunny Cake Recipe
Ingredients
- 1 box yellow or white cake mix
- 1 cup whole milk
- 3 eggs
- 1/4 cup sour cream
- 1/4 cup vegetable oil
- 2 containers of vanilla frosting OR homemade buttercream frosting*
- Pink frosting or twizzlers for decorating
- Sprinkles for decorating
Instructions
- Preheat oven to 350F and line a 9×13 pan with parchment paper. Mix cake mix, whole milk, eggs, sour cream, and vegetable oil in a large mixing bowl.
- Pour into the baking dish and bake at 350F for 25 minutes. Make sure a toothpick comes out clean in center of cake to ensure its baked. Cool cake completely.
- When cake is completely cooled, remove from pan and place on a cutting board. Starting halfway down the cake longways, cutaway the sides to make a squat oval shape for the face. Then, cut ears out of the top half of the cake. This doesn’t need to be perfect because it will get covered with icing.
- Place cake on a serving tray and place in the fridge to chill for at least 30 minutes. While the cake is chilling, whip the jarred icing with a hand mixer until fluffy and increased in volume.
- Fill a piping bag with icing and use a star tip or grass tip. Use the white icing to pipe “fur” all over the bunny. OR spread a thick layer of frosting all over the bunny with a metal spatula and then use a crumpled ball of parchment to dab at the icing and create a fur texture.
- Use pink icing and sprinkles to decorate the bunny’s ears, eyes and nose.
Recipe Notes
- Cake must cool completely before being cut into bunny shape
- Bunny shape must be chilled in the fridge before decorating
- Use a star tip or grass tip on a piping bag to create the look of fur OR spread on a thick layer of
- Sprinkles can be used to fill in the ears, make a bunny face with dyed frosting, jelly beans, M&Ms or twizzlers
- Best if served immediately, but you can store in the fridge for up to 24 hours before serving
- * Homemade buttercream frosting – whip 2 sticks of butter until fluffy with a hand or stand mixer. Mix in 3 cups of powdered sugar until evenly combined. Mix in 1 tbsp milk, 1 tsp vanilla extract and a pinch of salt. Mix until fluffy, leave at room temperature until you are ready to frost the bunny.
- ** Save cake scraps and use them to make cake pops – Save the pieces of cake that you cut off to make the bunny shape. Place them in a mixing bowl with 1/3 cup of buttercream frosting. Mix with an electric mixture until. a sticky dough remains. Shape into balls or little eggs for Easter. Place in the freezer for 30 minutes to harden then cover with melted white chocolate and sprinkles.
Nutrition Information
This website provides approximate nutrition information for convenience and as a courtesy only. Nutrition data is gathered primarily from the USDA Food Composition Database, whenever available, or otherwise other online calculators.


Leave a Reply